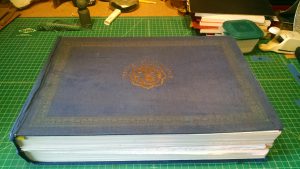
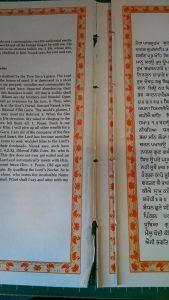
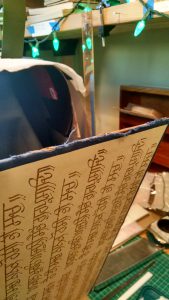
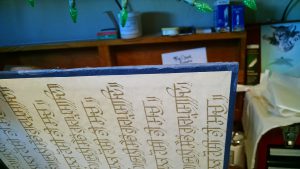
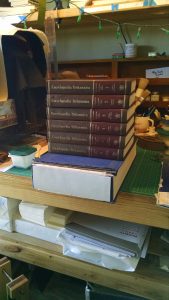
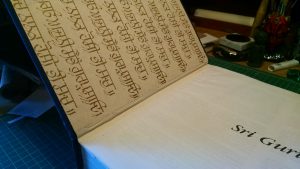
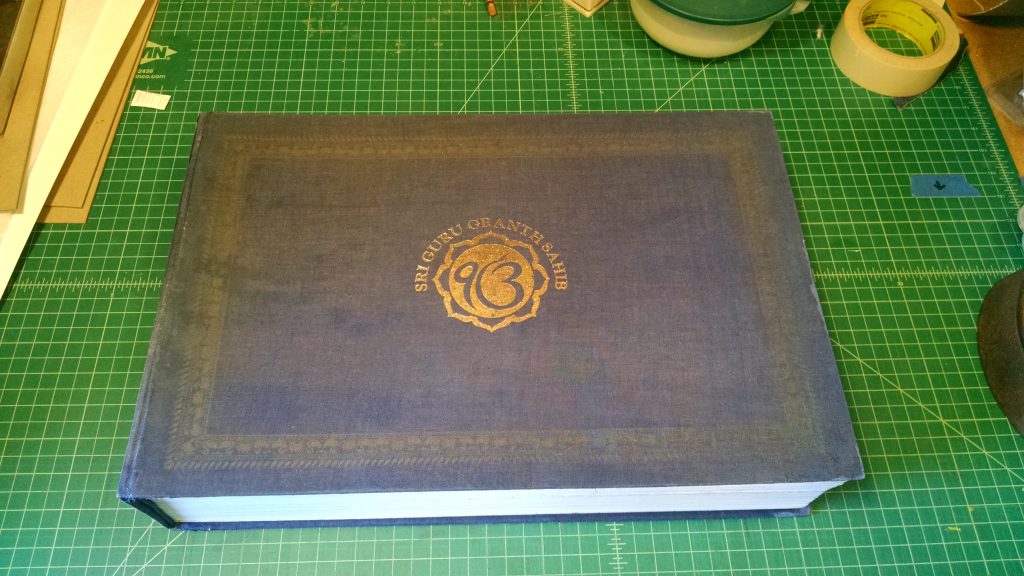
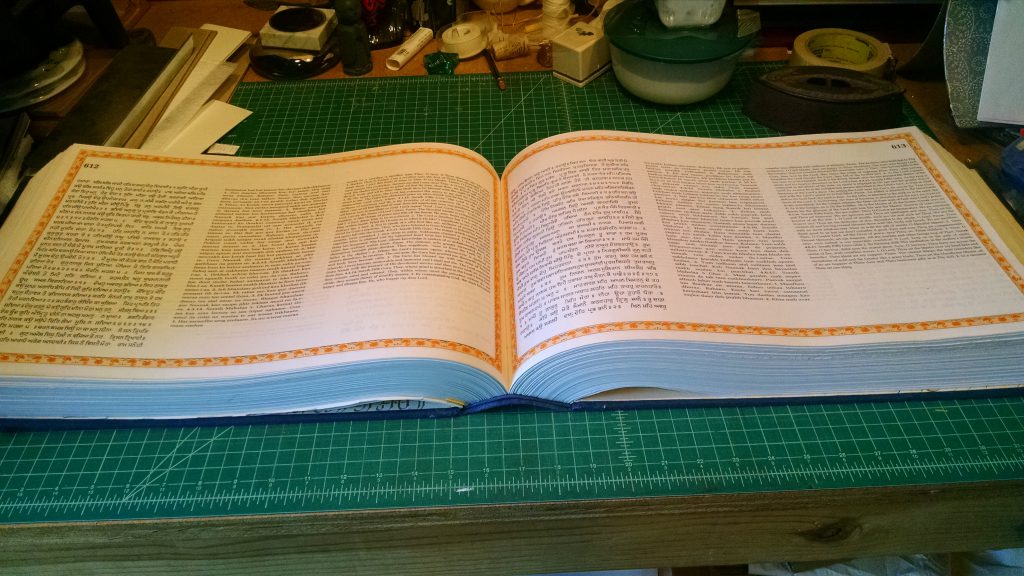
I was recently commissioned to rebind a beautiful copy of the Guru Granth Sahib, the Sikh scriptures. (For more information about Sikhism and modern Sikhs in America, check out SALDEF.org) Its owner is very attached to it, and with good reason: it contains the entire text in three versions, side-by-side! The original, a transliteration of the original, and an English translation. This isn’t an easy book to replace, so he sought me out to repair it. I took one look at it and said yes. It’s beautiful!
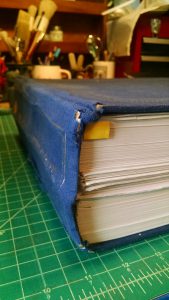
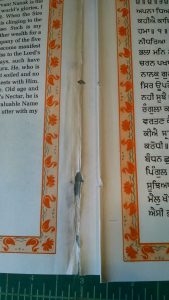
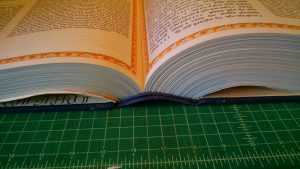
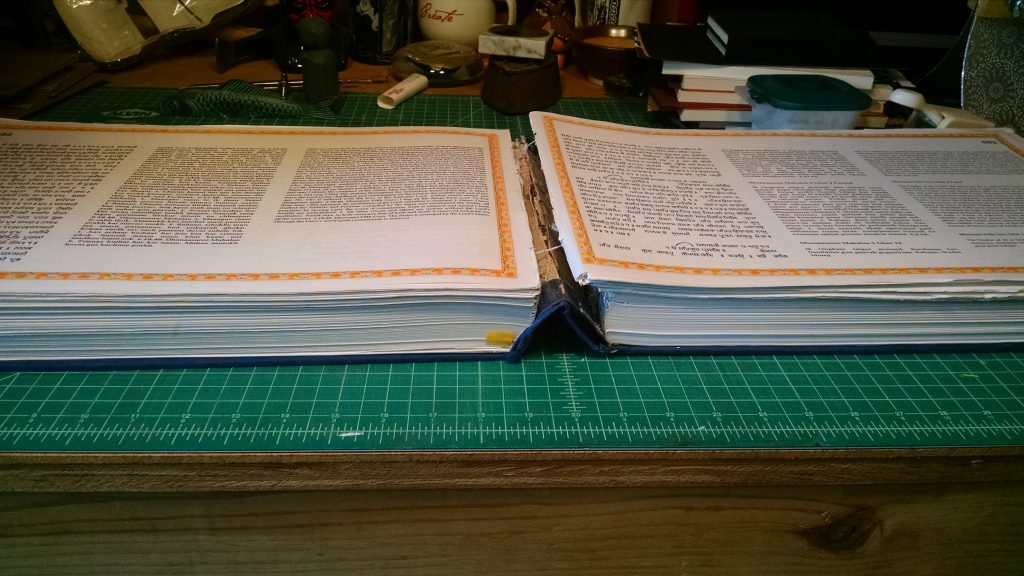
As you can see in the images below, the book had basically split apart into two halves, with only the bookcloth at the spine holding them together. Pages on either side of the split had been damaged with continued use and were starting to come apart as well.
Click any of the photos on this page to enlarge them.

After a careful examination to make sure I knew exactly what needed doing, I cautiously disassembled the book, separating the cover from the text block (and the cover boards from the badly damaged spine). I then disassembled the text block and meticulously examined each individual signature (more than 80!) to see which ones needed repair. Here are a couple closeup before-and-after shots of this process:
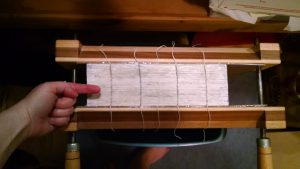
Once that was finished (this was the most laborious part of the whole process, and took me several days), I resewed the text block. Since I don’t have a proper sewing frame on hand, I improvised one, as you can see below. Once done with the sewing, I moved the book into my laying press to be re-consolidated.
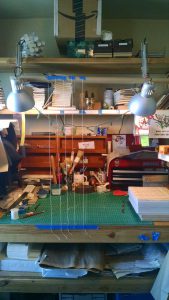
As a side note: You can just barely see in the right-hand photo that the press is not on my workbench. In fact, the book is so wide, it was wider than my press is tall! I worked around this by cleaning out a recycling can and carefully putting the press on top. It was tall enough that the pages were able to hang freely like normal. It did mean, however, that I couldn’t work with it on my workbench. I meant to take a photo of the setup, but appear not to have done so.
While waiting for layers of paste on the spine to dry, I worked on the cover. Here you can see a quick before/after of an edge of one of the cover boards.
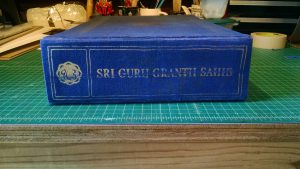
Once the cover boards were ready to go, I reinforced the spine (I used two layers of Japanese kozo, a layer of unbleached linen, made-from-scratch endbands, and finally a one-on-and-two-off cardstock tube, which allows the book to open with less stress to the spine), then covered it with painted-to-match fabric. As you can just barely see in the photos below, the fabric is tucked under the cloth of the cover. In addition, I gently split the bookboard a little, so the fabric is actually inside the cardboard of the cover. This allows for much better holding strength than if I just tucked it under the fabric.
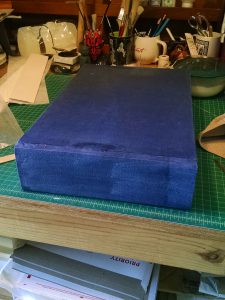
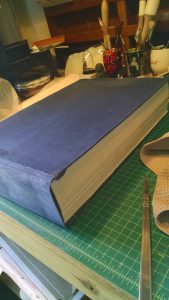
And finally, it was done!


All together, the hinges where the cover meets the spine are held together by two layers of linen and a layer of paper, and the thorough spine reinforcement will reduce stress on the hinges significantly. As a result, the book is much stronger than it was before.
In closing, a quick before/after comparison!

If you have a book that needs rebinding, or even just some basic repair, please get in touch! I really love repairing books.