Let’s take a look at one of the books I worked on in the latest class I took at the SFCB, The Restoration of Cloth and Leather Bindings taught by the one and only Don Etherington.
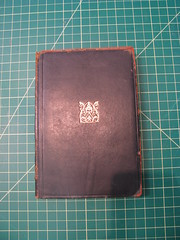
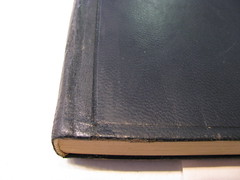
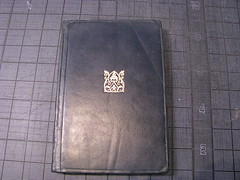
Here’s the book before. Notice that while it has a fair amount of normal wear for a cheap leather-bound book of its period, it’s not in terrible shape. It is, however, starting to get red rot at the joints where the leather’s worn. That’s no good, and will progress if unstopped. (Click the photos to see them larger on Flickr.)
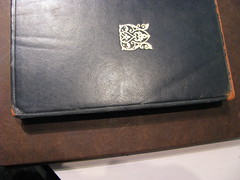
Before
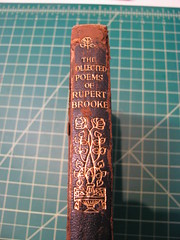
The photos are: Front cover, spine, spine closeup, back cover, and a look at the leather lifting off the back cover.

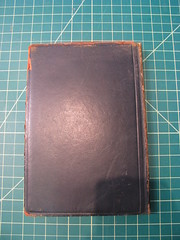
In the last photo, you can see how the leather was actually disconnected from the board! It flapped around pretty badly.
Thankfully, the text block itself and the inner hinges (the paper that is glued to the cover and also part of the text block) were in top-notch shape, so I only had to reinforce the leather at the hinges, glue the leather flap down again, and do some repairs around the edges where the leather had worn through or nearly worn through.
Working
Here are some in-progress photos!

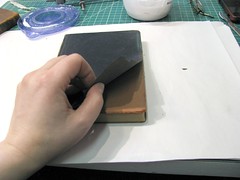
In this shot, I’m using mylar film to protect the end papers while I glue black Japanese paper around the edges of the cover. This lets me put the paper exactly where I want it, and not worry about damaging the endpapers. Here’s another look at the mylar in action:
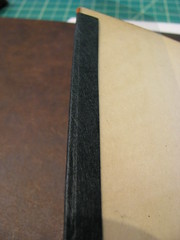
After I carefully slit along the edge of the mylar, I’m left with exactly the right coverage, as you can see here. The Japanese paper just covers the places where the leather was worn away, no more. Right now the paper looks pretty matte in finish, but I’ll take care of that later on in the process.

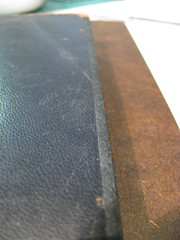
Here’s a look at the edges of the cover when I’m partway through restoring it. If you look back at the “before” photo, you’ll see that the whole long edge was very exposed. Here, that is all covered with Japanese paper.
Here’s a closeup of a neat trick Don taught us: you can use tooling to help disguise the edges of the Japanese paper! For this, I carefully lined up the straight-cut paper with a tooled line in the leather.
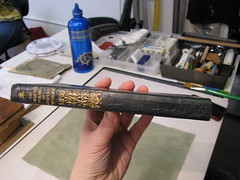
I didn’t take many photos during the finicky process of working on the spine, unfortunately, but here’s the finished product! The Japanese paper covers from the tooled line on each cover up to about a quarter of an inch of the spine. I carefully trimmed it so as not to cover the beautiful gold toling. As an experiment, since this is a book for me and not for a client, I cut one edge along the undecorated half of the spine straight, and feathered the other a bit. You can see here which has a more natural look. I took this photo after I treated the cover and Japanese paper with Klucel-G and Renaissance Wax, both of which serve to protect the materials and give the paper a more leathery look. As a bonus, they stop the red rot that had set in along the spine in its tracks!
Here’s a closeup of the lower part of the spine. You can see how I used the tooling to hide the edge of the Japanese paper again.
Last but not least, a final shot of the front cover, with all the edges restored. This will last well for a long time — Japanese paper is very strong and flexible, and can stand up to a lot of abuse! It will be quite a while before this book needs more work, provided no accidents befall it in the meantime.
I had a lot of fun working on this book, especially because its cover reminded me of a lot of family Bibles I’ve seen over the years, their black leather bindings decaying and hinges starting to go. I’m looking forward to helping many of those books look their best as the years go by.