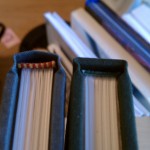
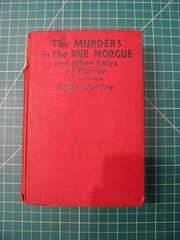
Case Study: The Murders in the Rue Morgue and Other Tales of Horror, circa 1935

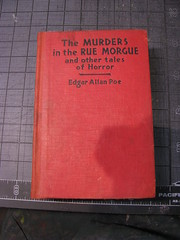
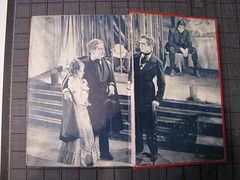
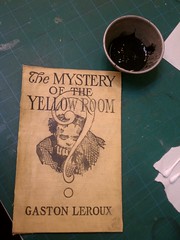
I’m not sure how old this book is — much to my surprise, it has no copyright date! It does, however, have screen shots from the Universal movie of the same name, which came out in 1932, so that gives a rough date. It’s an old Grosset and Dunlap book, which means that while it’s neato in terms of content, it’s el cheapo in terms of binding. I actually took it with me as a possible candidate for my first book repair class, but wound up not using it because it wasn’t going to work well for the set of skills we would be practicing that day. It turned out to be great for the The Restoration of Cloth and Leather Bindings class I took at the SFCB, taught by Don Etherington.

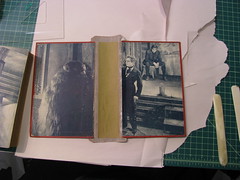
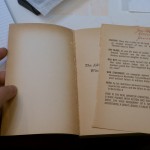
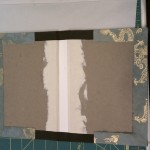
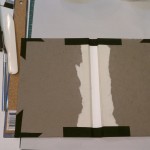
Before

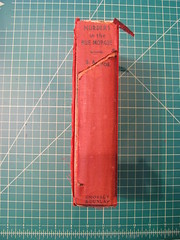
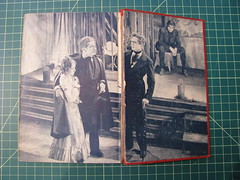
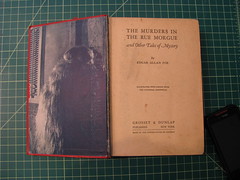
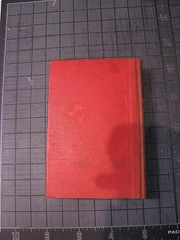
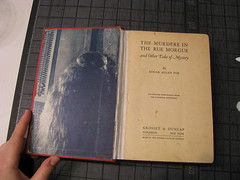
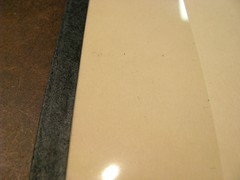
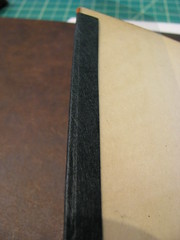
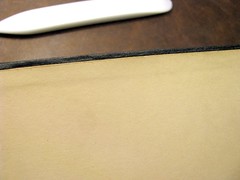
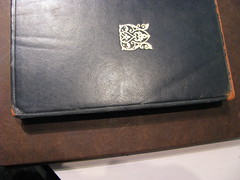
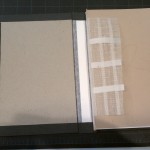
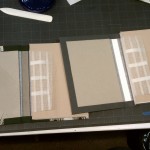
The Murders in the Rue Morgue: Before The Murders in the Rue Morgue: Before The Murders in the Rue Morgue: Before

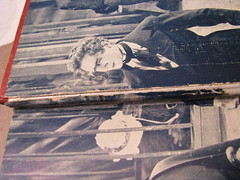
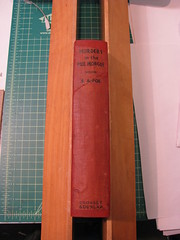
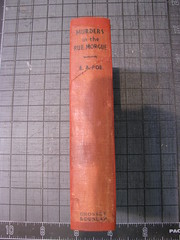
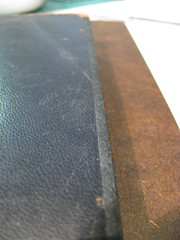
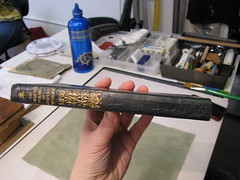
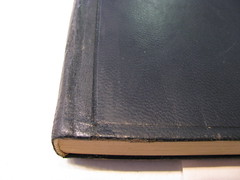
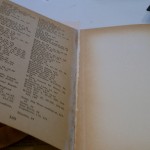
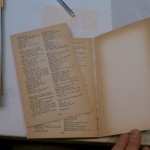
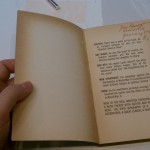
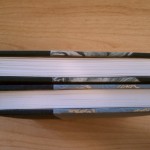
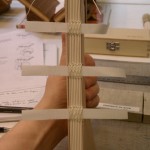
As you can see, pretty much all of the damage is to the spine. The cover boards were still attached, but the spine piece had started to come off (the small piece near the top was completely detached and I’d been keeping it inside the book all this time). The shadows in the lower right corner of each photo are thanks to the weird lighting in the classroom. I didn’t have the time to take away from class to set up for really nice shots. Sigh.

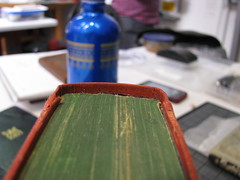
The Murders in the Rue Morgue: Before The Murders in the Rue Morgue: Before

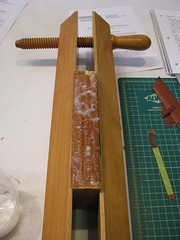
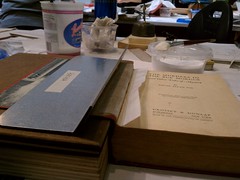
The text block is in good shape, but the front end paper is half-missing and the back end paper had detached. First things first: I removed the cover and cleaned the spine. Here you can see the text block with some gloopy paste on it to soften the old, brittle spine lining.

The Murders in the Rue Morgue: Cleaning the spine

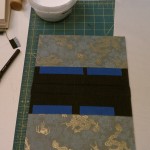
While waiting for the spine lining to soften, I worked on the cover boards. First I had to lift some of the book cloth on the outside, then use masking tape to remove some of the book board’s thickness. This way when I put the cover back together with new, strong fabric for the spine, there won’t be a lump under the book cloth.

The Murders in the Rue Morgue: Neat trick The Murders in the Rue Morgue: Neat trick part 2

And here’s the text block after the spine lining was removed. You can see that the glue is still pretty thick.

The Murders in the Rue Morgue: Cleaner spine!

After another round of softening, I got most of the glue off, and it looked like this:

The Murders in the Rue Morgue: Ready!

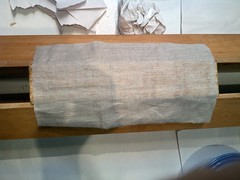
Time to attach the new, stronger spine lining cloth! This is Irish linen, which is strong and light.

The Murders in the Rue Morgue: Irish linen to line the spine

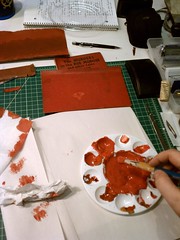
While waiting for the paste between the text block and linen to dry, I started mixing paint to match the cover. This is, weirdly, one of my favorite parts of the process. It takes forever, but it’s really rewarding when you’re done.

The Murders in the Rue Morgue: Color mixing, woo!

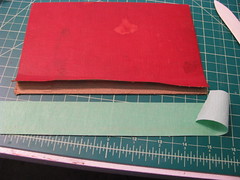
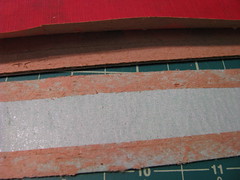
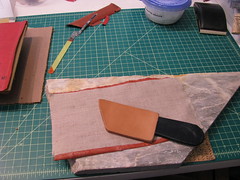
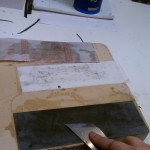
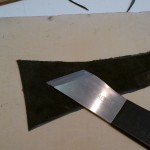
Once it was mixed, I painted a piece of Japanese paper with the paint, let it dry, and then glued it to a new piece of Irish linen. Once that was dry, it was time to bevel one edge, making it nice and thin so it would go under the book cloth flap I lifted earlier. There are two ways to bevel it, with a leather-paring knife (left) or with a sanding block (right).

The Murders in the Rue Morgue: Paring the rebacking fabric The Murders in the Rue Morgue: Paring the rebacking fabric 2

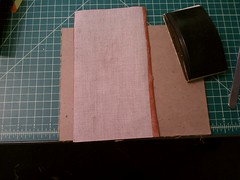
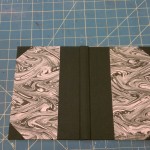
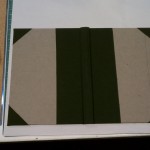
Here’s the reassembled cover from the inside. The painted Japanese-paper-and-linen spine is attached to the cover boards and a new spine stiffener is in the center.

The Murders in the Rue Morgue: Cover is ready!

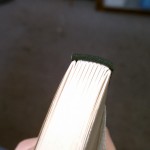
The cover is attached by gluing the spine stiffener to a hollow already glued to the text block (unfortunately, I neglected to photograph that part). A hollow is a tube of strong, flexible paper pressed flat and glued to the text block’s spine. By having the tube, the book can still open nicely and have a gap between the text block and the spine of the cover! It’s a neat technique, and one I hadn’t done before this class. I’ll try and get a good series of photos of how it works another time. Once the cover was attached to the book, the ends were tucked in top and bottom. Here’s a closeup!

IMG_7875

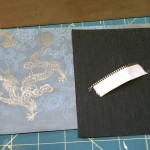
This next shot shows my favorite tool of ALL TIME! Well, maybe not of all time, but certainly one of my favorite tools. It’s tricky to see, but the metal gizmo there is holding the end paper up a bit from the cover so that I can glue down the linen spine liner and the nice Japanese paper hinge that will join the frontmost page of the text block to the cover.

The Murders in the Rue Morgue: BEST TOOL EVER

Here’s how the back end paper looked after getting that treatment. It probably would’ve looked a bit nicer if I’d tinted the Japanese paper instead of leaving it white, but I didn’t realize how big a difference it would make until it was too late. Note for next time: dye the hinge paper!

The Murders in the Rue Morgue: Interior hinge

Here’s a closeup after I reattached a long strip of end paper that had separated along the hinge:

The Murders in the Rue Morgue: A finishing touch

At this point, all that was left was to reattach the original spine fabric from the cover!

The Murders in the Rue Morgue: Finishing the spine!

All done!

After

IMG_7869 The Murders in the Rue Morgue: After IMG_7871

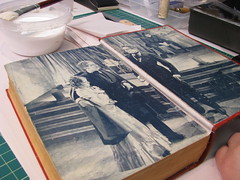
And a look at the inside.

IMG_7872 The Murders in the Rue Morgue: After

Overall, I’m pretty happy with how this one turned out. I learned some new tricks while I was working on it, and have a little mental list of things I’ll do better with next time. Plus, I ordered my own metal-lifter-holder-gizmo from Don once I realized how awesome it was. Hooray! Got a book of your own that could use this treatment? Check out my Book Repair services page or get in touch!
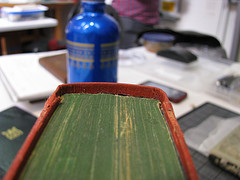
Case Study: The Collected Poems of Rupert Brooke, c. 1915

Let’s take a look at one of the books I worked on in the latest class I took at the SFCB, The Restoration of Cloth and Leather Bindings taught by the one and only Don Etherington.

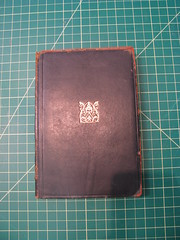
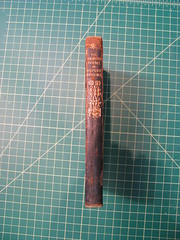
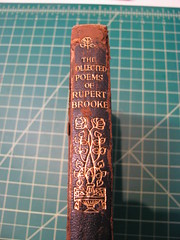
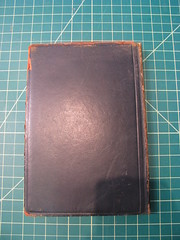
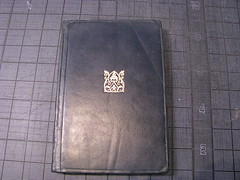
Here’s the book before. Notice that while it has a fair amount of normal wear for a cheap leather-bound book of its period, it’s not in terrible shape. It is, however, starting to get red rot at the joints where the leather’s worn. That’s no good, and will progress if unstopped. (Click the photos to see them larger on Flickr.)

Before

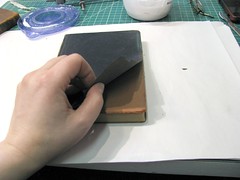
The photos are: Front cover, spine, spine closeup, back cover, and a look at the leather lifting off the back cover.

The Collected Poems of Rupert Brooke: Before The Collected Poems of Rupert Brooke: Before The Collected Poems of Rupert Brooke: Before The Collected Poems of Rupert Brooke: Before IMG_7780

In the last photo, you can see how the leather was actually disconnected from the board! It flapped around pretty badly.
Thankfully, the text block itself and the inner hinges (the paper that is glued to the cover and also part of the text block) were in top-notch shape, so I only had to reinforce the leather at the hinges, glue the leather flap down again, and do some repairs around the edges where the leather had worn through or nearly worn through.

Working

Here are some in-progress photos!
IMG_7781

In this shot, I’m using mylar film to protect the end papers while I glue black Japanese paper around the edges of the cover. This lets me put the paper exactly where I want it, and not worry about damaging the endpapers. Here’s another look at the mylar in action:

IMG_7783

After I carefully slit along the edge of the mylar, I’m left with exactly the right coverage, as you can see here. The Japanese paper just covers the places where the leather was worn away, no more. Right now the paper looks pretty matte in finish, but I’ll take care of that later on in the process.

IMG_7784

Here’s a look at the edges of the cover when I’m partway through restoring it. If you look back at the “before” photo, you’ll see that the whole long edge was very exposed. Here, that is all covered with Japanese paper.

IMG_7786

Here’s a closeup of a neat trick Don taught us: you can use tooling to help disguise the edges of the Japanese paper! For this, I carefully lined up the straight-cut paper with a tooled line in the leather.

IMG_7788

I didn’t take many photos during the finicky process of working on the spine, unfortunately, but here’s the finished product! The Japanese paper covers from the tooled line on each cover up to about a quarter of an inch of the spine. I carefully trimmed it so as not to cover the beautiful gold toling. As an experiment, since this is a book for me and not for a client, I cut one edge along the undecorated half of the spine straight, and feathered the other a bit. You can see here which has a more natural look. I took this photo after I treated the cover and Japanese paper with Klucel-G and Renaissance Wax, both of which serve to protect the materials and give the paper a more leathery look. As a bonus, they stop the red rot that had set in along the spine in its tracks!

IMG_7843

Here’s a closeup of the lower part of the spine. You can see how I used the tooling to hide the edge of the Japanese paper again.

IMG_7846

Last but not least, a final shot of the front cover, with all the edges restored. This will last well for a long time — Japanese paper is very strong and flexible, and can stand up to a lot of abuse! It will be quite a while before this book needs more work, provided no accidents befall it in the meantime.

The Collected Poems of Rupert Brooke: After

I had a lot of fun working on this book, especially because its cover reminded me of a lot of family Bibles I’ve seen over the years, their black leather bindings decaying and hinges starting to go. I’m looking forward to helping many of those books look their best as the years go by.

The Art and Science of Cloth Rebacking

Last week I spent four days, 9:30-6ish, up at the San Francisco Center for the Book, learning how to do cloth rebacking.

WTF is Cloth Rebacking?

Well might you ask!

Cloth rebacking is when you take a cloth-bound book that is falling apart and fix its binding.

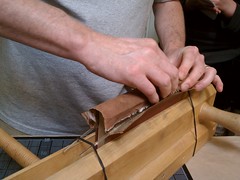
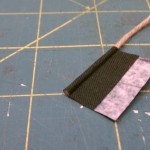
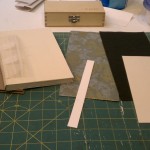
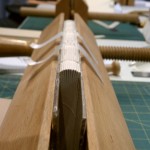
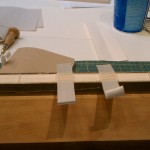
Fitting the clothBasically, it involves putting new cloth underneath the old cloth and rebinding the book. There’s a lot more to it than that, and I put up a ton of photos on my personal Flickr detailing the process.

It was really fun!

The teacher, Dominic Riley, is a professional bookbinder and book repairer from the UK, and he has done over 900 cloth rebackings alone in the course of his career. He knew all kinds of tricks and methods of dealing with the various odd bits of damage and peculiarities of the books my classmates and I were working on for the class.

There were a few steps that were incredibly stressful, like cutting into the bookboard to make a channel for the new cloth to go into, and working the cloth into it. My book’s bookboard was very old and fragile, and really uncooperative!

Front Cover: progressWeirdly, my favorite part was repainting the cover — a very painstaking and exact process using the finest brush I own (which I originally bought for detail work painting lead miniatures). It was also the part I did the best at — Dominic seemed very impressed with my work. So gratifying!

I’m looking forward to practicing on several of my own books and on some of my family’s books — and then I’m going to start offering this service to all of you!

Got damaged books?

Start making a note of which books you have that could use some TLC. The Book Roadie’s Book Hospital will be taking patients soon!

Bookbinding 4

Over the weekend, I had the pleasure of taking Bookbinding 4: Focus on Leather at the San Francisco Center for the Book. It was basically a day to practice the basics of paring leather so that when we go on to Bookbinding 5 we aren’t having to learn a bunch of new stuff all at once.

At first, I had a lot of trouble with it. Paring the edges of leather pieces takes precision and care, and I am not good at being patient when learning new stuff! I could see how it worked in principle, but couldn’t get my coordination to actually do what I wanted. By the end of the day, though, I was doing all right.

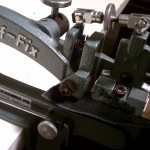
We learned to do edge paring with our leather knives (and edge pare is where you make the edge of the leather taper instead of just being a squared-off cut) and also how to use a Scharf-fix machine to thin pieces of leather down to the desired thickness. It was all extremely messy, but pretty fun once I got the hang of it.

I’ll tell you, though, by the end of class my hands were killing me. Lots of unfamiliar motions, done over and over, with a fair amount of strength totally pwned me. Yeow. I wasn’t the only one who had that problem, let me tell you!

The other awesome thing we learned was honing and sharpening blades. My knife was new enough it didn’t need sharpening, really, but I practiced anyway. Honing, though, is pretty much a constant — leather is so tough that you have to hone your blade every few cuts or it gets so dull that it’s almost impossible to use. How do you know if it’s sharp enough? You try shaving your arm. I am not even joking. I now have bald spots on my arm from testing my knife.

I managed to go the whole day without cutting myself, my classmates, or anything I didn’t mean to cut, so I consider it a win overall. I didn’t take very many shots, but have put the ones I did get down below. I can’t wait to do Bookbinding 5 now!

Paper Mending

Over the weekend I took another class up at the SFCB — this time on basic paper mending. It was really interesting to learn a few methods of cleaning and repairing mangled pages. We also learned how to reattach pages that had fallen out of a trade paperback.

One theme that the teacher kept coming back to was considering whether you’d be doing more harm than good by trying to repair the object in question. For example, if you’re trying to mend a document that has water-soluble ink on it, the chances of the paste making the ink run are very high (we learned how to test for water-solubility while minimizing the chance of damage to the object, which was cool). Plus, even the best mend is visible – creases and tears can’t be completely eliminated, just minimized. Reattached pages usually involve a hinge of some sort, which is visible. It’s just not possible to make the object exactly what it was before. There are always trade-offs. You have to consider why you want to mend the  item — are you trying to make it usable again? Trying to make it look nicer?

We used high-quality wheat starch paste and a variety of thicknesses of Japanese paper to mend tears and cuts, and learned to fill in spots where a tear had left a hole. We also learned how to uncrumple paper with the least amount of damage to it. It was a rather slow class in the beginning but the afternoon was really interesting and I had a good time.

The teacher works at UC Berkeley doing restoration/conservation on materials in the university’s library system, and she said that often the best course of action is to try to stabilize the item rather than try to make it be just like it used to be. Old books that are falling apart can be stored in specially-made boxes, documents can be sealed into mylar sleeves, and so on.

One thing that complicates the decision-making process is that book conservation is relatively new — less than 100 years old — so it’s not entirely possible to know how your additions will change over time. Apparently a lot of mending techniques that were considered safe in the fifties are now causing damage as they age. Chemicals in the adhesives, mending materials, and the objects themselves can react in surprising ways, given enough time.

At any rate, it was really interesting and I had a great time. Plus, I learned how to make the kind of wheat paste that requires cooking! I’ve ordered the materials to make a batch of my own and will let you guys know how it goes!

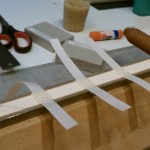
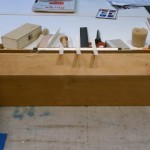
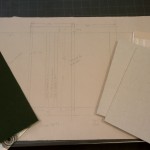
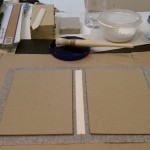
Here are some images from the class:

Bookbinding 3

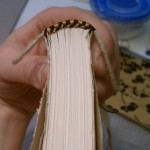
Over the weekend, I went up to the San Francisco Center for the Book again and took Bookbinding 3. It was really fun! We did a bigger, more traditionally-bound book — just one rather than two — and it came out pretty well!

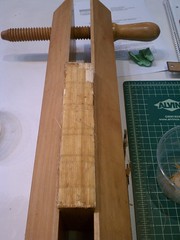
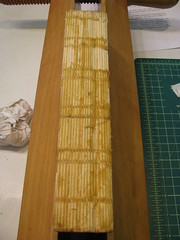
There are a number of things we did differently with this book than the ones I made in Bookbinding 2.  For one thing, this one is a lot bigger — 18 signatures instead of 10. For another, we learned to handle the greatly increased swell (the increase in thickness at the spine of the book you get from the fold and from the thread used to sew the signatures together) with a much more curved spine. You can see in the photos below just how curved it turned out! The process requires using a piece of equipment called a job press — you basically put the book in once it’s a little rounded and crank it tight so that the swell is concentrated all at the end rather than making the whole book sort of wedge-shaped. It gives the book shoulders, where the curve is wider than the rest of the text sheets (almost like a mushroom shape, if you look down at it from the top). The cover boards sit in against the shoulders, so ideally the covers and pages are all flat, while the spine curves out on the edge.

We also learned to sew our own endbands, a process some of my classmates hated but which I really liked. It’s a bit tricky, but the product is so awesome that I don’t mind. I am planning on doing sewn endbands for all my books from now on!

We also used wheat paste for some steps instead of using the synthetic stuff we’ve used in the past. Every glue has advantages and disadvantages. Wheat paste takes longer to set, which can be a real advantage (you can move stuff around a bit after putting it together to get things perfectly lined up, for example) but is also a liability in a classroom setting, because it takes so much longer to dry. The biggest advantage to wheat paste in my eyes is that it’s totally reversible. You can melt it with some care and attention, enabling you to undo serious mistakes or redo a project once you know a better way. Once I get into conservation and restoration, I will probably be using wheat paste exclusively because a book precious enough to be restored will be worked on again in the future, for sure, and it’s good to make that future work a little easier when you can!

Wheat paste does have to be mixed fresh every time you want to use it (it molds very quickly when it’s wet, since it’s basically just flour and water) and you have to mix in calcium carbonate to make it pH-neutral, but it’s easy enough to do both those things that I don’t mind.

Finally, we added a lining to the inside of the cover so that there wouldn’t be a bump from the paper and bookcloth turn-in. This required some precision cutting, but wasn’t too hard, and I may add that to my own books in the future. The result is really nice.

So, here’s a look at the book!

Bookbinding 2!

I took Bookbinding 2 at the San Francisco Center for the Book over the weekend, and had a great time! I made two new books and learned some new techniques. Check it out:

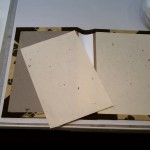
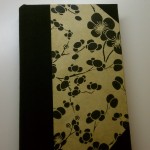
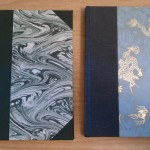
There were three main differences between these books and the ones from Bookbinding 1 — the rounding of the spines, making cloth corners for one of the books (cloth is more durable than paper, so the corners won’t wear through as quickly), and assembling the cover in a more traditional, stronger fashion. You’ll note the paper joining the spine to the cover boards, that’s been torn along the edges. We sanded that down so it would be smoother under the endpapers and the edge of the paper wouldn’t make a bump. The tearing makes that process easier.

I’ve been doing a little work on a book of my own at home, but stalled out because I need a finishing press… plus space to work and a nipping press and and and. I’m in the process of getting all that, and once my workbench is all set up, I’ll give y’all a tour!

Bookbinding 1!

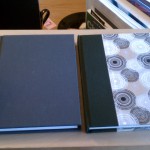
Oh, man, I had the best time up at the SF Center for the Book over the weekend! I took Bookbinding 1, which consisted of building two flat-back hardbound books under the guidance of Rhiannon Alpers, who has both her BA and her MA in book arts. How cool is that?

I took a bunch of photos of the process, so here they are for your viewing pleasure!

I had a lot of fun, and am going to take Bookbinding 2 at the end of the month. Rawk!

It’s a lot of fun learning how to do this — not only does this enable me to build my own books, soon I’ll know enough to start repairing books as well!