My Year of Bible Restoration

In the summer of 2018, I sat in for a day with fellow Guild of Bookworkers member Sophia Bogle, of Save Your Books at the Rose City Book & Paper Fair. A customer brought Sophia a massive Bible to repair – he didn’t want picture perfect restoration, he wanted it to be functional again. Sophia proposed that rather than her doing it (which would cost quite a bit, as she’s a restoration expert), I would do the repairs with her coaching me (for a lower fee).

So began a digital apprenticeship! She wrote instructions in a shared Google Drive document, we had video calls, and periodically I’d text photos or a video with a question or update. It took almost a whole year (I started a new dayjob, among other things), but we did it! Sophia was really supportive and patient, and I learned a ton.

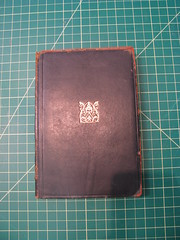
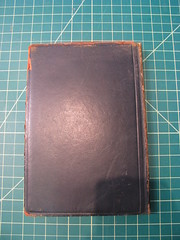
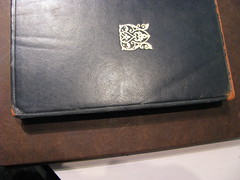
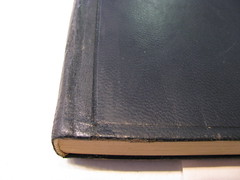
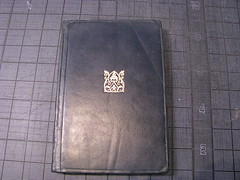
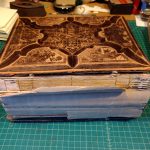
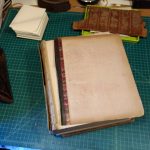
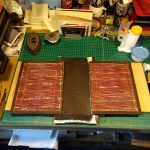
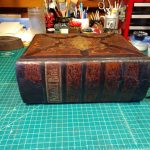
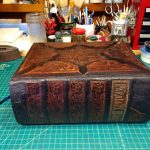
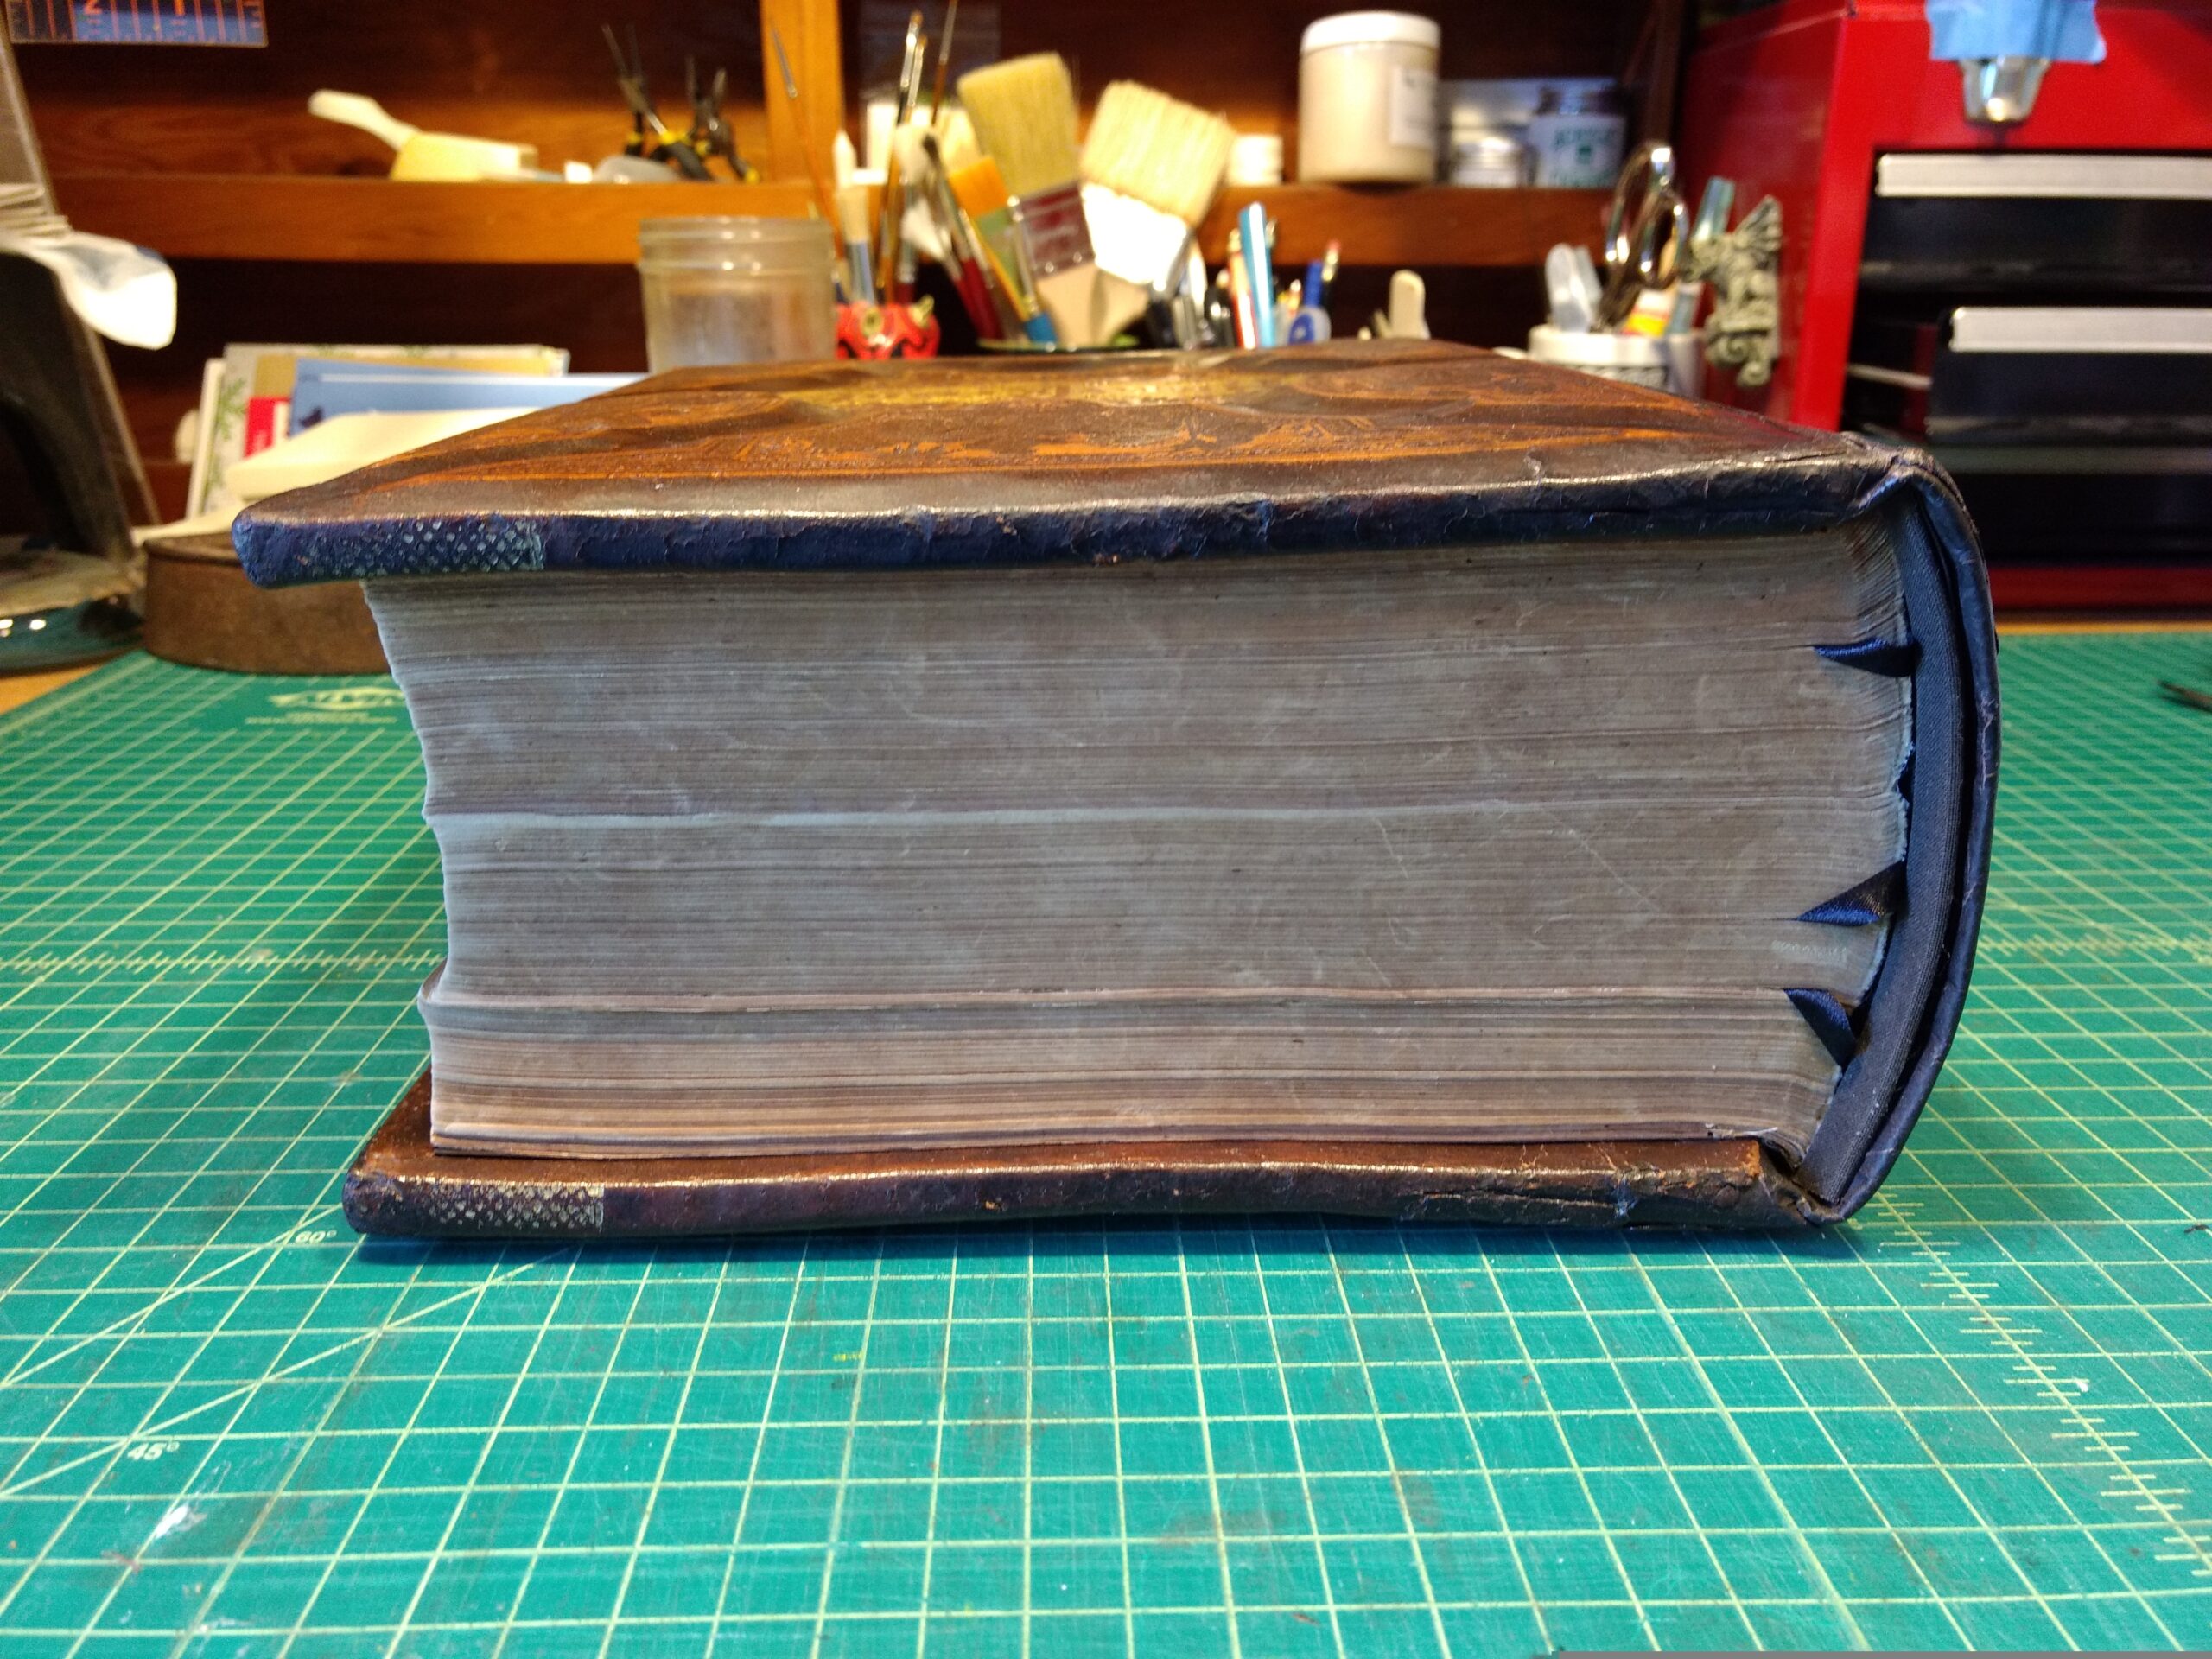
Here’s what the Bible looked like when we got it:

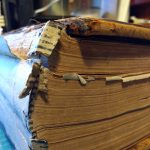
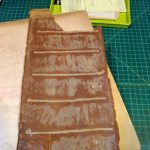
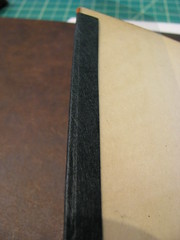
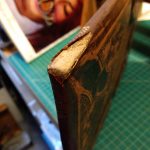
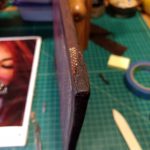
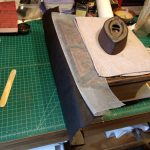
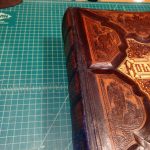
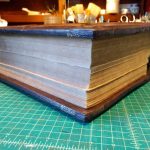
I did the corners like so:

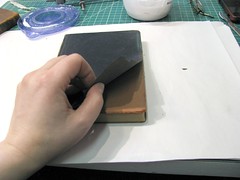
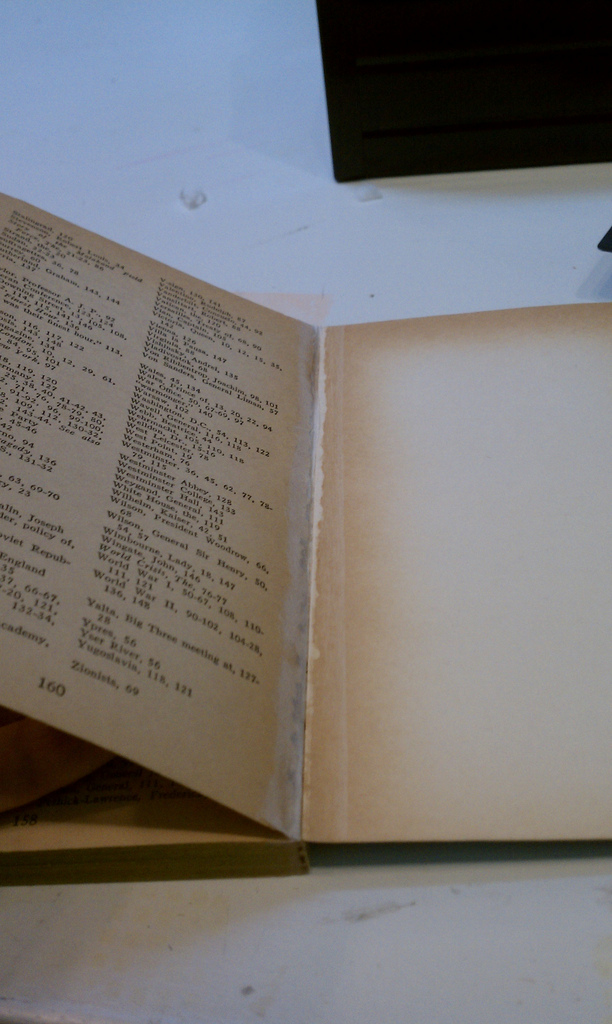
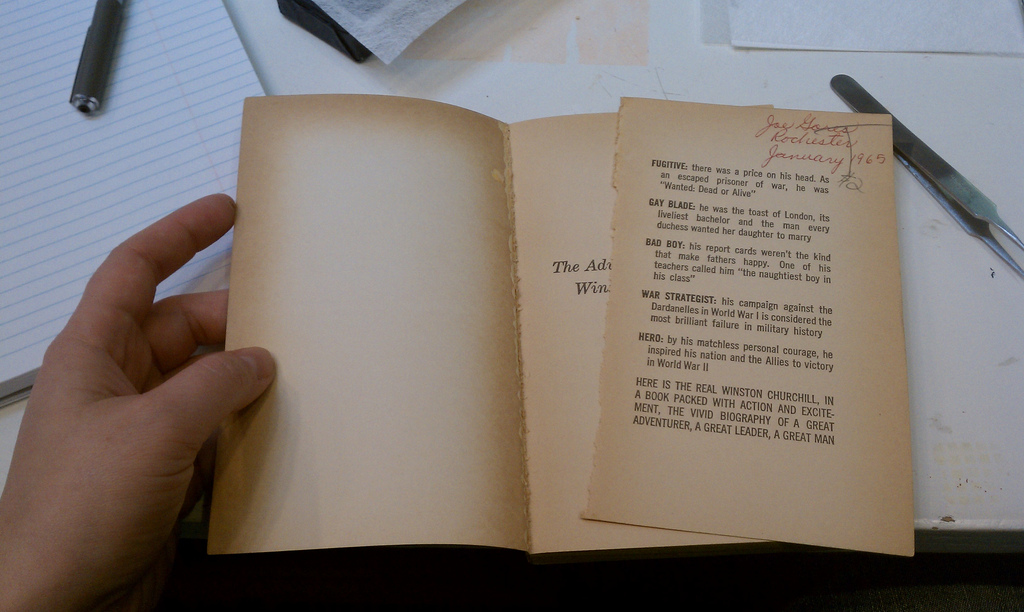
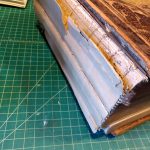
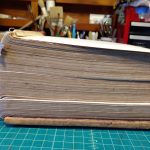
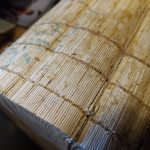
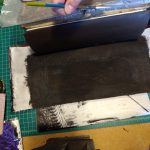
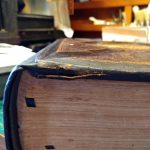
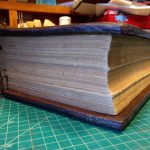
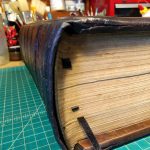
Here are some pix of cleaning the spine of the text block. This involves applying paste to moisten the old glue, then scraping the paste and glue off – very carefully so as not to damage the paper or sewing. It takes for everrrr but is very gratifying to finish.

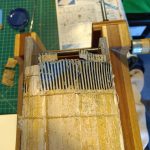
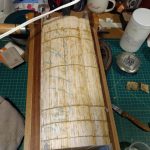
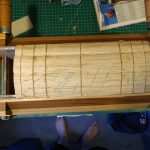
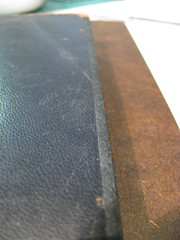
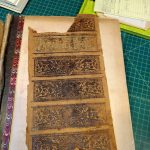
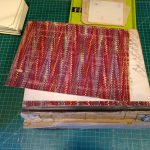
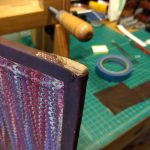
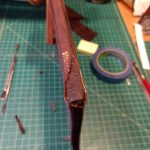
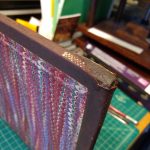
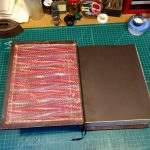
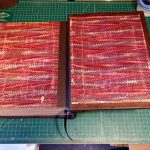
Here are a few in-progress shots from when I was working on the new spine. Once it was on, I attached the original spine over it.

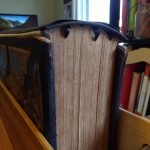
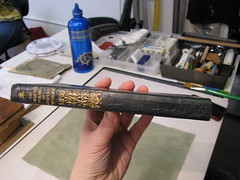
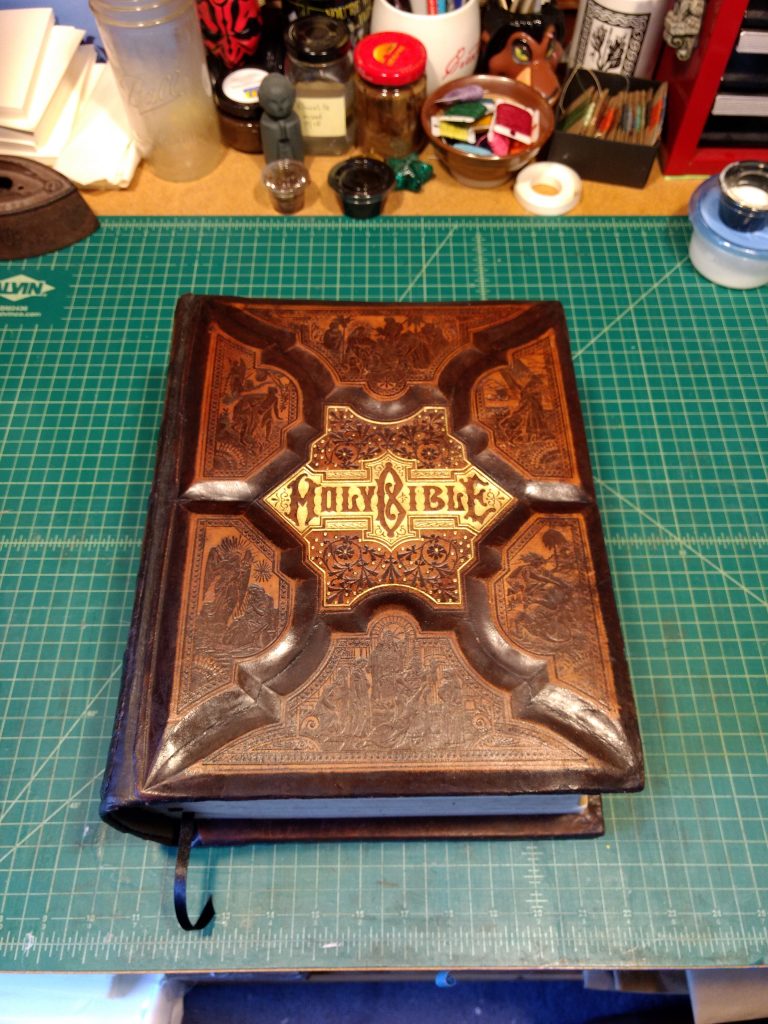
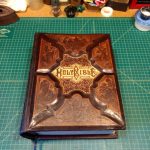
And eventually it was all done!

It was amazing to actually finish the whole thing! I really appreciate all of Sophia’s guidance and help, and am excited to report that this year’s RCB&PF also brought us a new Bible to restore. Hopefully I’ll have learned so much from this project that the new one will take less time.

As an aside, if you look at the first image in the Done set, you’ll see why we nicknamed this project the Moly Bible – that H sure looks like an M at the right angle! 🙂

Case Study: The Collected Poems of Rupert Brooke, c. 1915

Let’s take a look at one of the books I worked on in the latest class I took at the SFCB, The Restoration of Cloth and Leather Bindings taught by the one and only Don Etherington.

Here’s the book before. Notice that while it has a fair amount of normal wear for a cheap leather-bound book of its period, it’s not in terrible shape. It is, however, starting to get red rot at the joints where the leather’s worn. That’s no good, and will progress if unstopped. (Click the photos to see them larger on Flickr.)

Before

The photos are: Front cover, spine, spine closeup, back cover, and a look at the leather lifting off the back cover.

The Collected Poems of Rupert Brooke: Before The Collected Poems of Rupert Brooke: Before The Collected Poems of Rupert Brooke: Before The Collected Poems of Rupert Brooke: Before IMG_7780

In the last photo, you can see how the leather was actually disconnected from the board! It flapped around pretty badly.

Thankfully, the text block itself and the inner hinges (the paper that is glued to the cover and also part of the text block) were in top-notch shape, so I only had to reinforce the leather at the hinges, glue the leather flap down again, and do some repairs around the edges where the leather had worn through or nearly worn through.

Working

Here are some in-progress photos!

IMG_7781

In this shot, I’m using mylar film to protect the end papers while I glue black Japanese paper around the edges of the cover. This lets me put the paper exactly where I want it, and not worry about damaging the endpapers. Here’s another look at the mylar in action:

IMG_7783

After I carefully slit along the edge of the mylar, I’m left with exactly the right coverage, as you can see here. The Japanese paper just covers the places where the leather was worn away, no more. Right now the paper looks pretty matte in finish, but I’ll take care of that later on in the process.

IMG_7784

Here’s a look at the edges of the cover when I’m partway through restoring it. If you look back at the “before” photo, you’ll see that the whole long edge was very exposed. Here, that is all covered with Japanese paper.

IMG_7786

Here’s a closeup of a neat trick Don taught us: you can use tooling to help disguise the edges of the Japanese paper! For this, I carefully lined up the straight-cut paper with a tooled line in the leather.

IMG_7788

I didn’t take many photos during the finicky process of working on the spine, unfortunately, but here’s the finished product! The Japanese paper covers from the tooled line on each cover up to about a quarter of an inch of the spine. I carefully trimmed it so as not to cover the beautiful gold toling. As an experiment, since this is a book for me and not for a client, I cut one edge along the undecorated half of the spine straight, and feathered the other a bit. You can see here which has a more natural look. I took this photo after I treated the cover and Japanese paper with Klucel-G and Renaissance Wax, both of which serve to protect the materials and give the paper a more leathery look. As a bonus, they stop the red rot that had set in along the spine in its tracks!

IMG_7843

Here’s a closeup of the lower part of the spine. You can see how I used the tooling to hide the edge of the Japanese paper again.

IMG_7846

Last but not least, a final shot of the front cover, with all the edges restored. This will last well for a long time — Japanese paper is very strong and flexible, and can stand up to a lot of abuse! It will be quite a while before this book needs more work, provided no accidents befall it in the meantime.

The Collected Poems of Rupert Brooke: After

I had a lot of fun working on this book, especially because its cover reminded me of a lot of family Bibles I’ve seen over the years, their black leather bindings decaying and hinges starting to go. I’m looking forward to helping many of those books look their best as the years go by.

Paper Mending

Over the weekend I took another class up at the SFCB — this time on basic paper mending. It was really interesting to learn a few methods of cleaning and repairing mangled pages. We also learned how to reattach pages that had fallen out of a trade paperback.

One theme that the teacher kept coming back to was considering whether you’d be doing more harm than good by trying to repair the object in question. For example, if you’re trying to mend a document that has water-soluble ink on it, the chances of the paste making the ink run are very high (we learned how to test for water-solubility while minimizing the chance of damage to the object, which was cool). Plus, even the best mend is visible – creases and tears can’t be completely eliminated, just minimized. Reattached pages usually involve a hinge of some sort, which is visible. It’s just not possible to make the object exactly what it was before. There are always trade-offs. You have to consider why you want to mend the  item — are you trying to make it usable again? Trying to make it look nicer?

We used high-quality wheat starch paste and a variety of thicknesses of Japanese paper to mend tears and cuts, and learned to fill in spots where a tear had left a hole. We also learned how to uncrumple paper with the least amount of damage to it. It was a rather slow class in the beginning but the afternoon was really interesting and I had a good time.

The teacher works at UC Berkeley doing restoration/conservation on materials in the university’s library system, and she said that often the best course of action is to try to stabilize the item rather than try to make it be just like it used to be. Old books that are falling apart can be stored in specially-made boxes, documents can be sealed into mylar sleeves, and so on.

One thing that complicates the decision-making process is that book conservation is relatively new — less than 100 years old — so it’s not entirely possible to know how your additions will change over time. Apparently a lot of mending techniques that were considered safe in the fifties are now causing damage as they age. Chemicals in the adhesives, mending materials, and the objects themselves can react in surprising ways, given enough time.

At any rate, it was really interesting and I had a great time. Plus, I learned how to make the kind of wheat paste that requires cooking! I’ve ordered the materials to make a batch of my own and will let you guys know how it goes!

Here are some images from the class: