Where do I even start with this tome? Frank Coates, the owner of local antiques-and-fine-art place Bloomsbury PDX, brought this to me in the early days of the pandemic. He said it was okay if it took a while, which is good because it took me about two years.
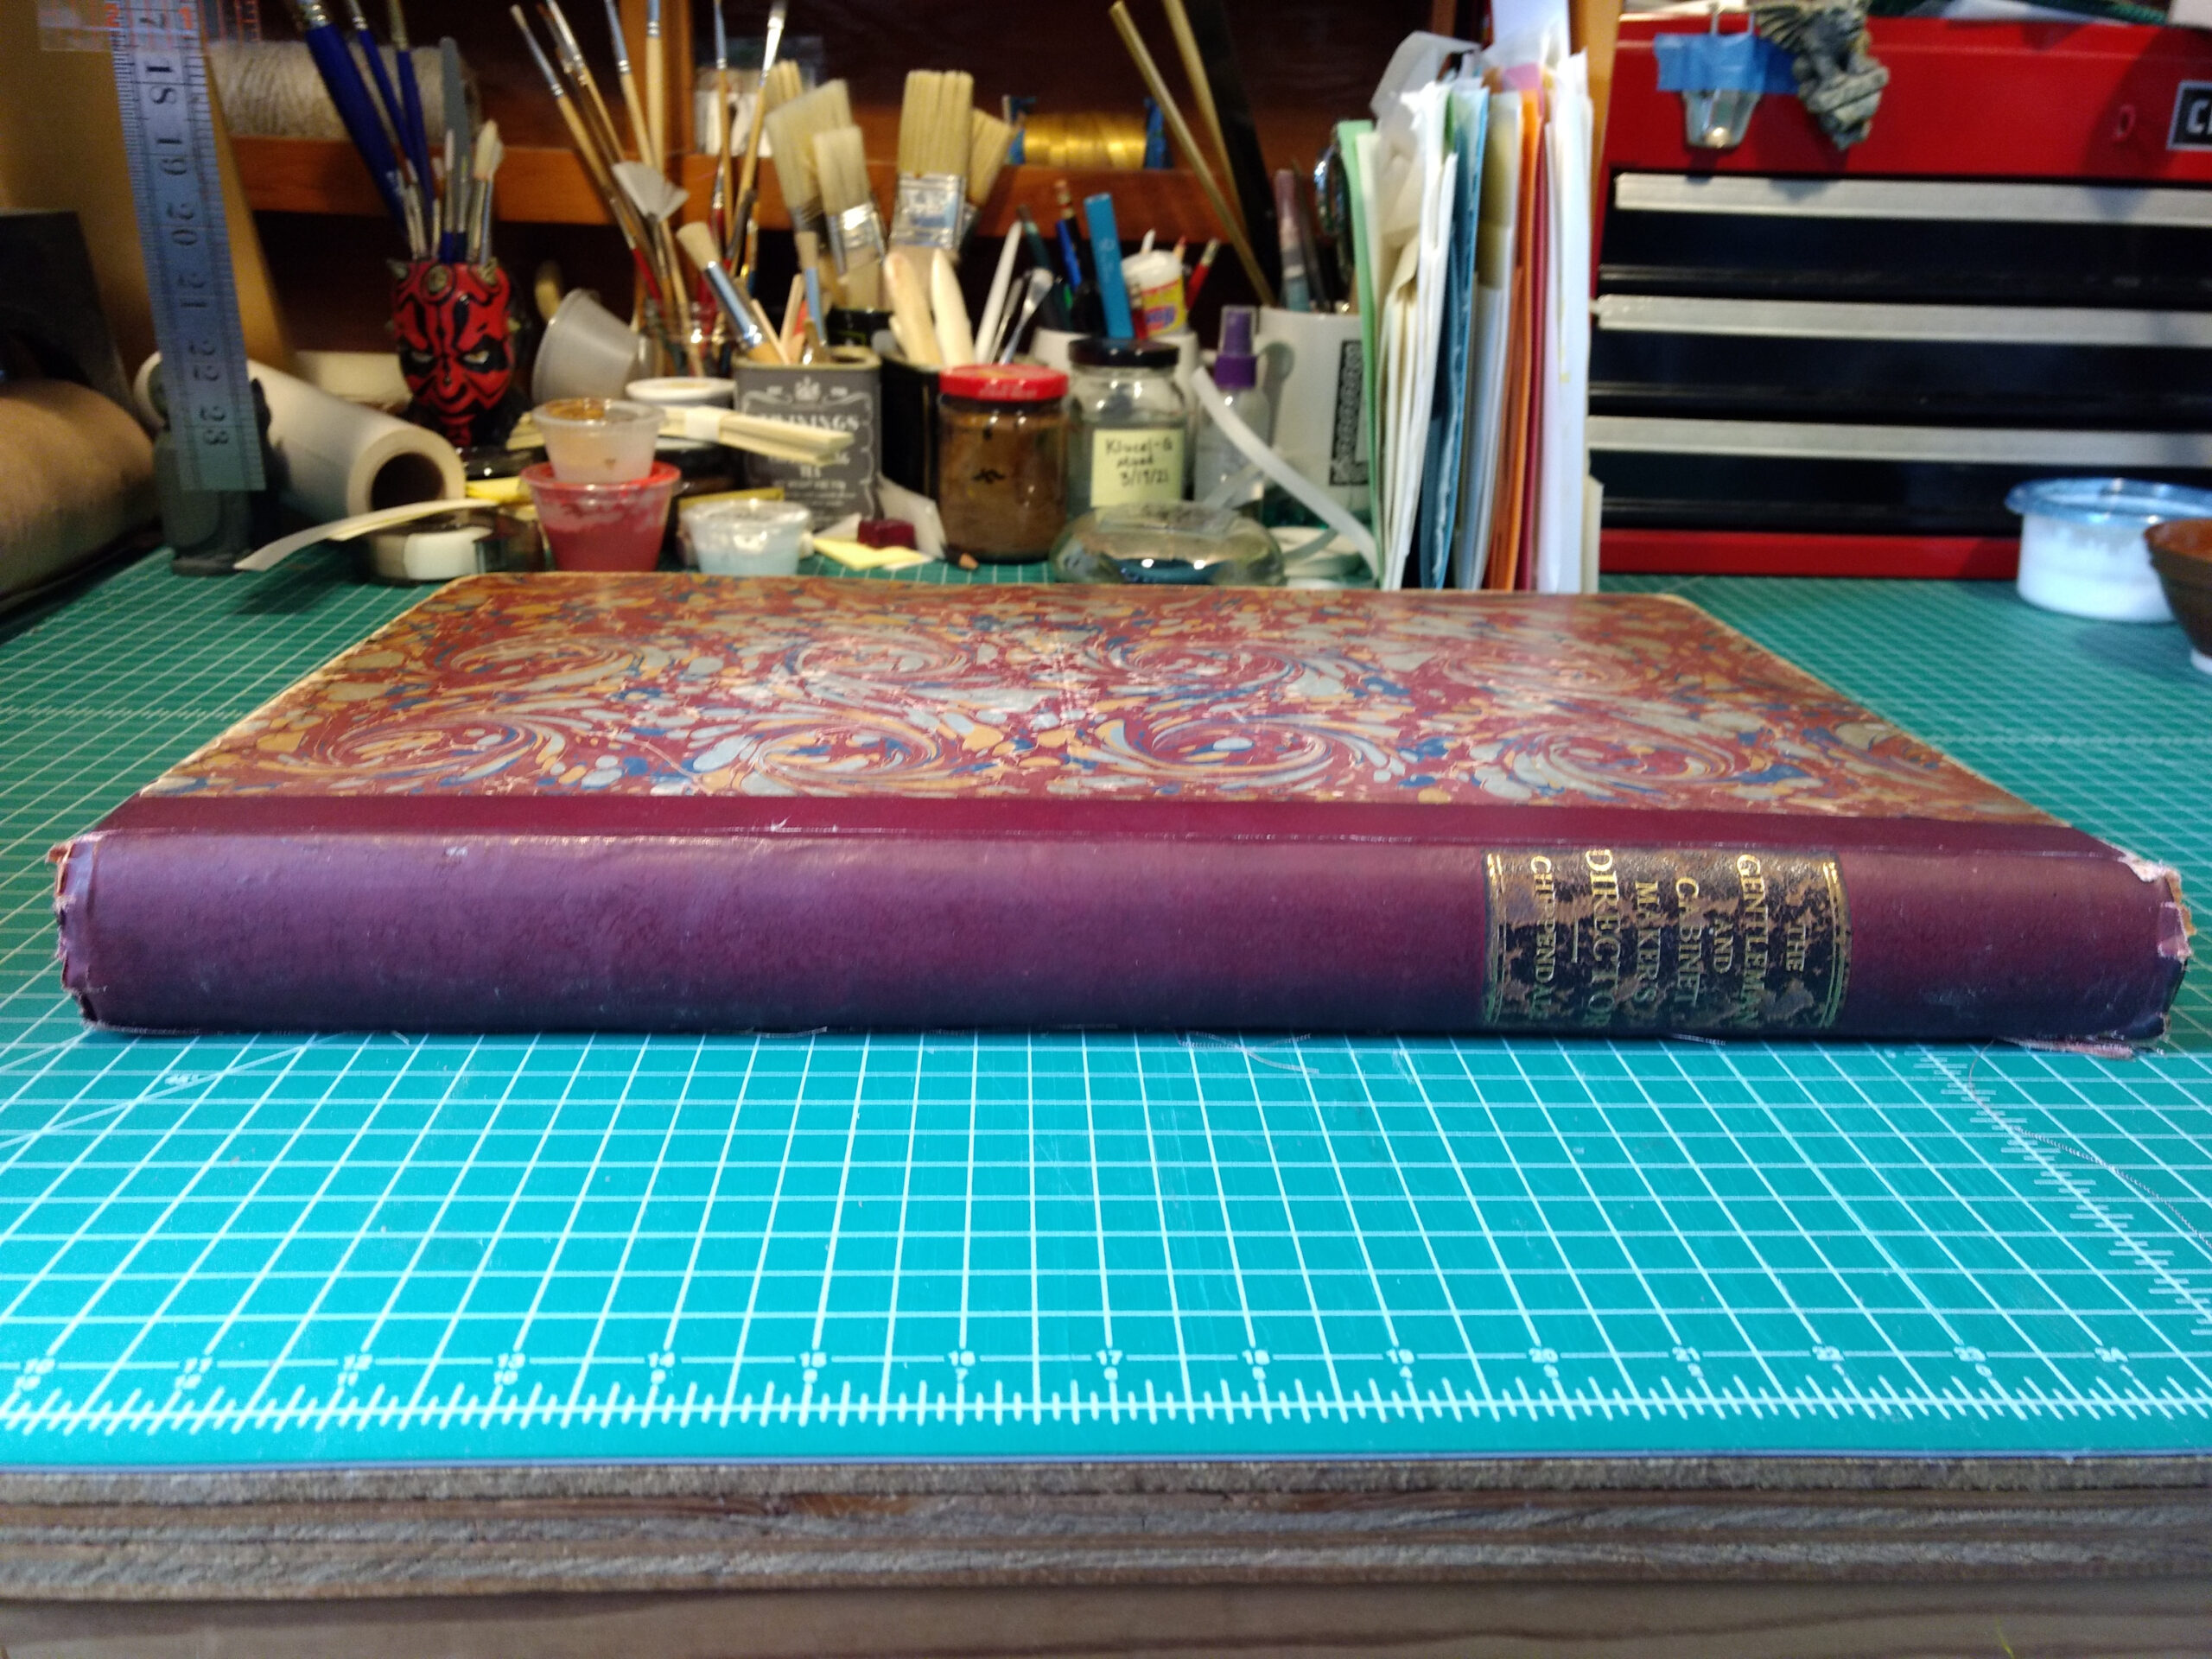
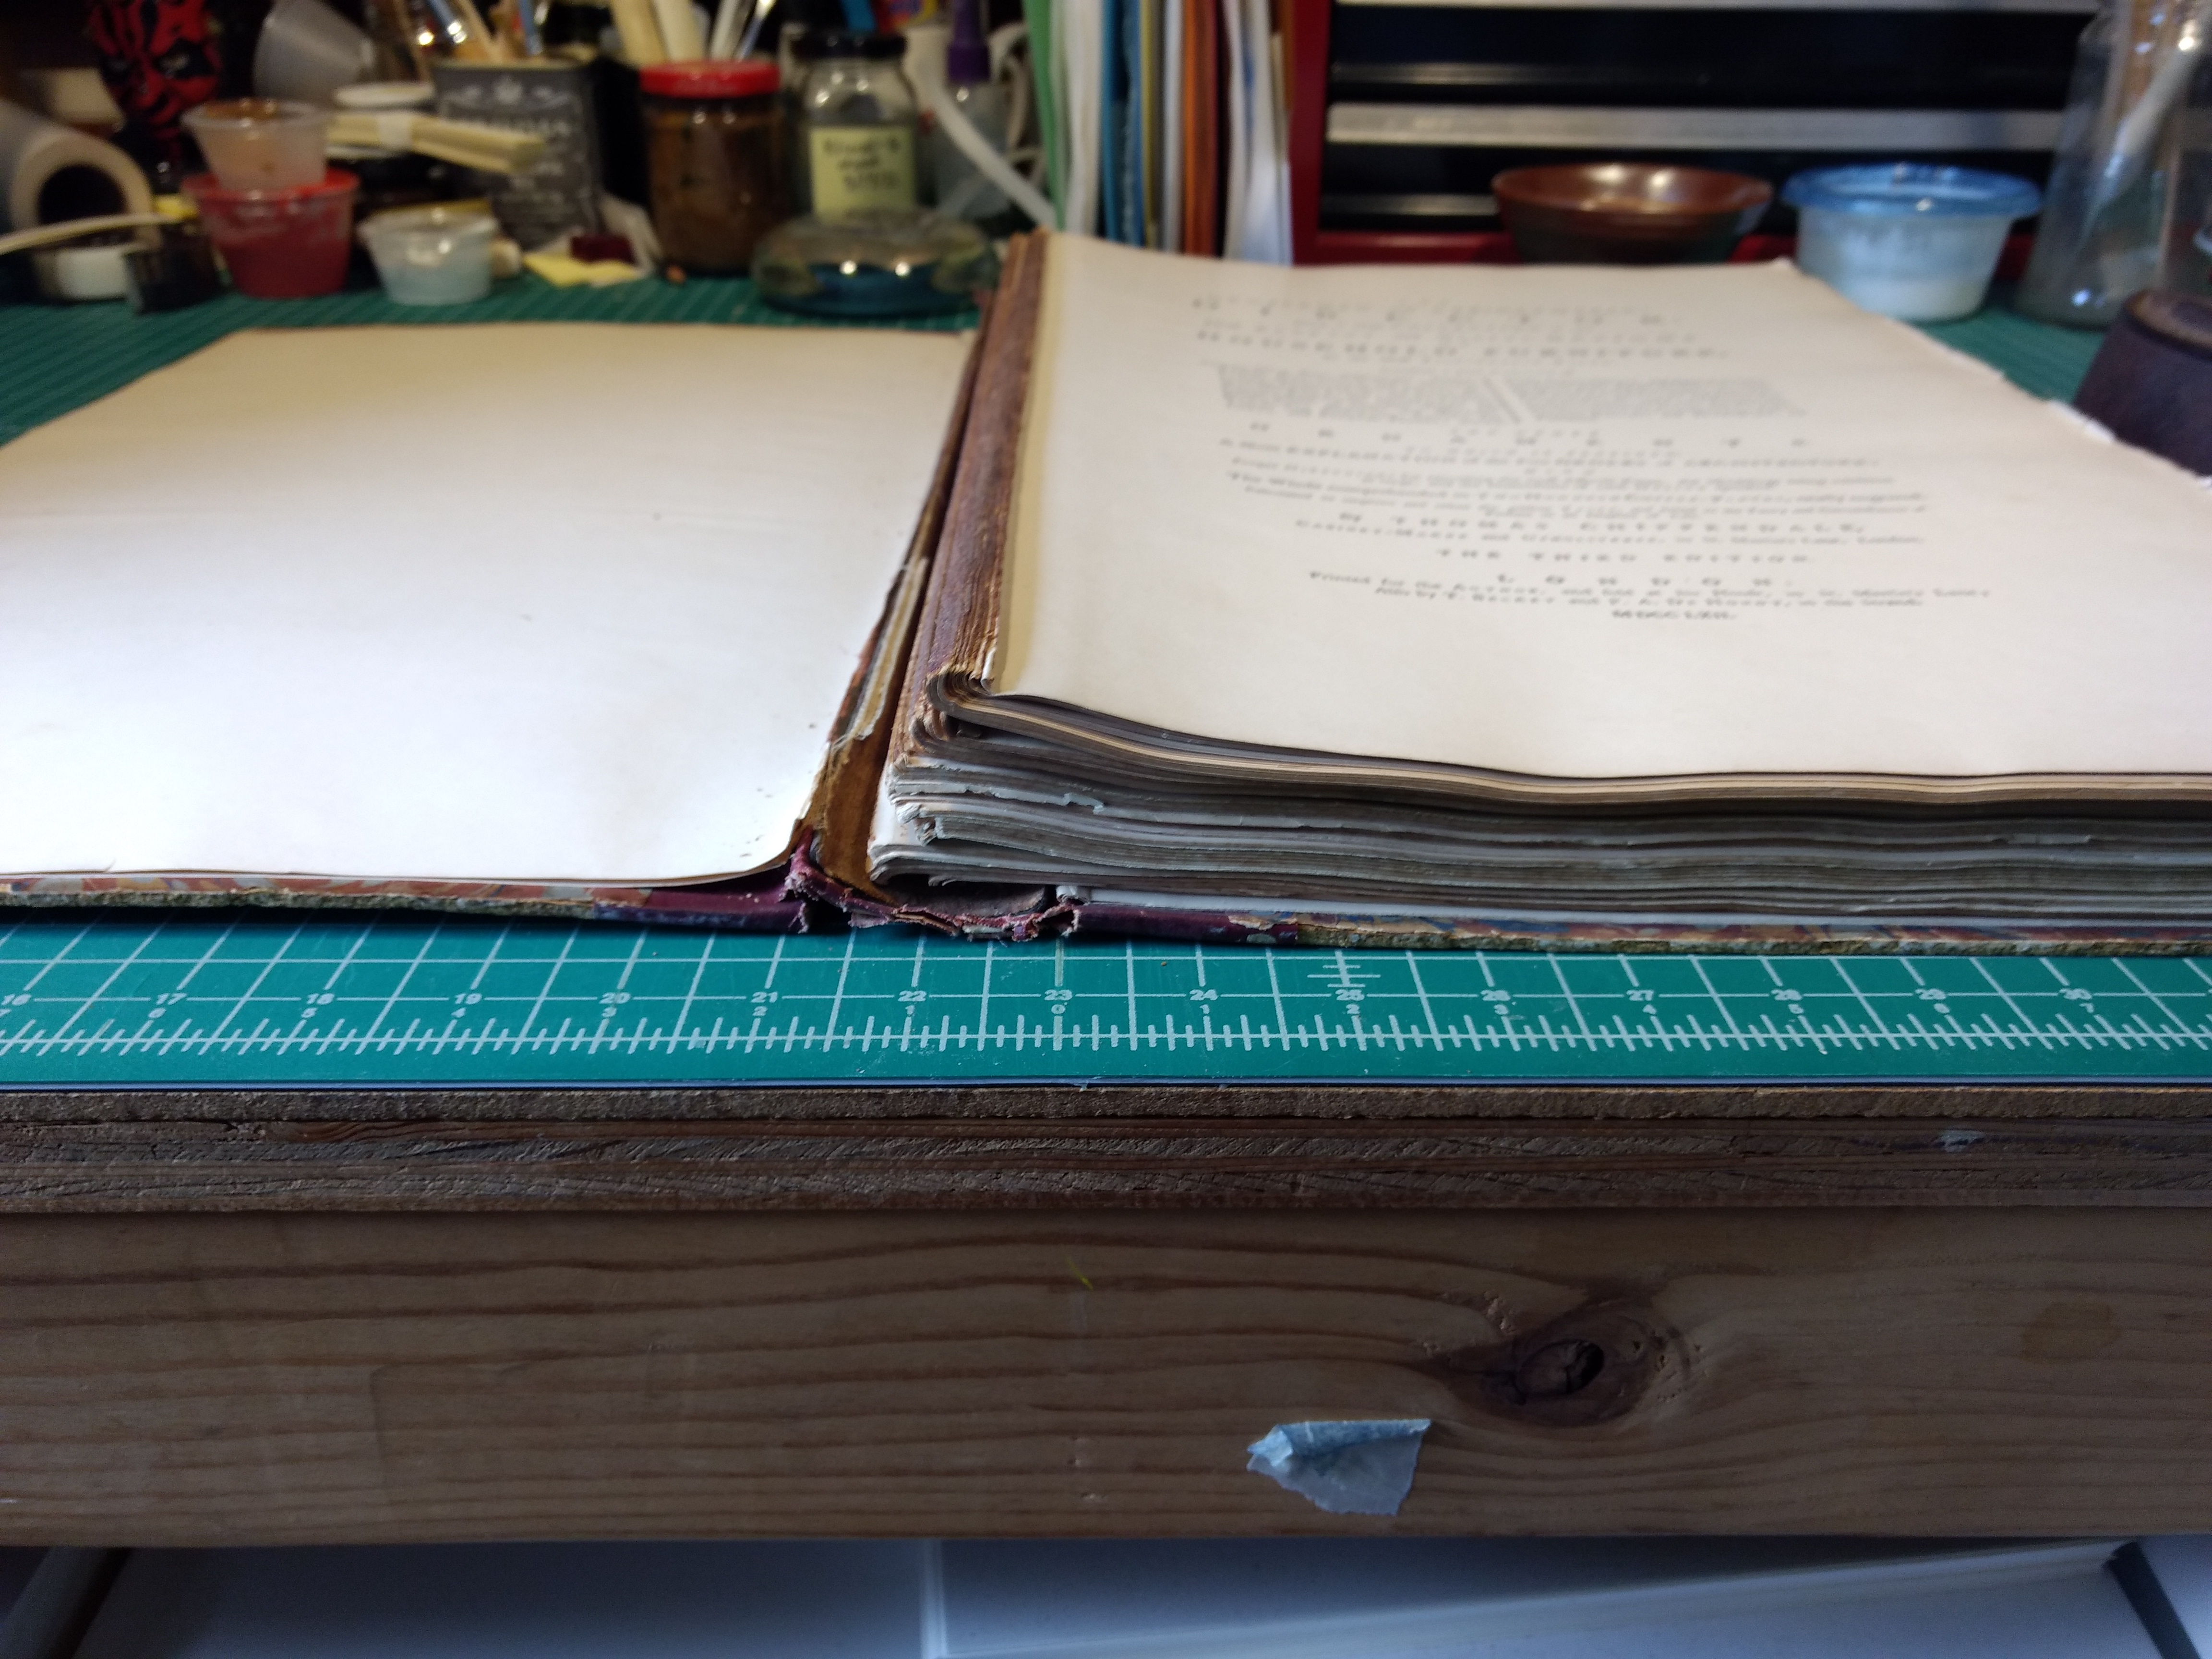
This is the oldest book I’ve ever worked on, published in 1772! Take a look at the title page, which contains a lot of information:

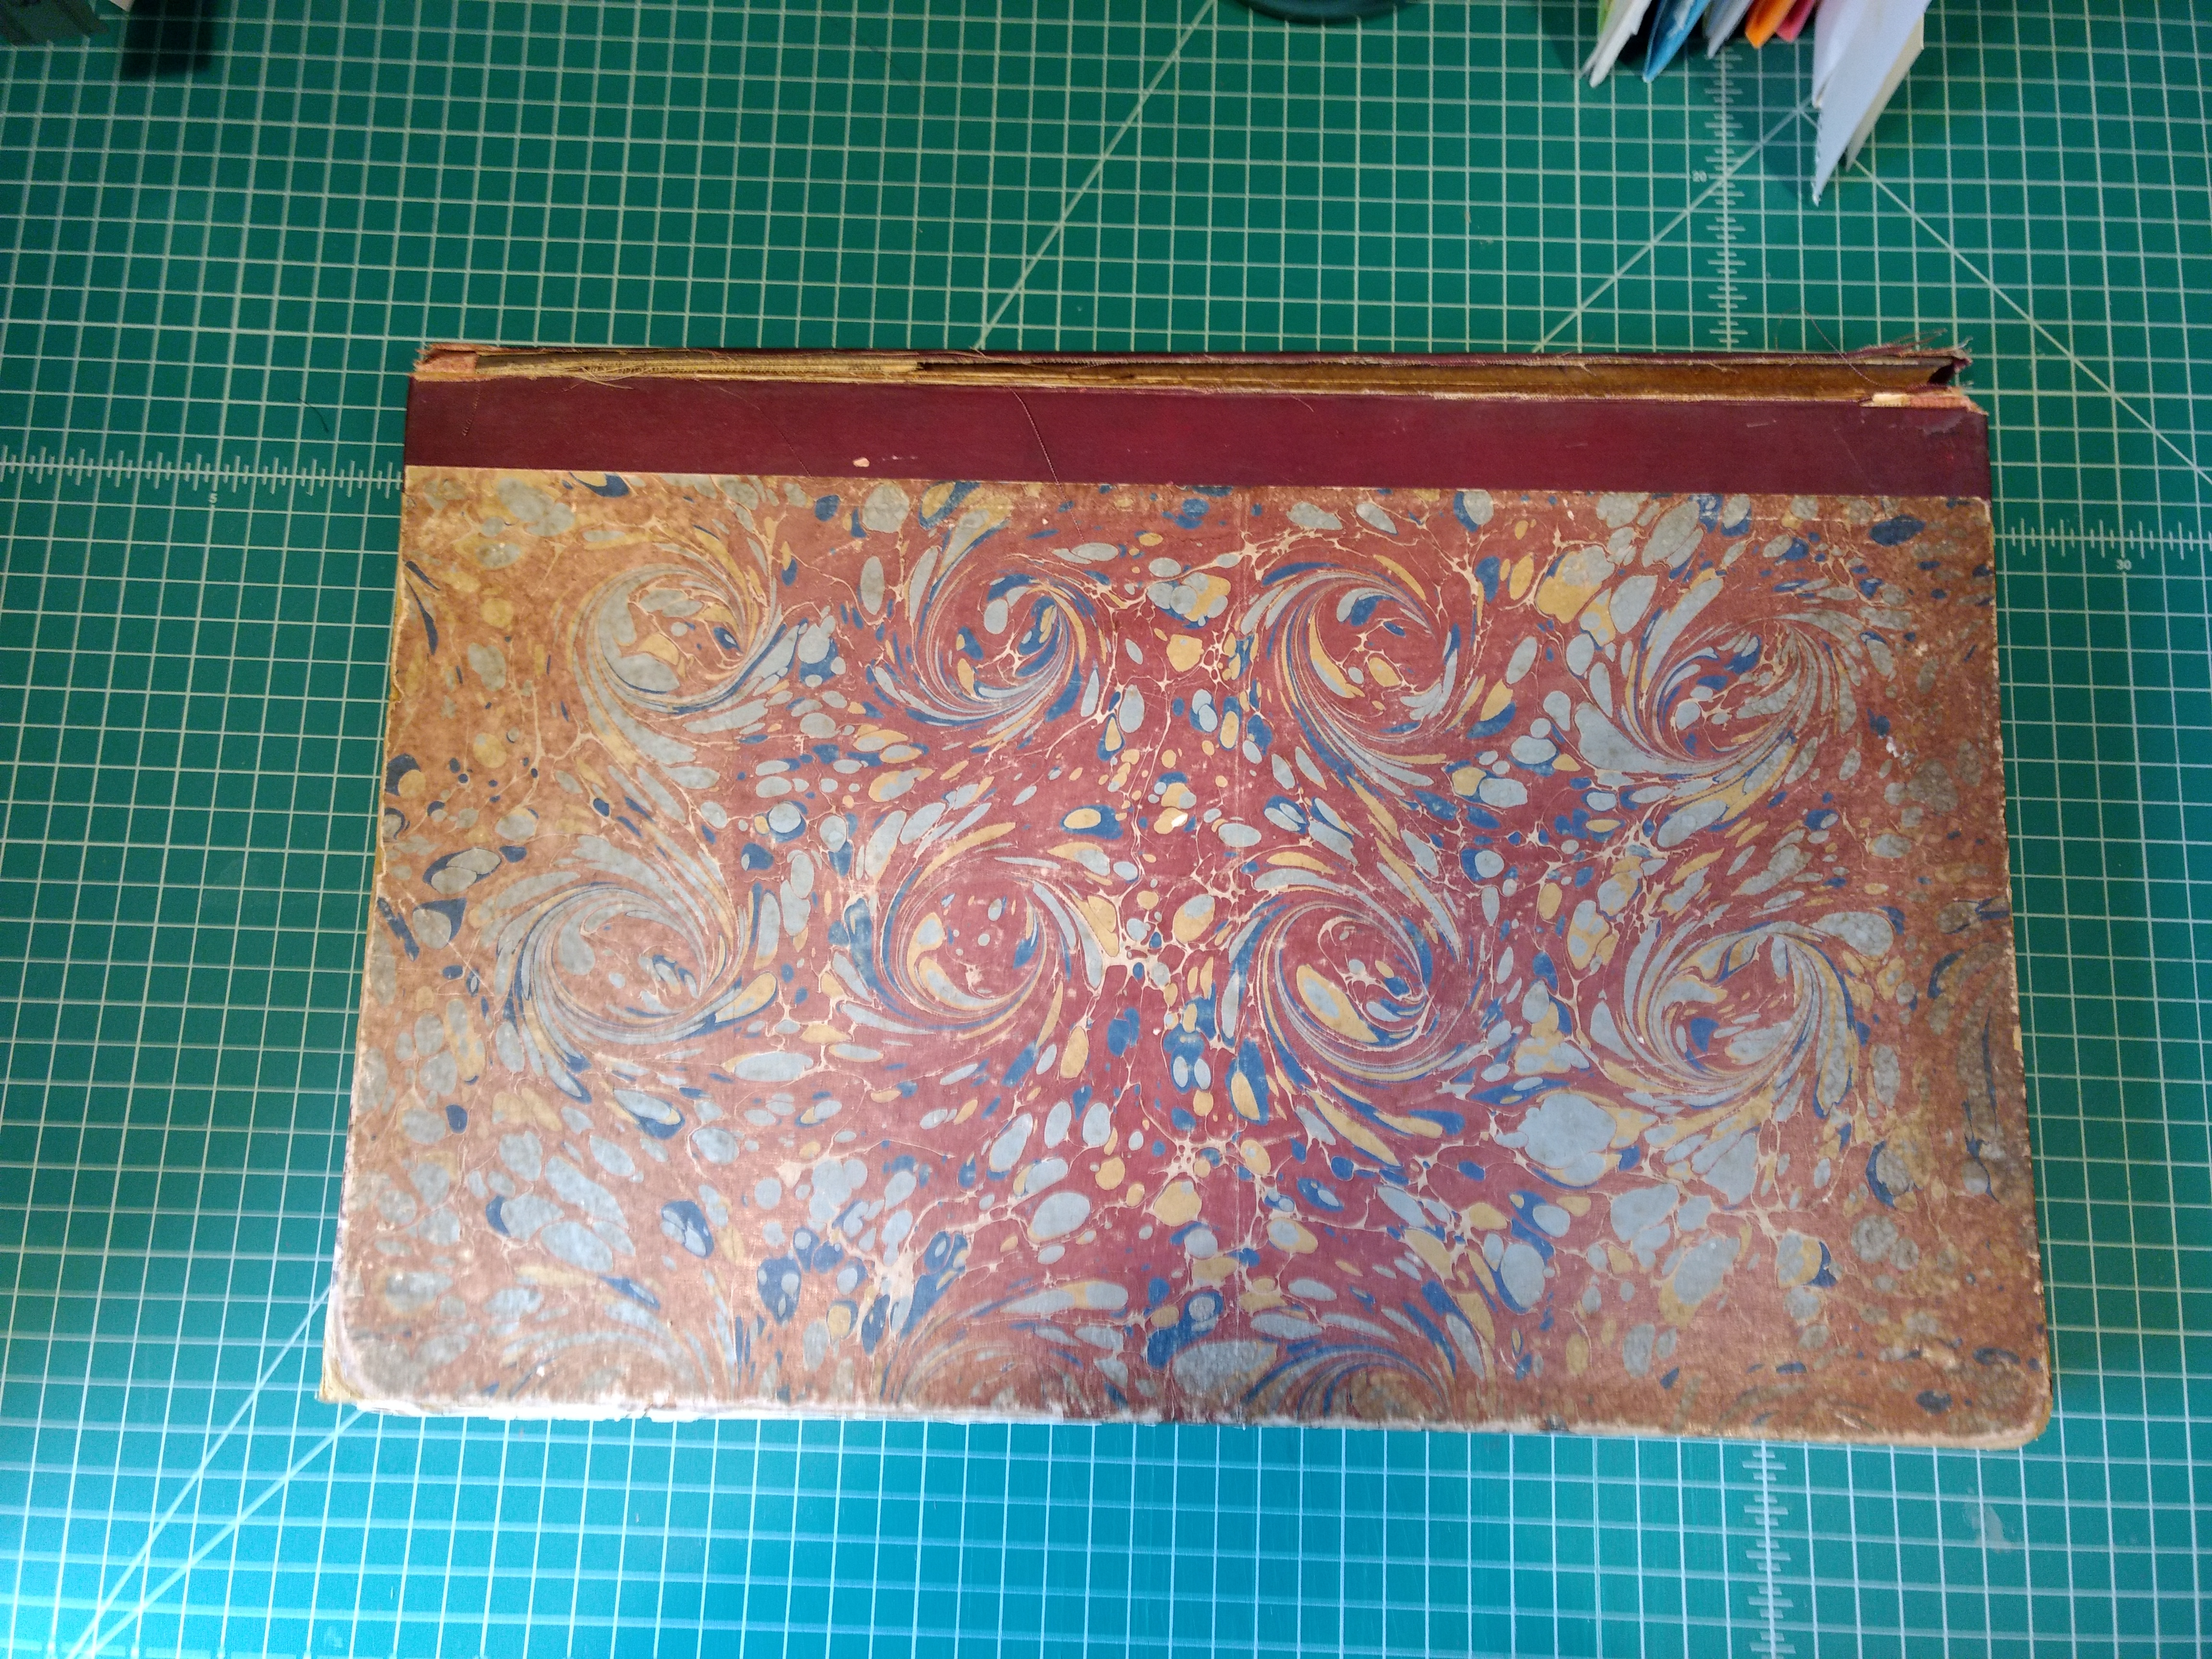
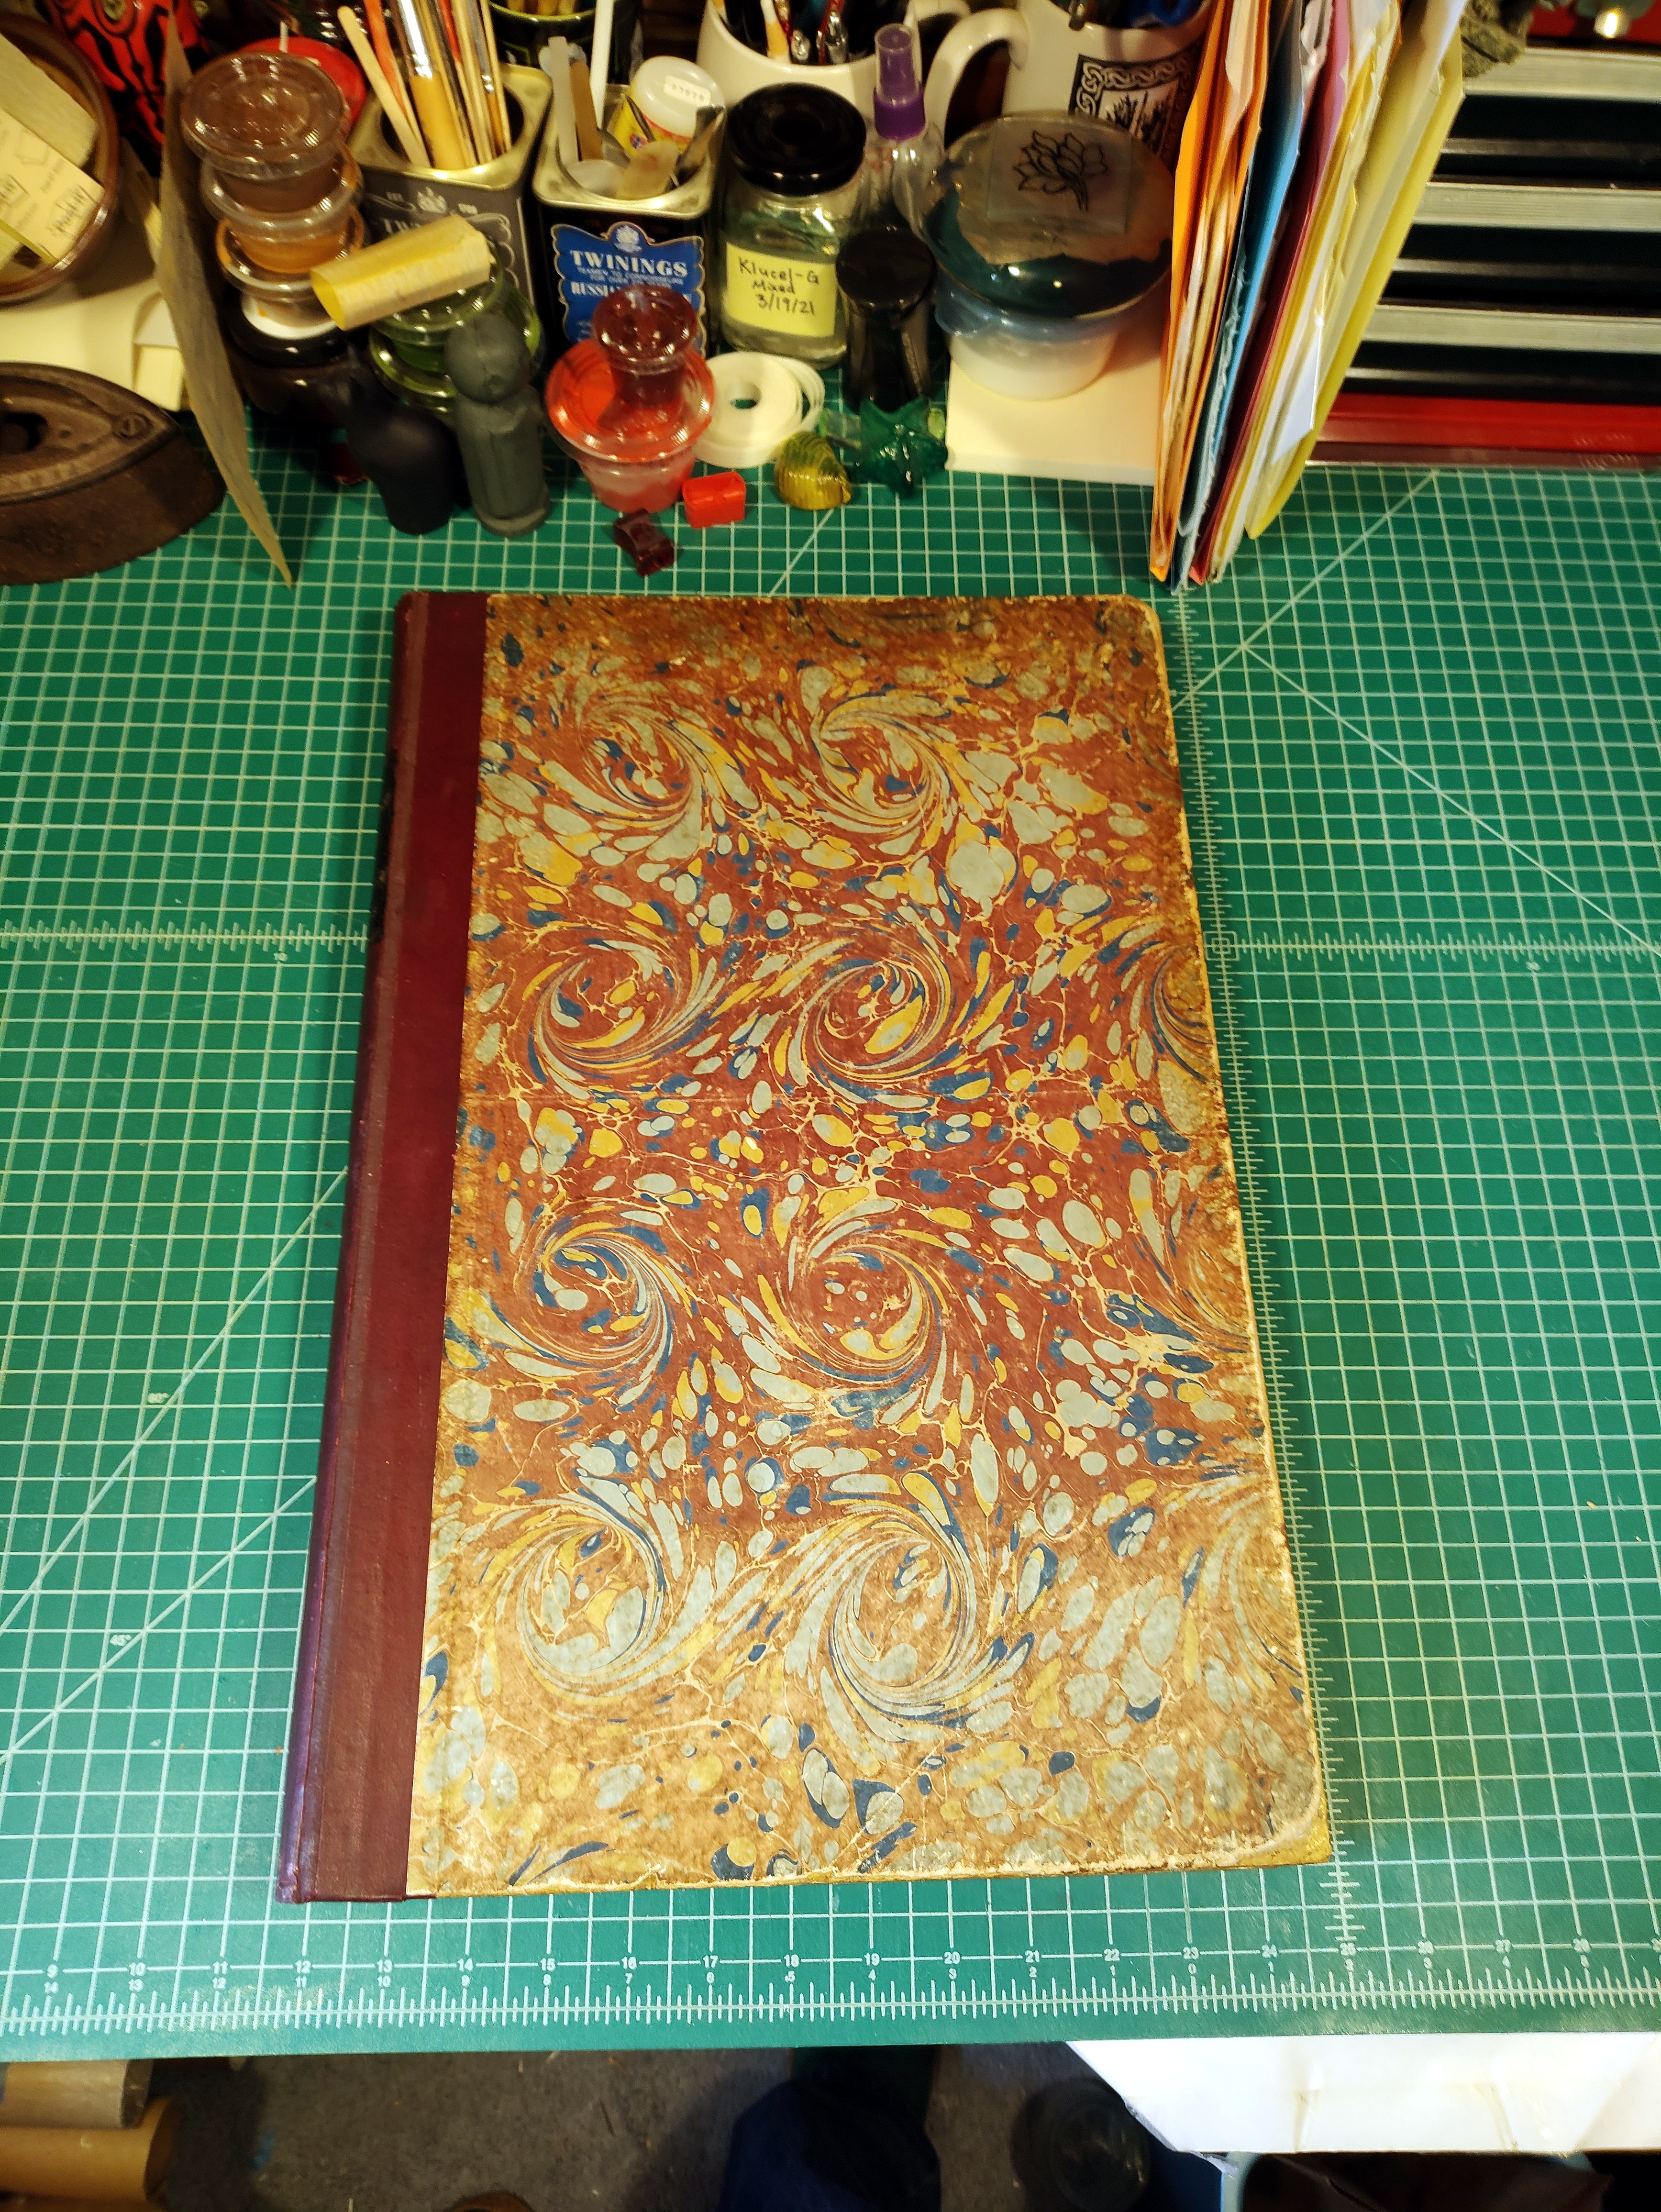
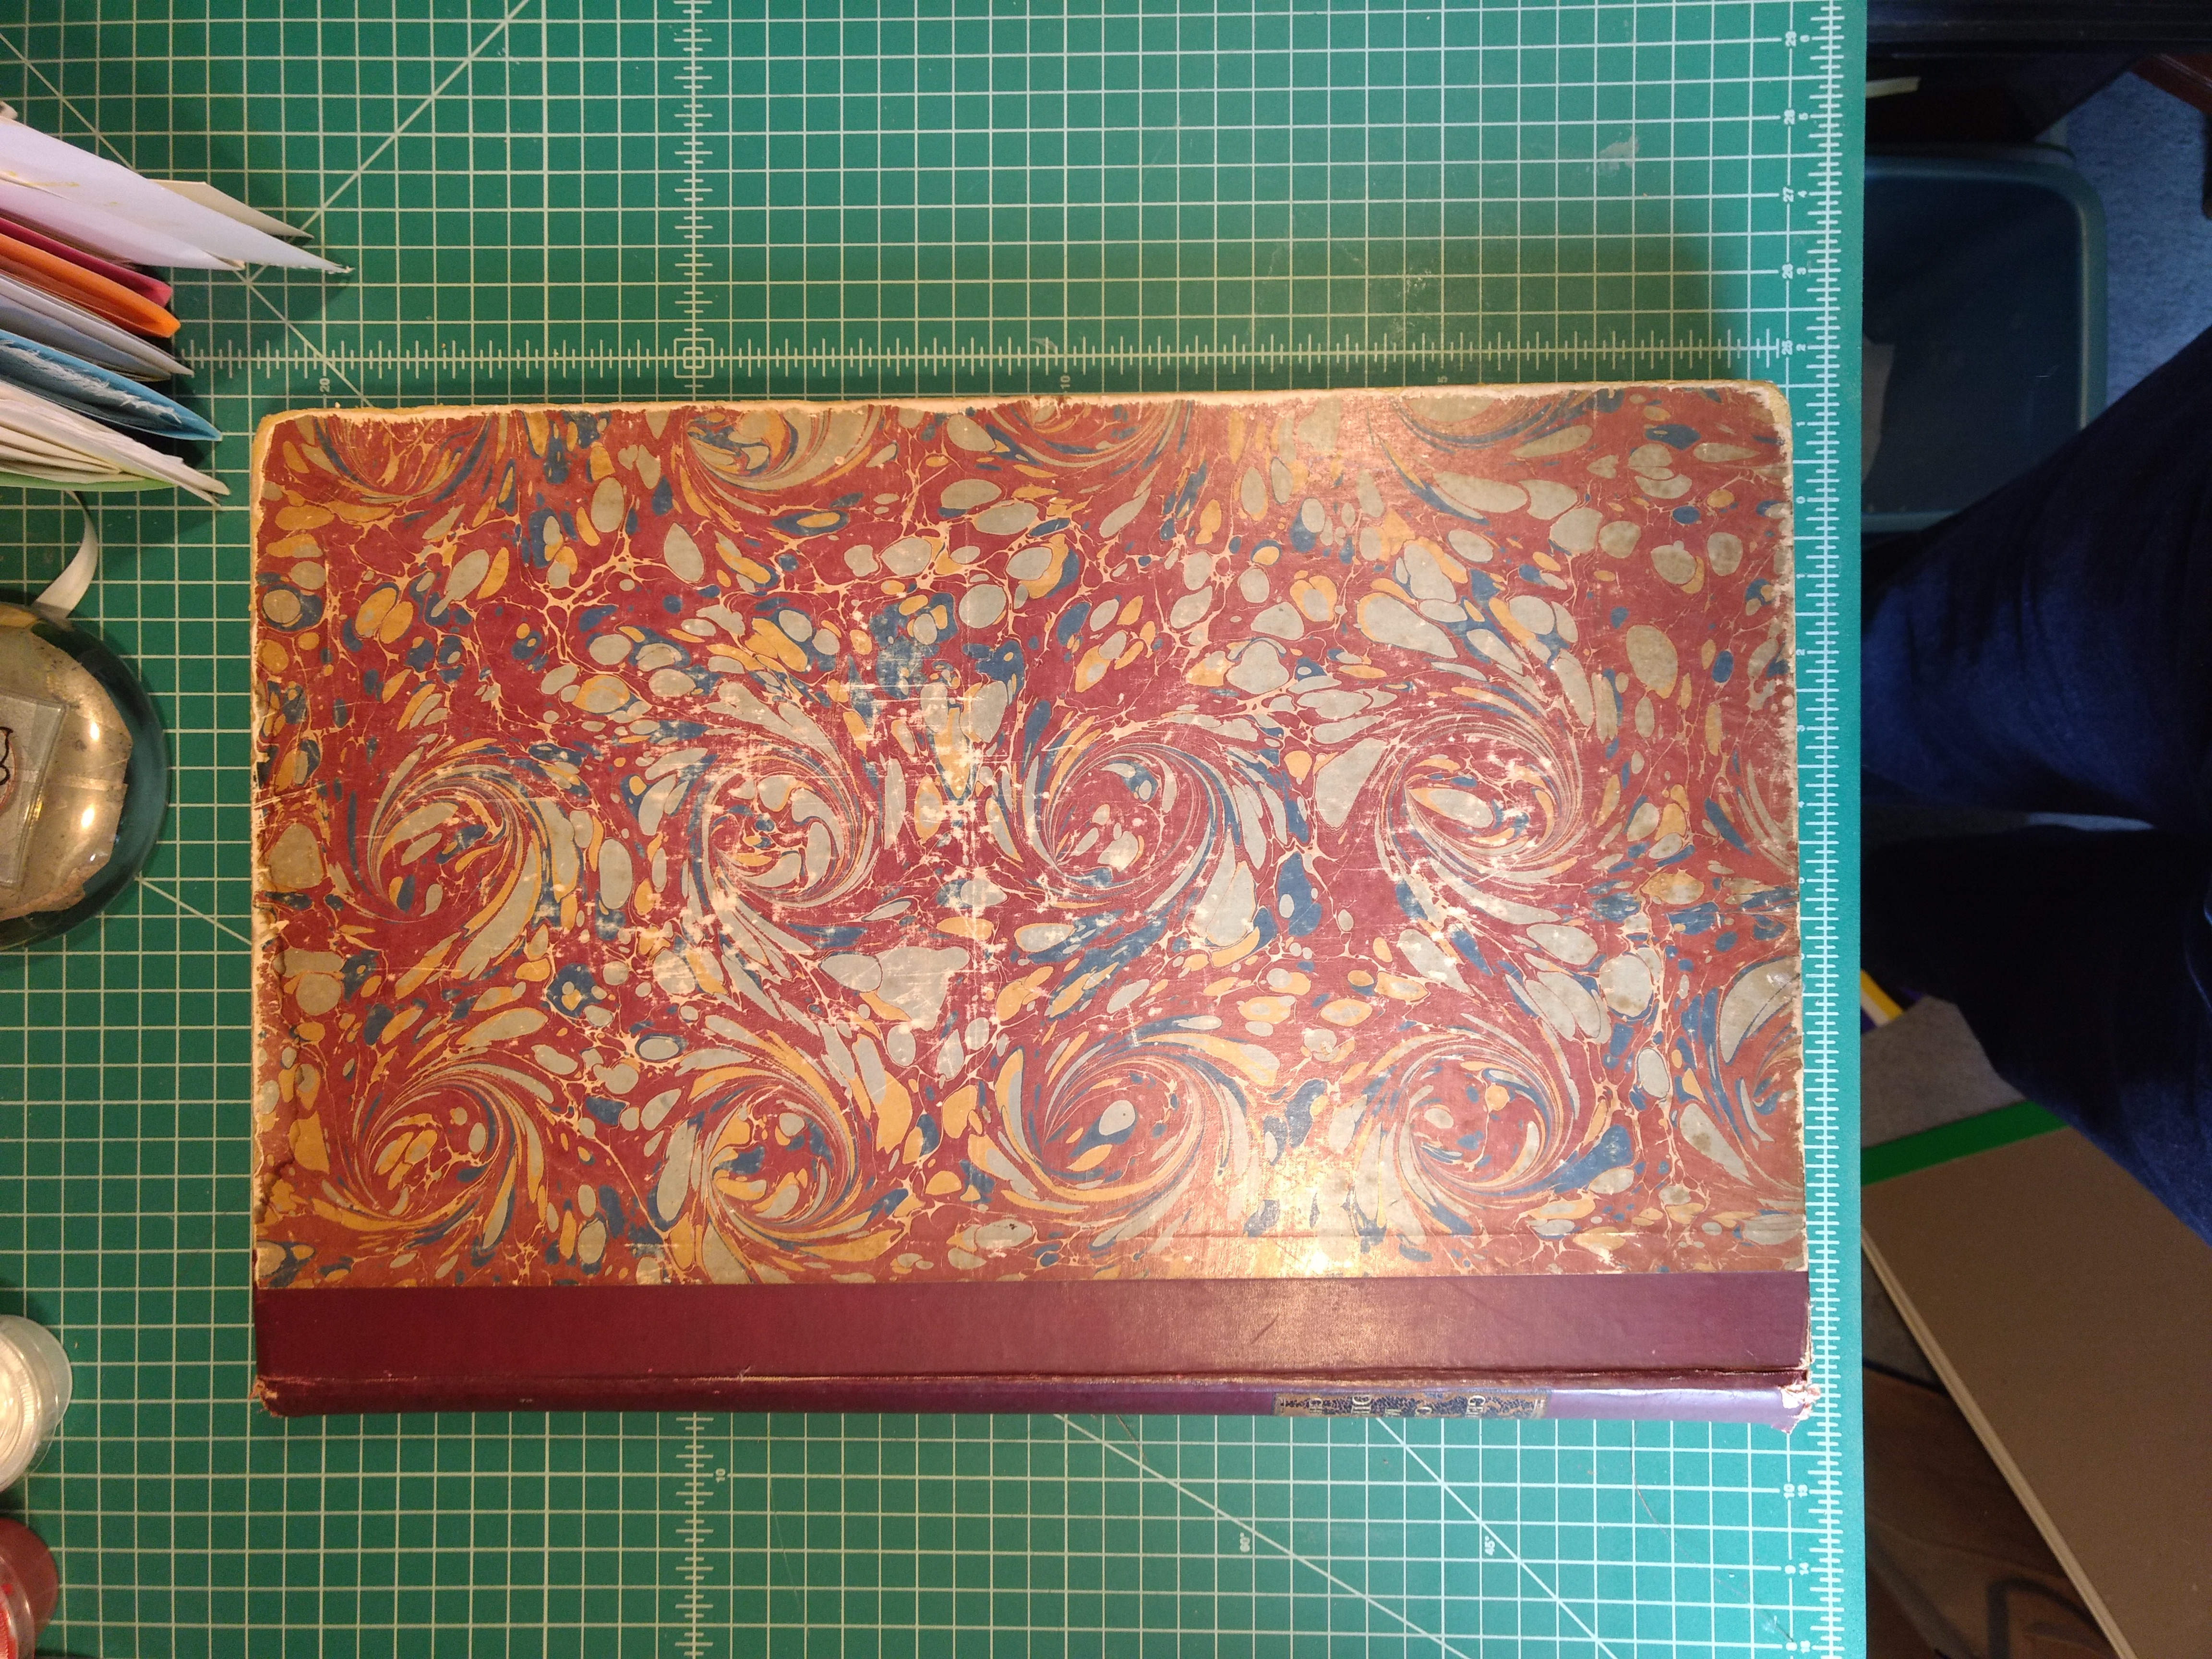
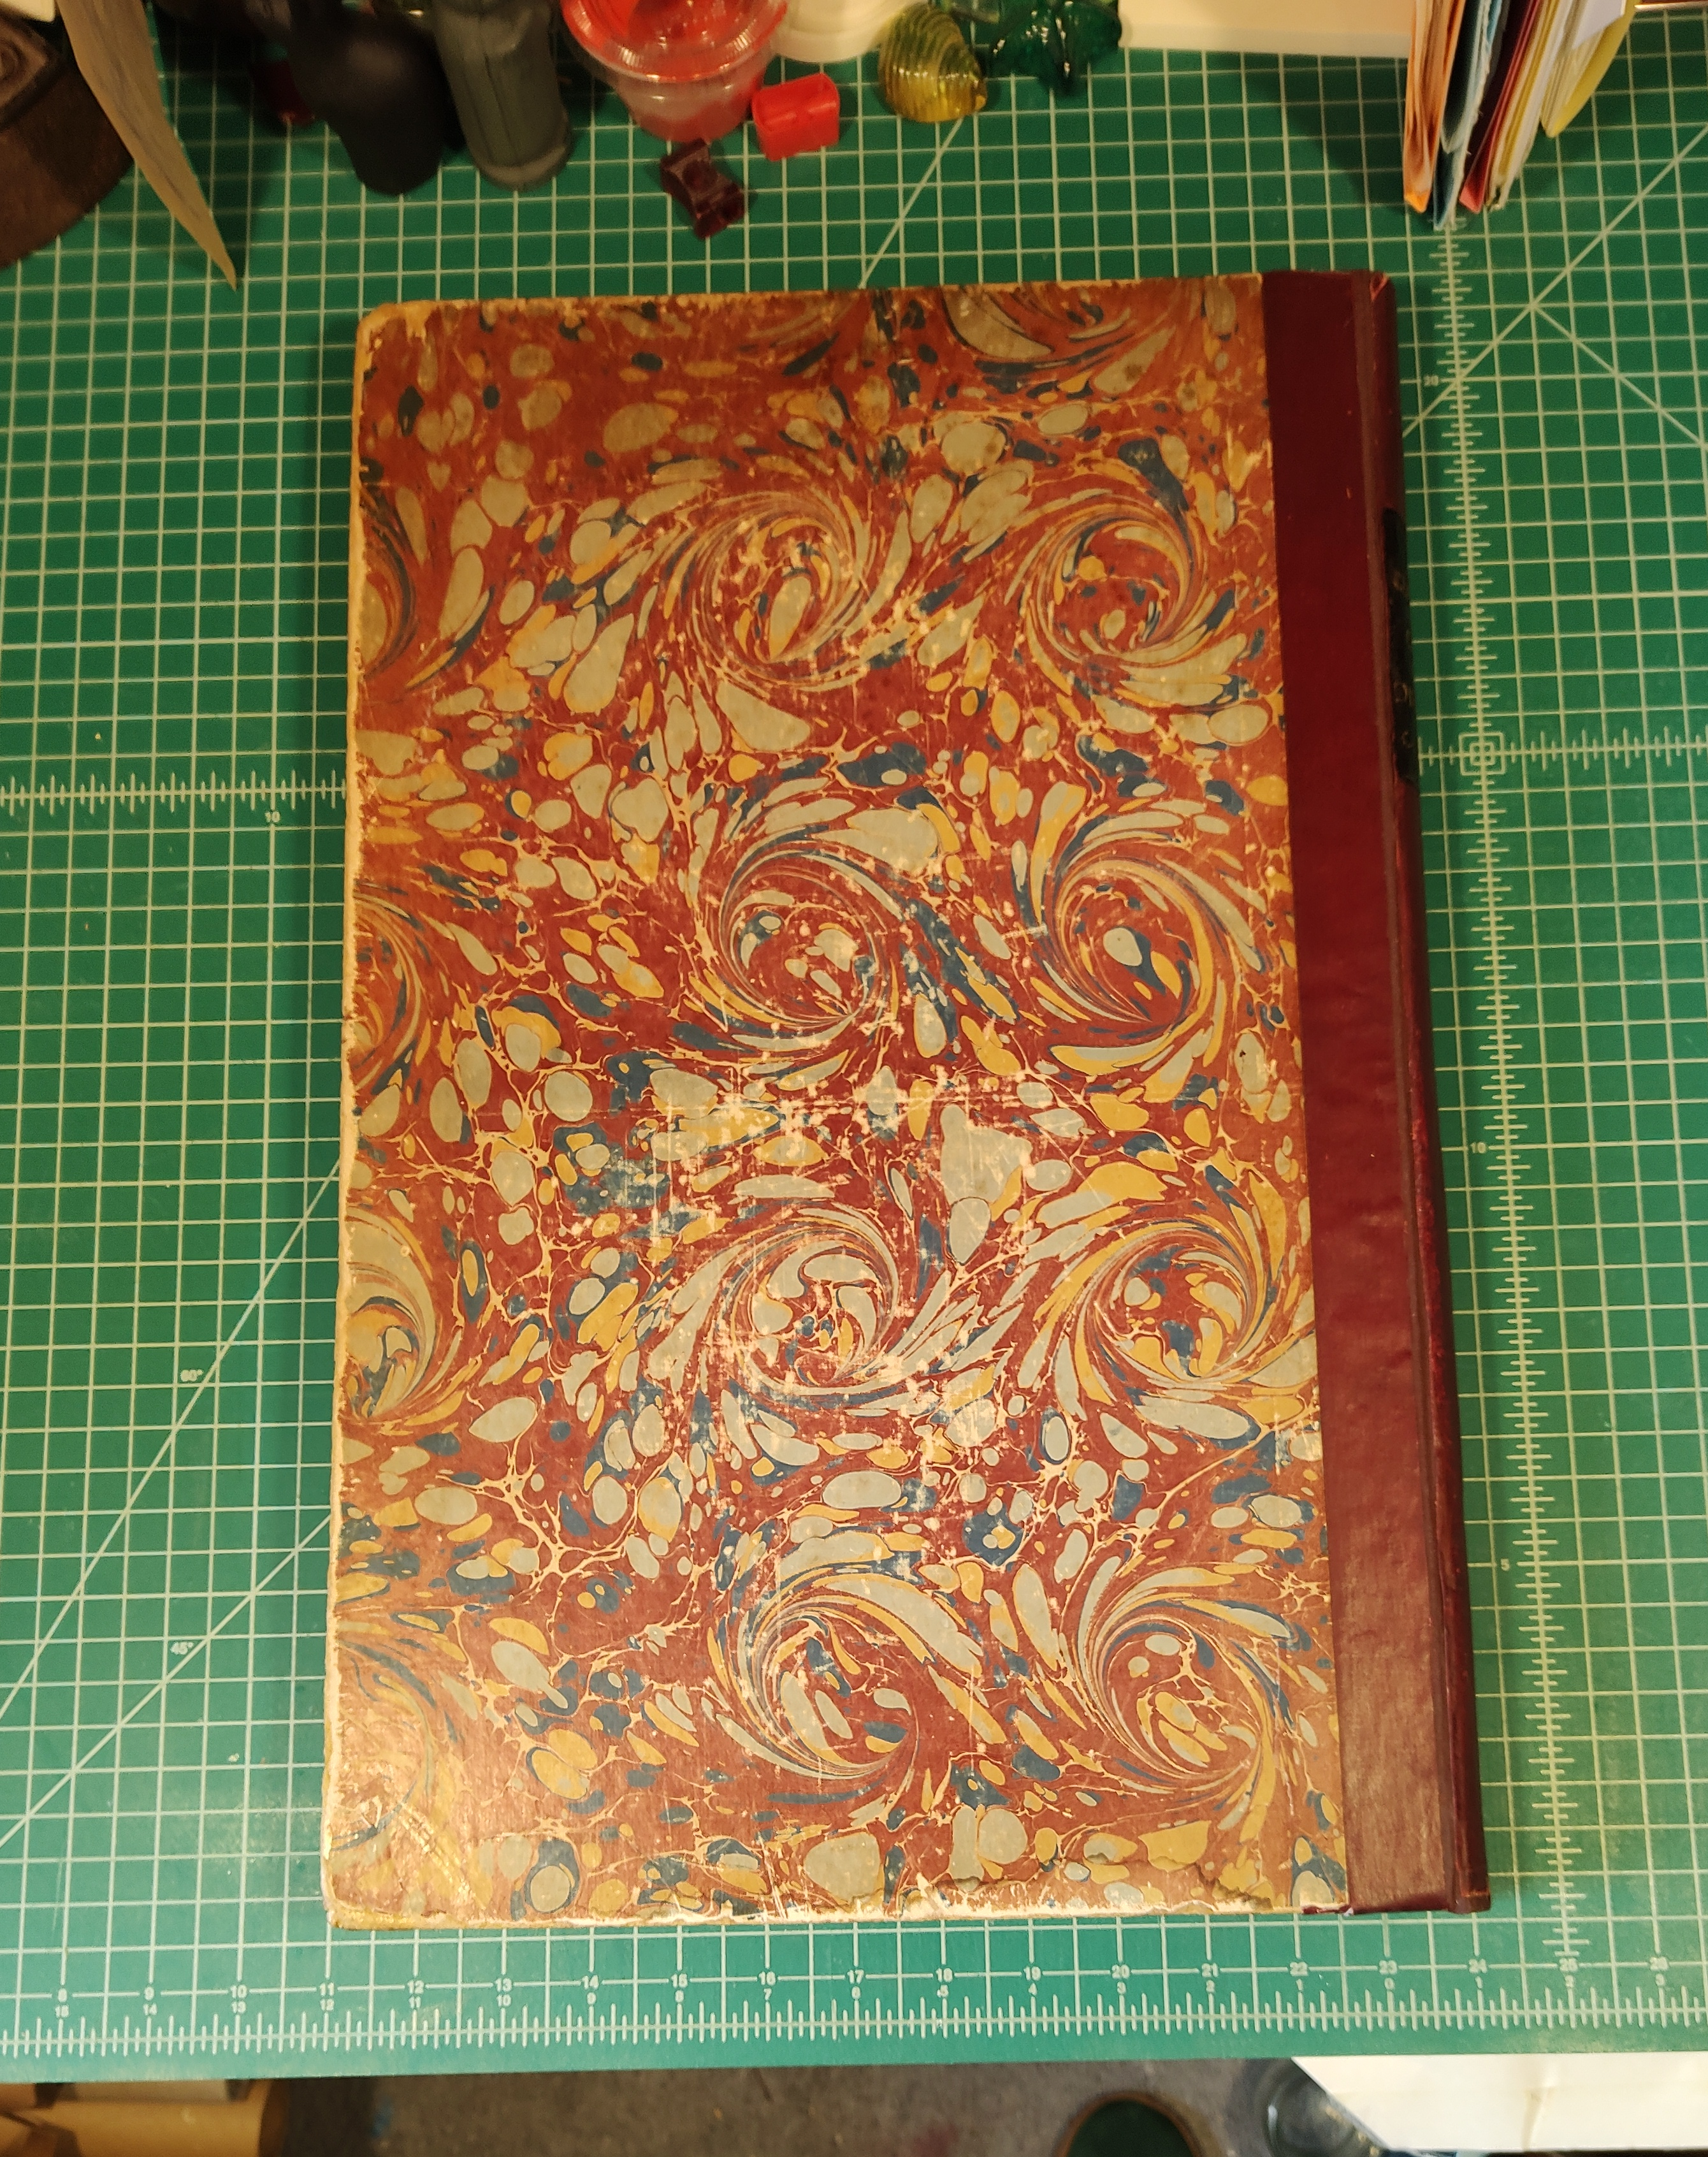
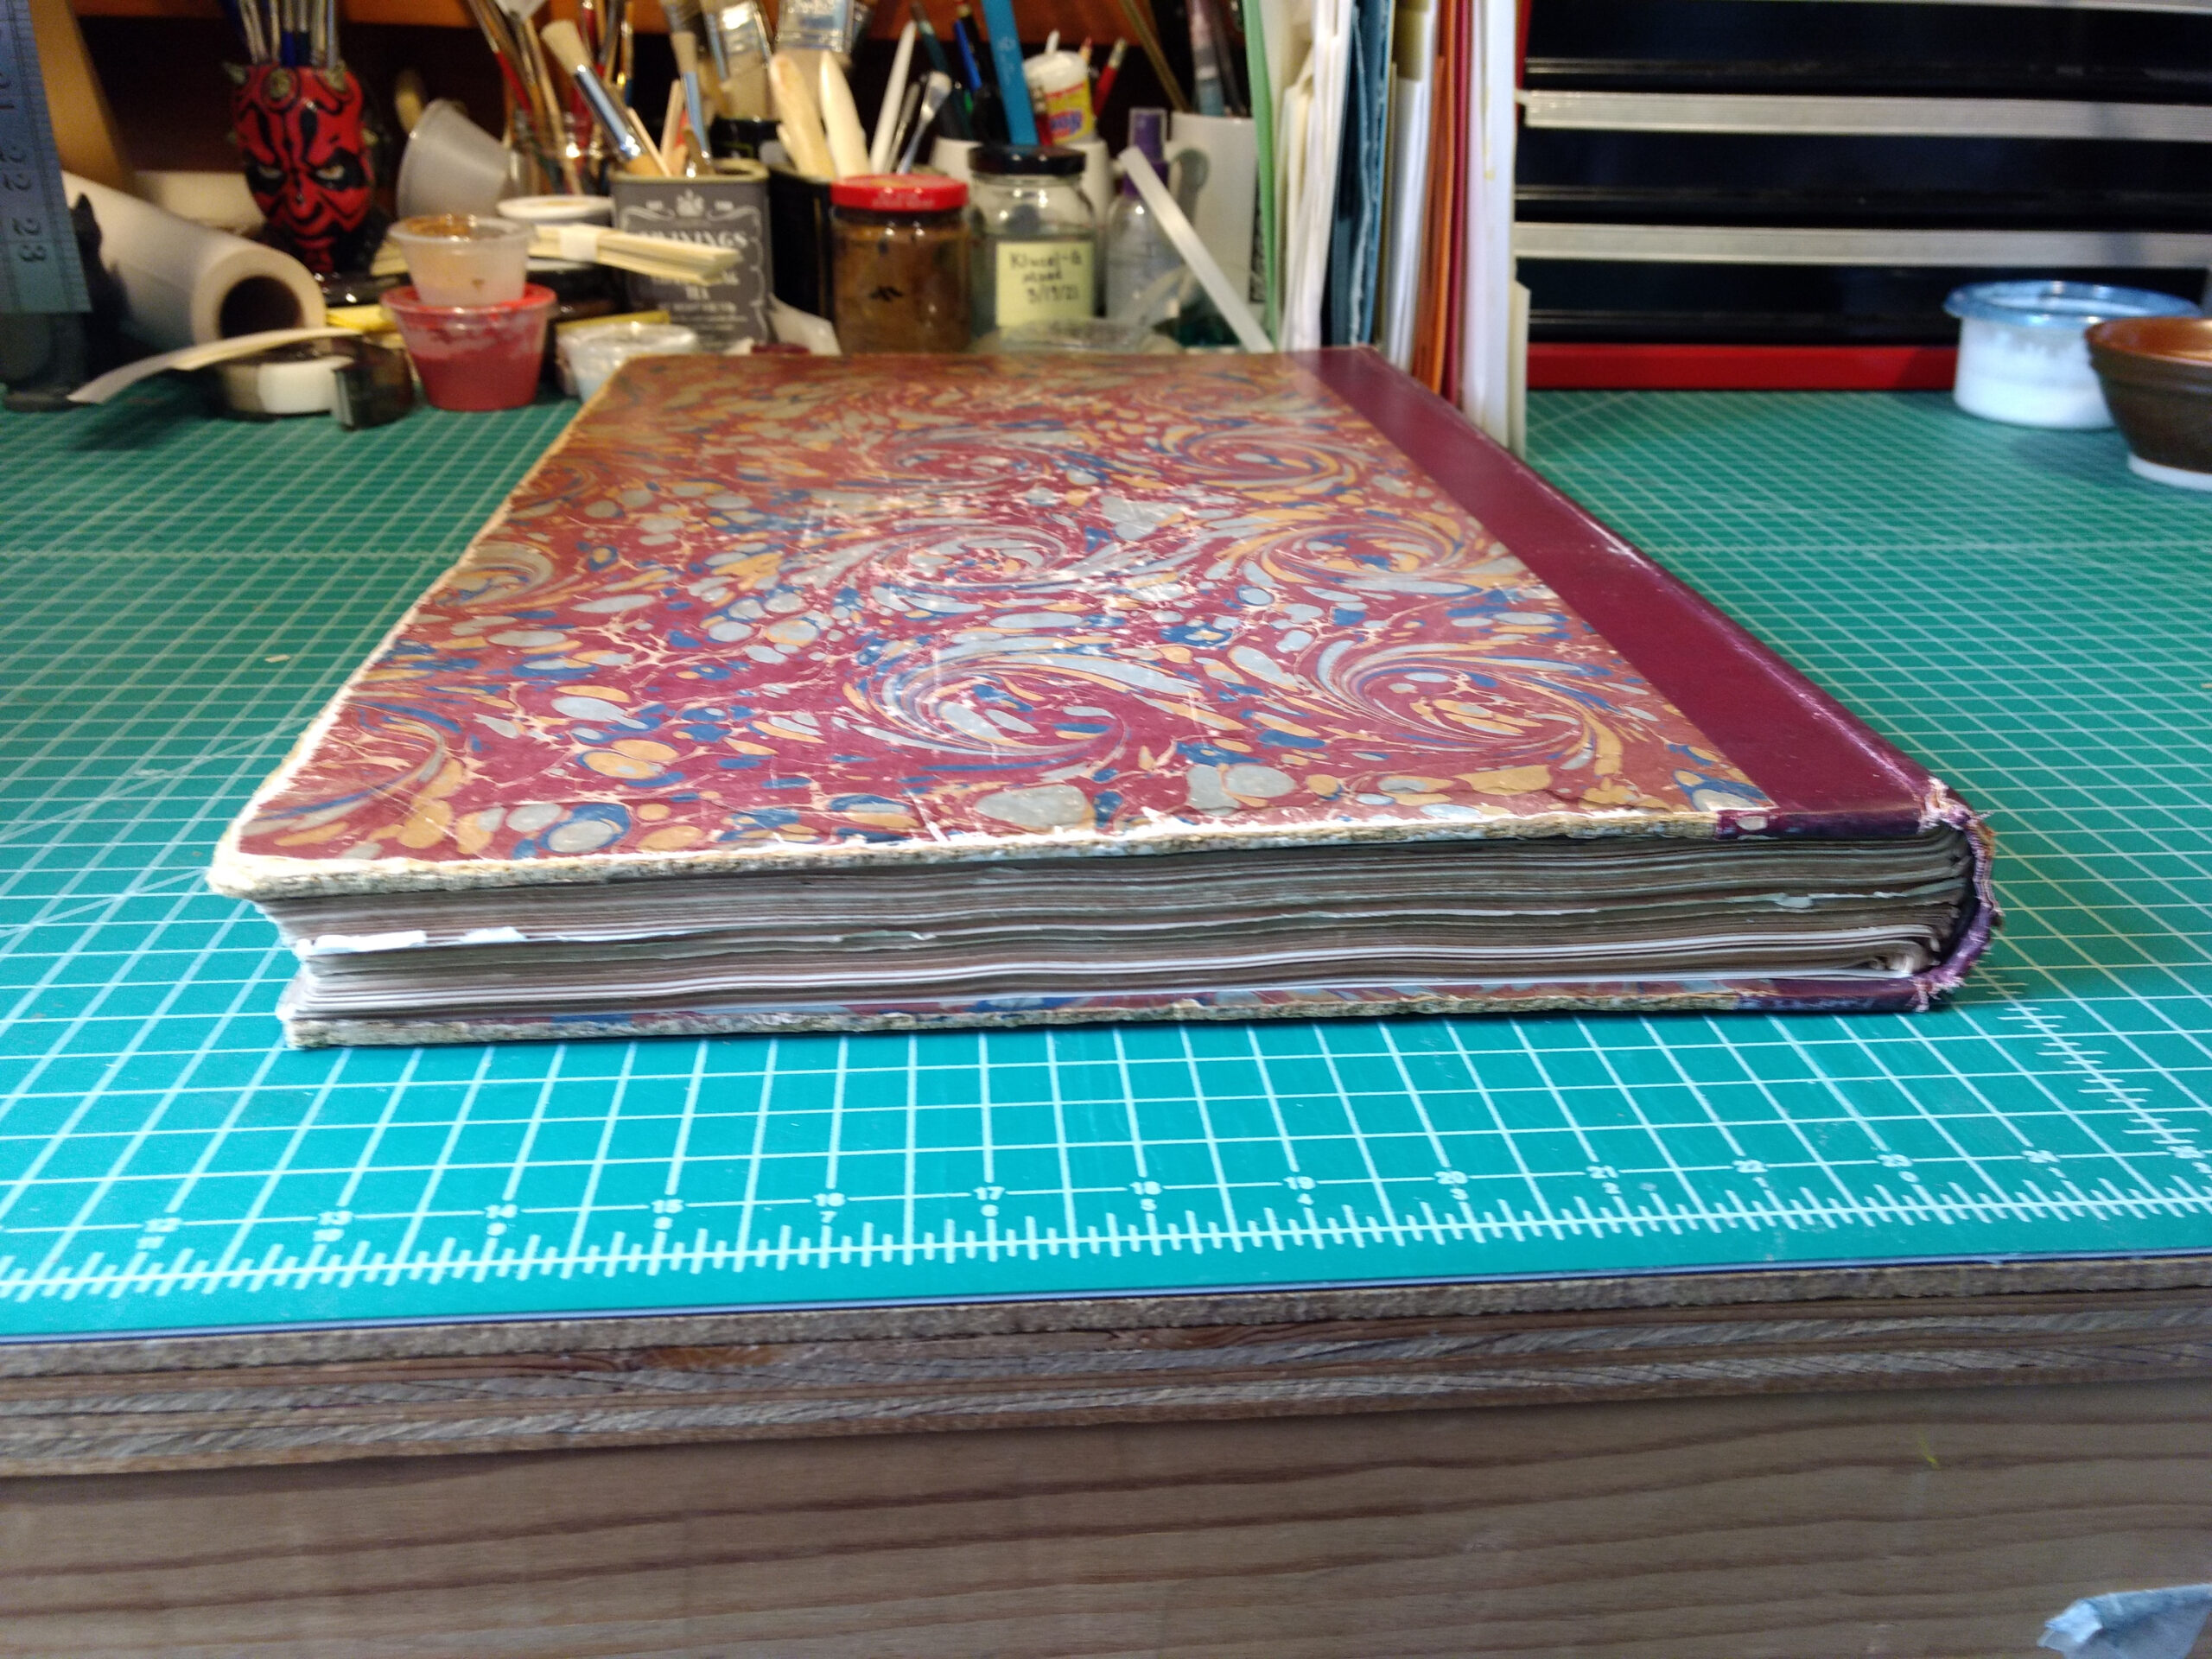
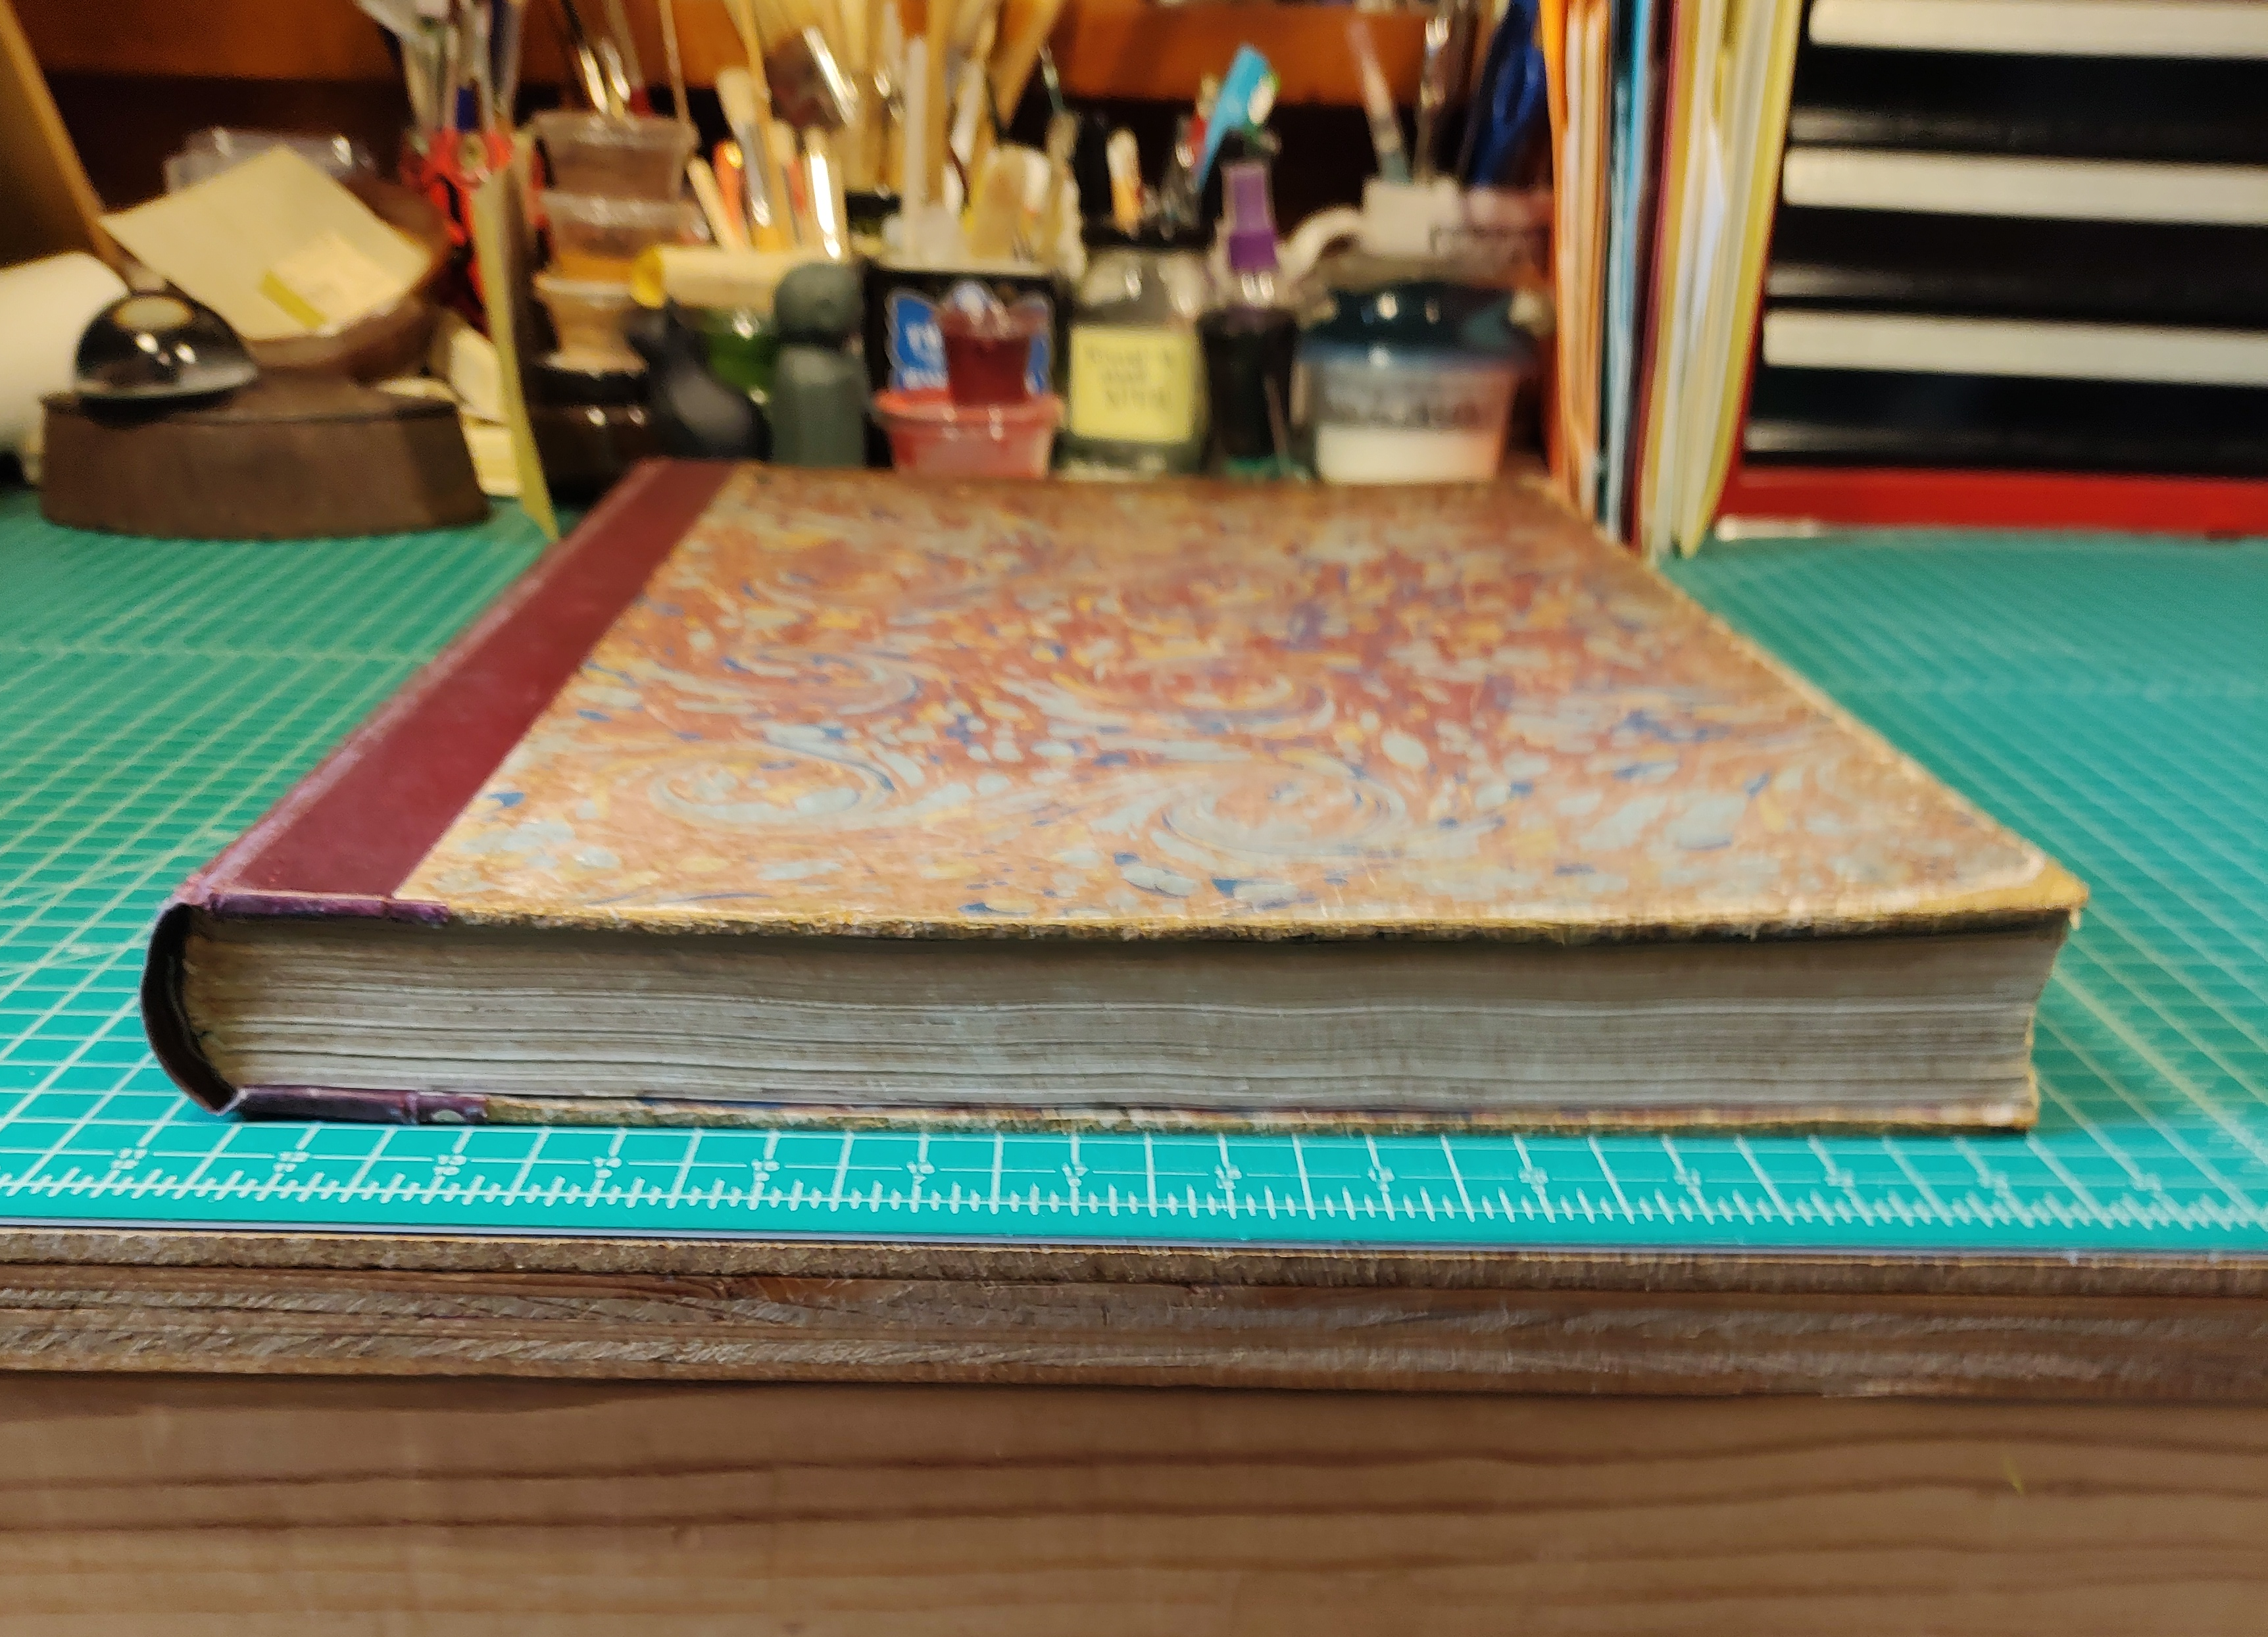
The book measures roughly 19″x13″, and the pages are in beautiful shape – minimal discoloration, and a beautiful, soft feel in the hand. There’s a bit of brittleness, but very little. The prints of the various designs are all in gorgeous shape. The rest of the binding, not so much. The glue along the spine had crystallized and shattered, leaving the pages as a stack of beautiful prints with grit along one long edge. Unlike most books from hundreds of years ago, this was essentially bound like a paperback book, just with boards for covers and a rounded spine.
Everybody loves a before-and-after gallery, right? Here you go!
| Before | After |
|
|
|
|
|
|
|
|
|
|
|
|
|
|
|
I kind of panicked when I opened it the first time, I’d never seen an old book bound this way! Thankfully Sophia (of SaveYourBooks.com) had some ideas and helped me be a little less intimidated.
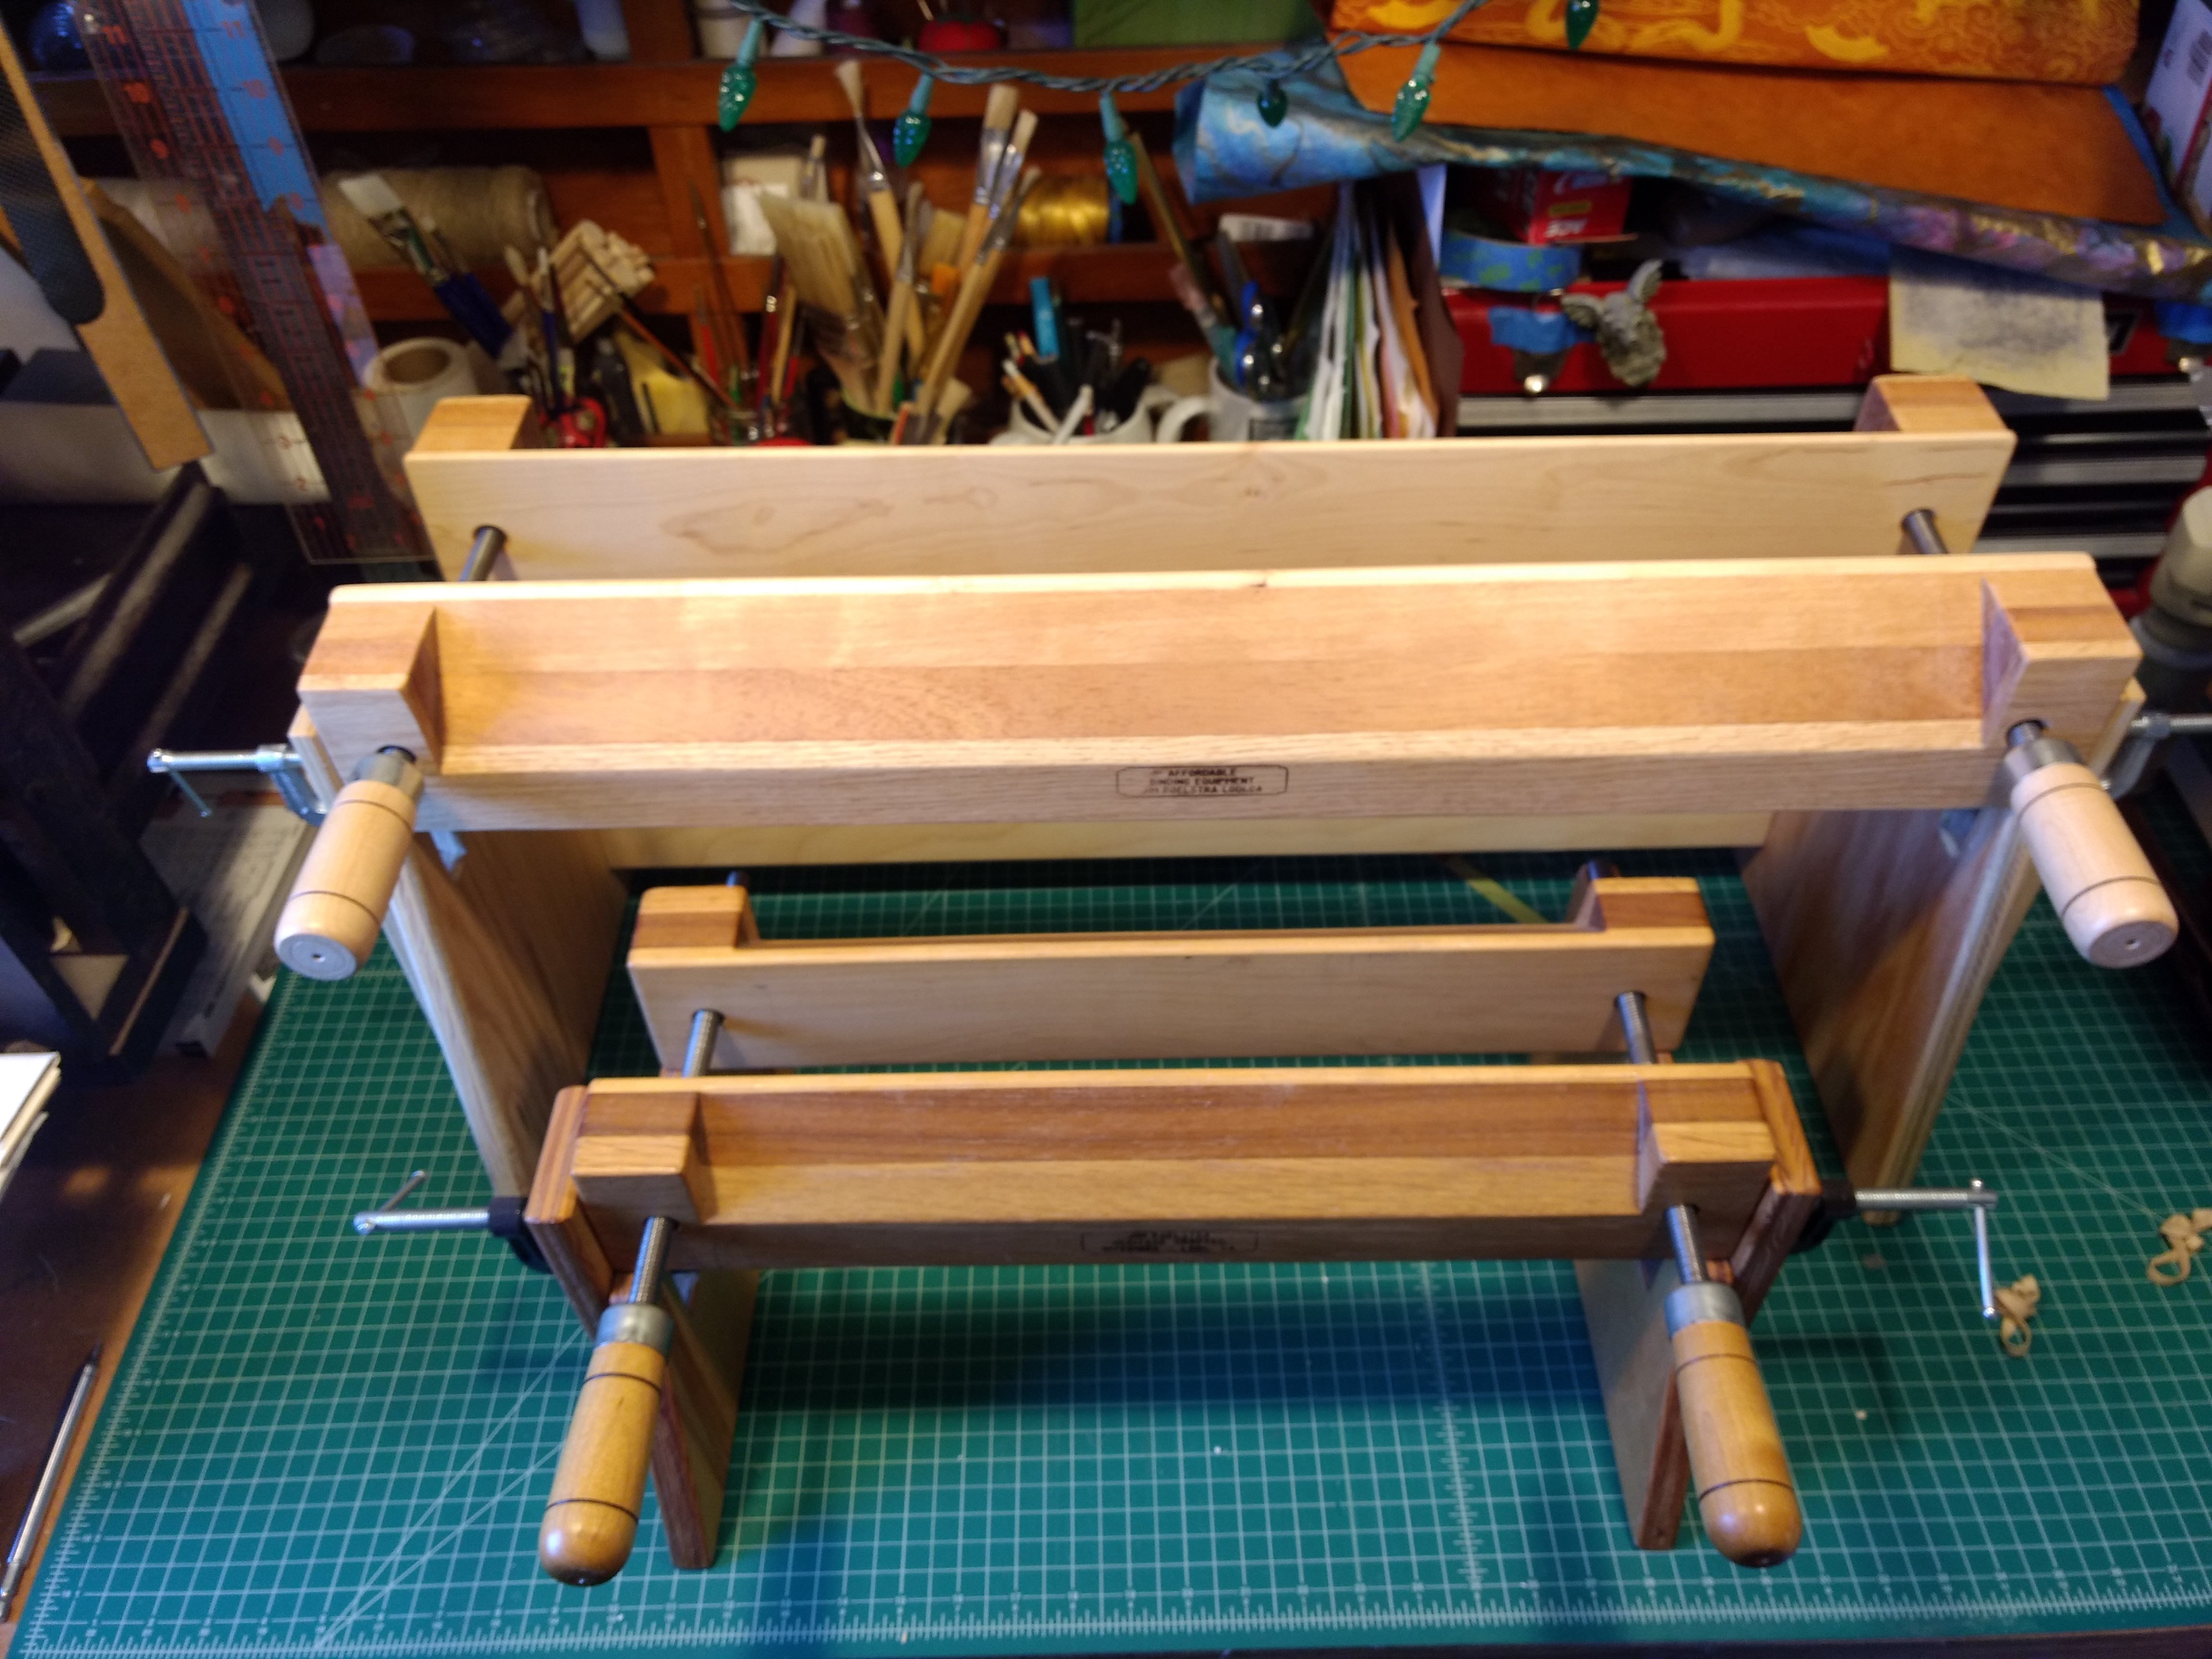
One issue I spotted the moment I accepted this book to repair was how tall it is. Folks who’ve seen my laying/finishing press in person in my booth know it is nowhere near big enough to hold a 19″ book. Thankfully Jim Poelstra of Affordable Binding Equipment takes custom orders and made me this behemoth (shown with my regular-sized one for scale):
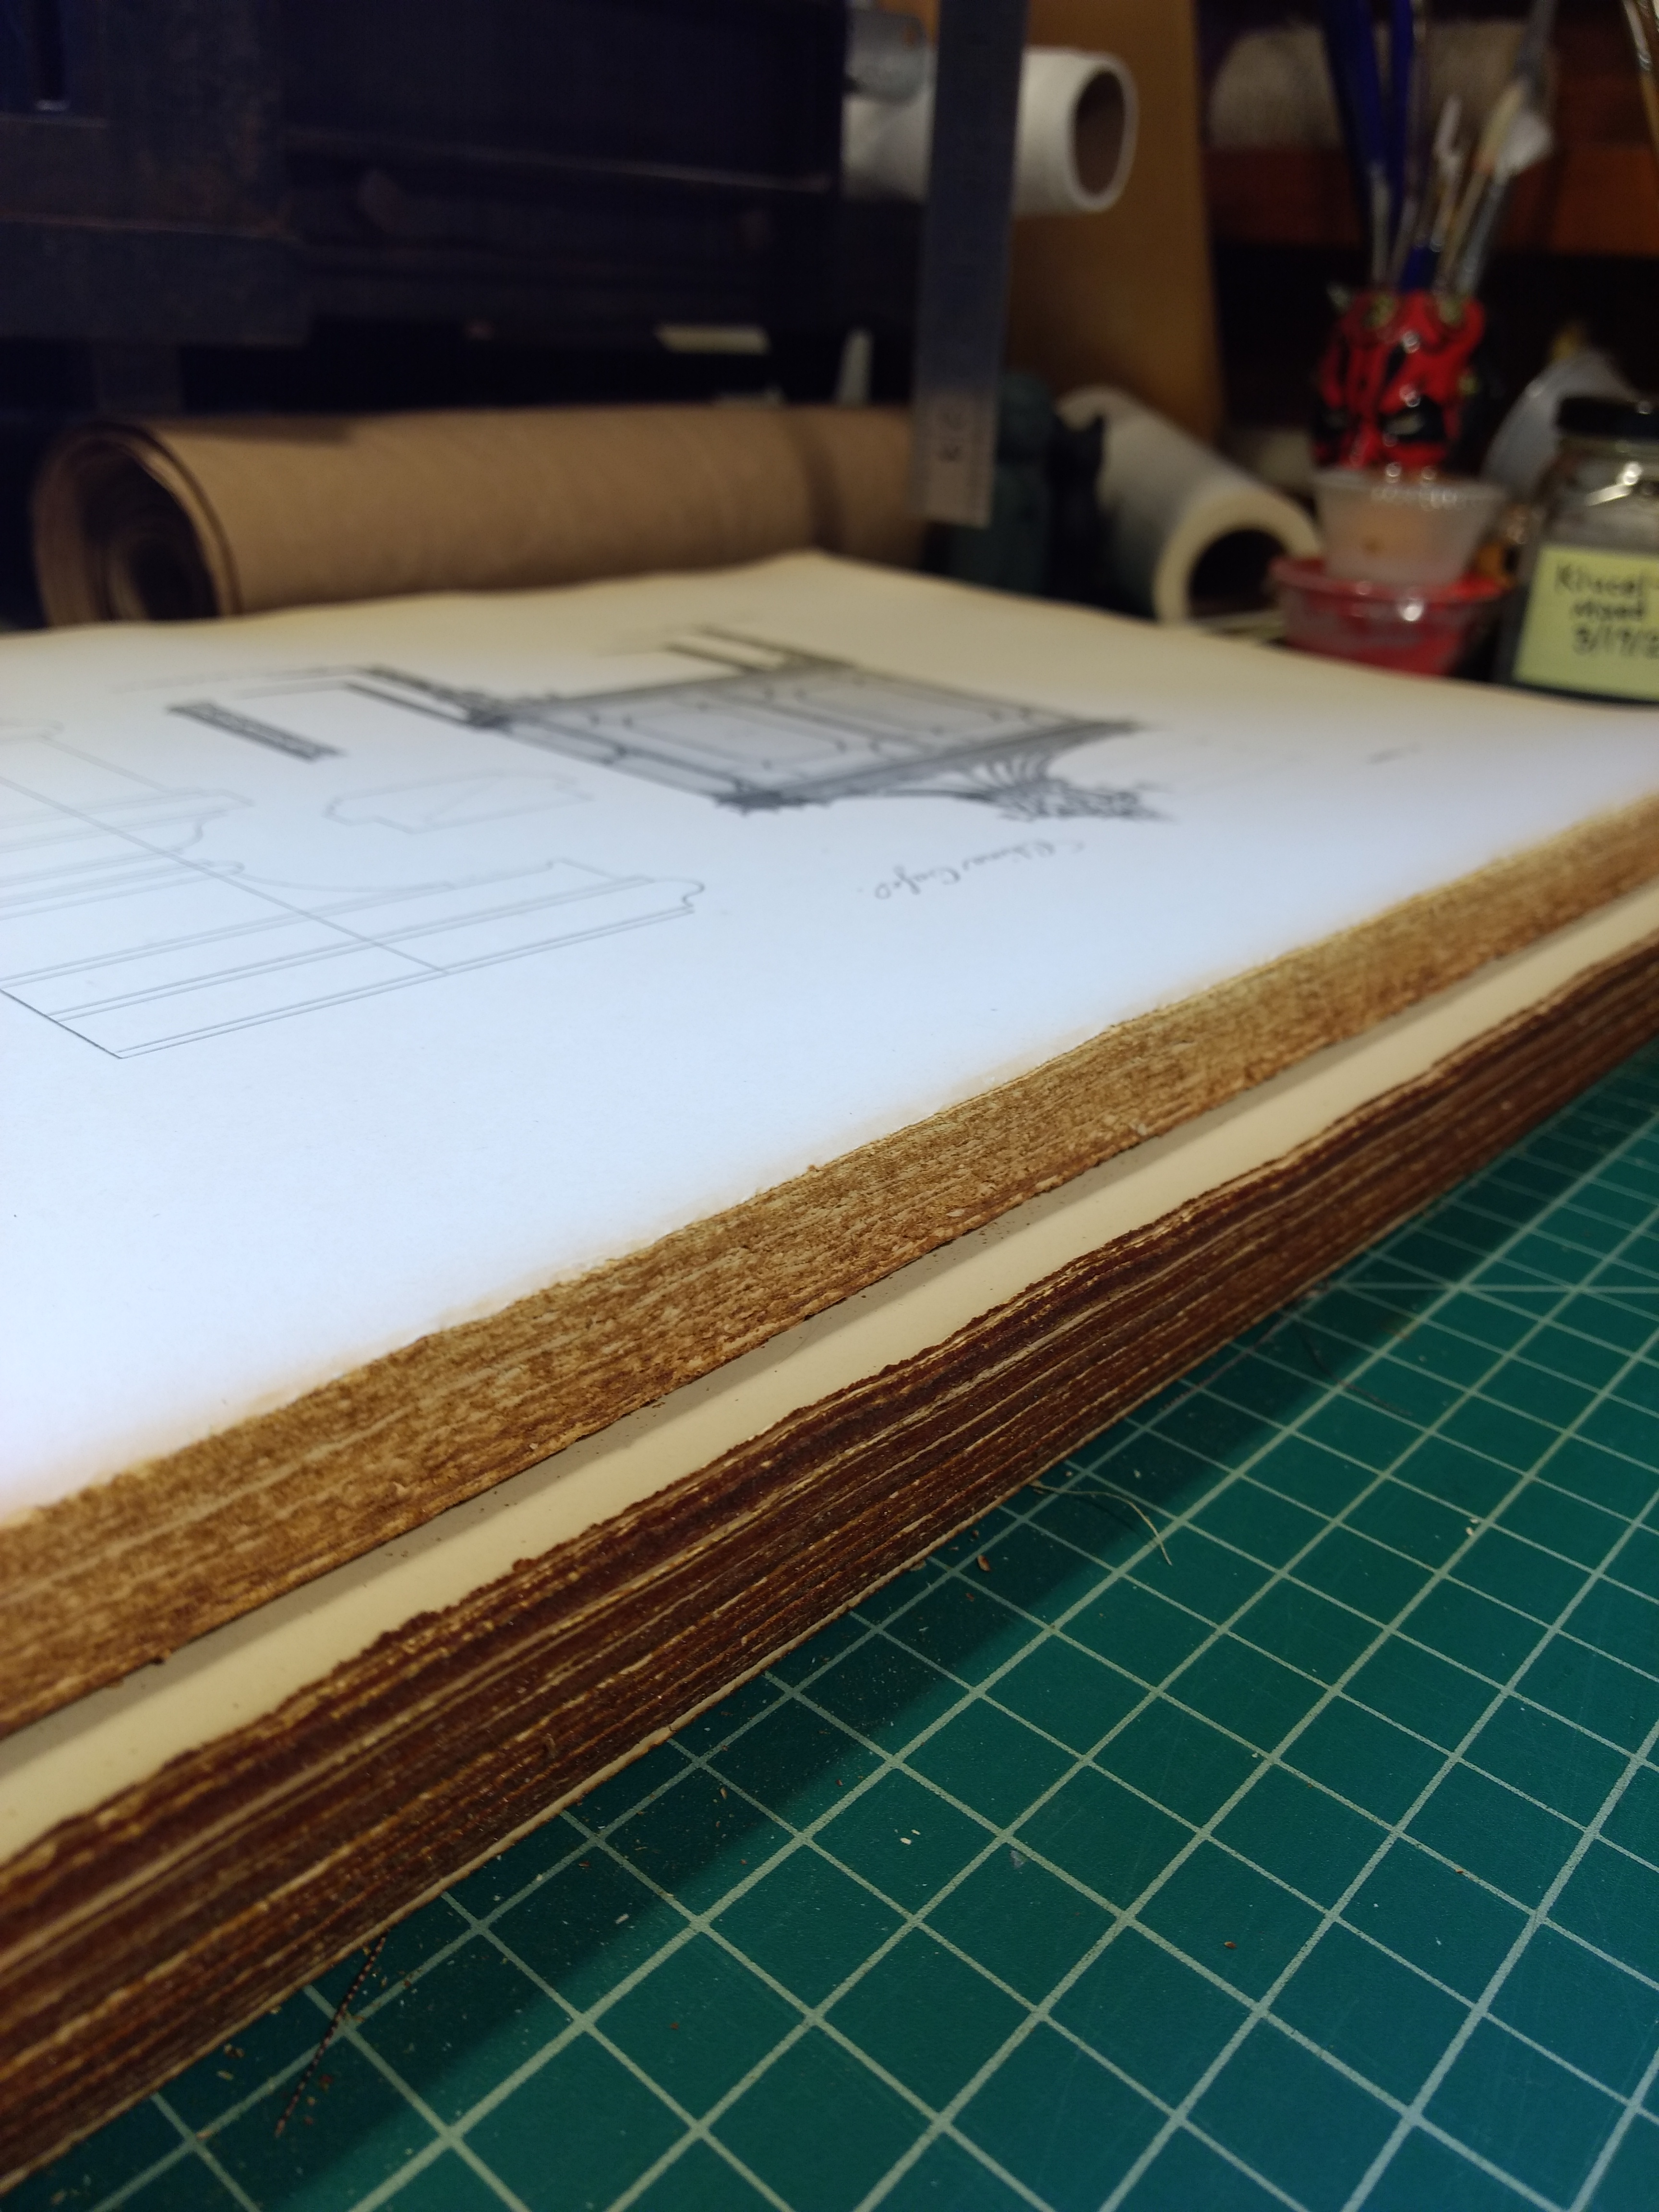
My first order of business was cleaning the glue off the pages. It had hardened and shattered, leaving a line of grit on the edge of every page. This took a while! I carefully scraped it all off with a lifting knife. I didn’t find any way to do it faster that wouldn’t damage the pages or involve just hacking the edge off. I really didn’t want to remove any more original material than necessary. Here’s an in-progress pic, with cleaned pages on top.
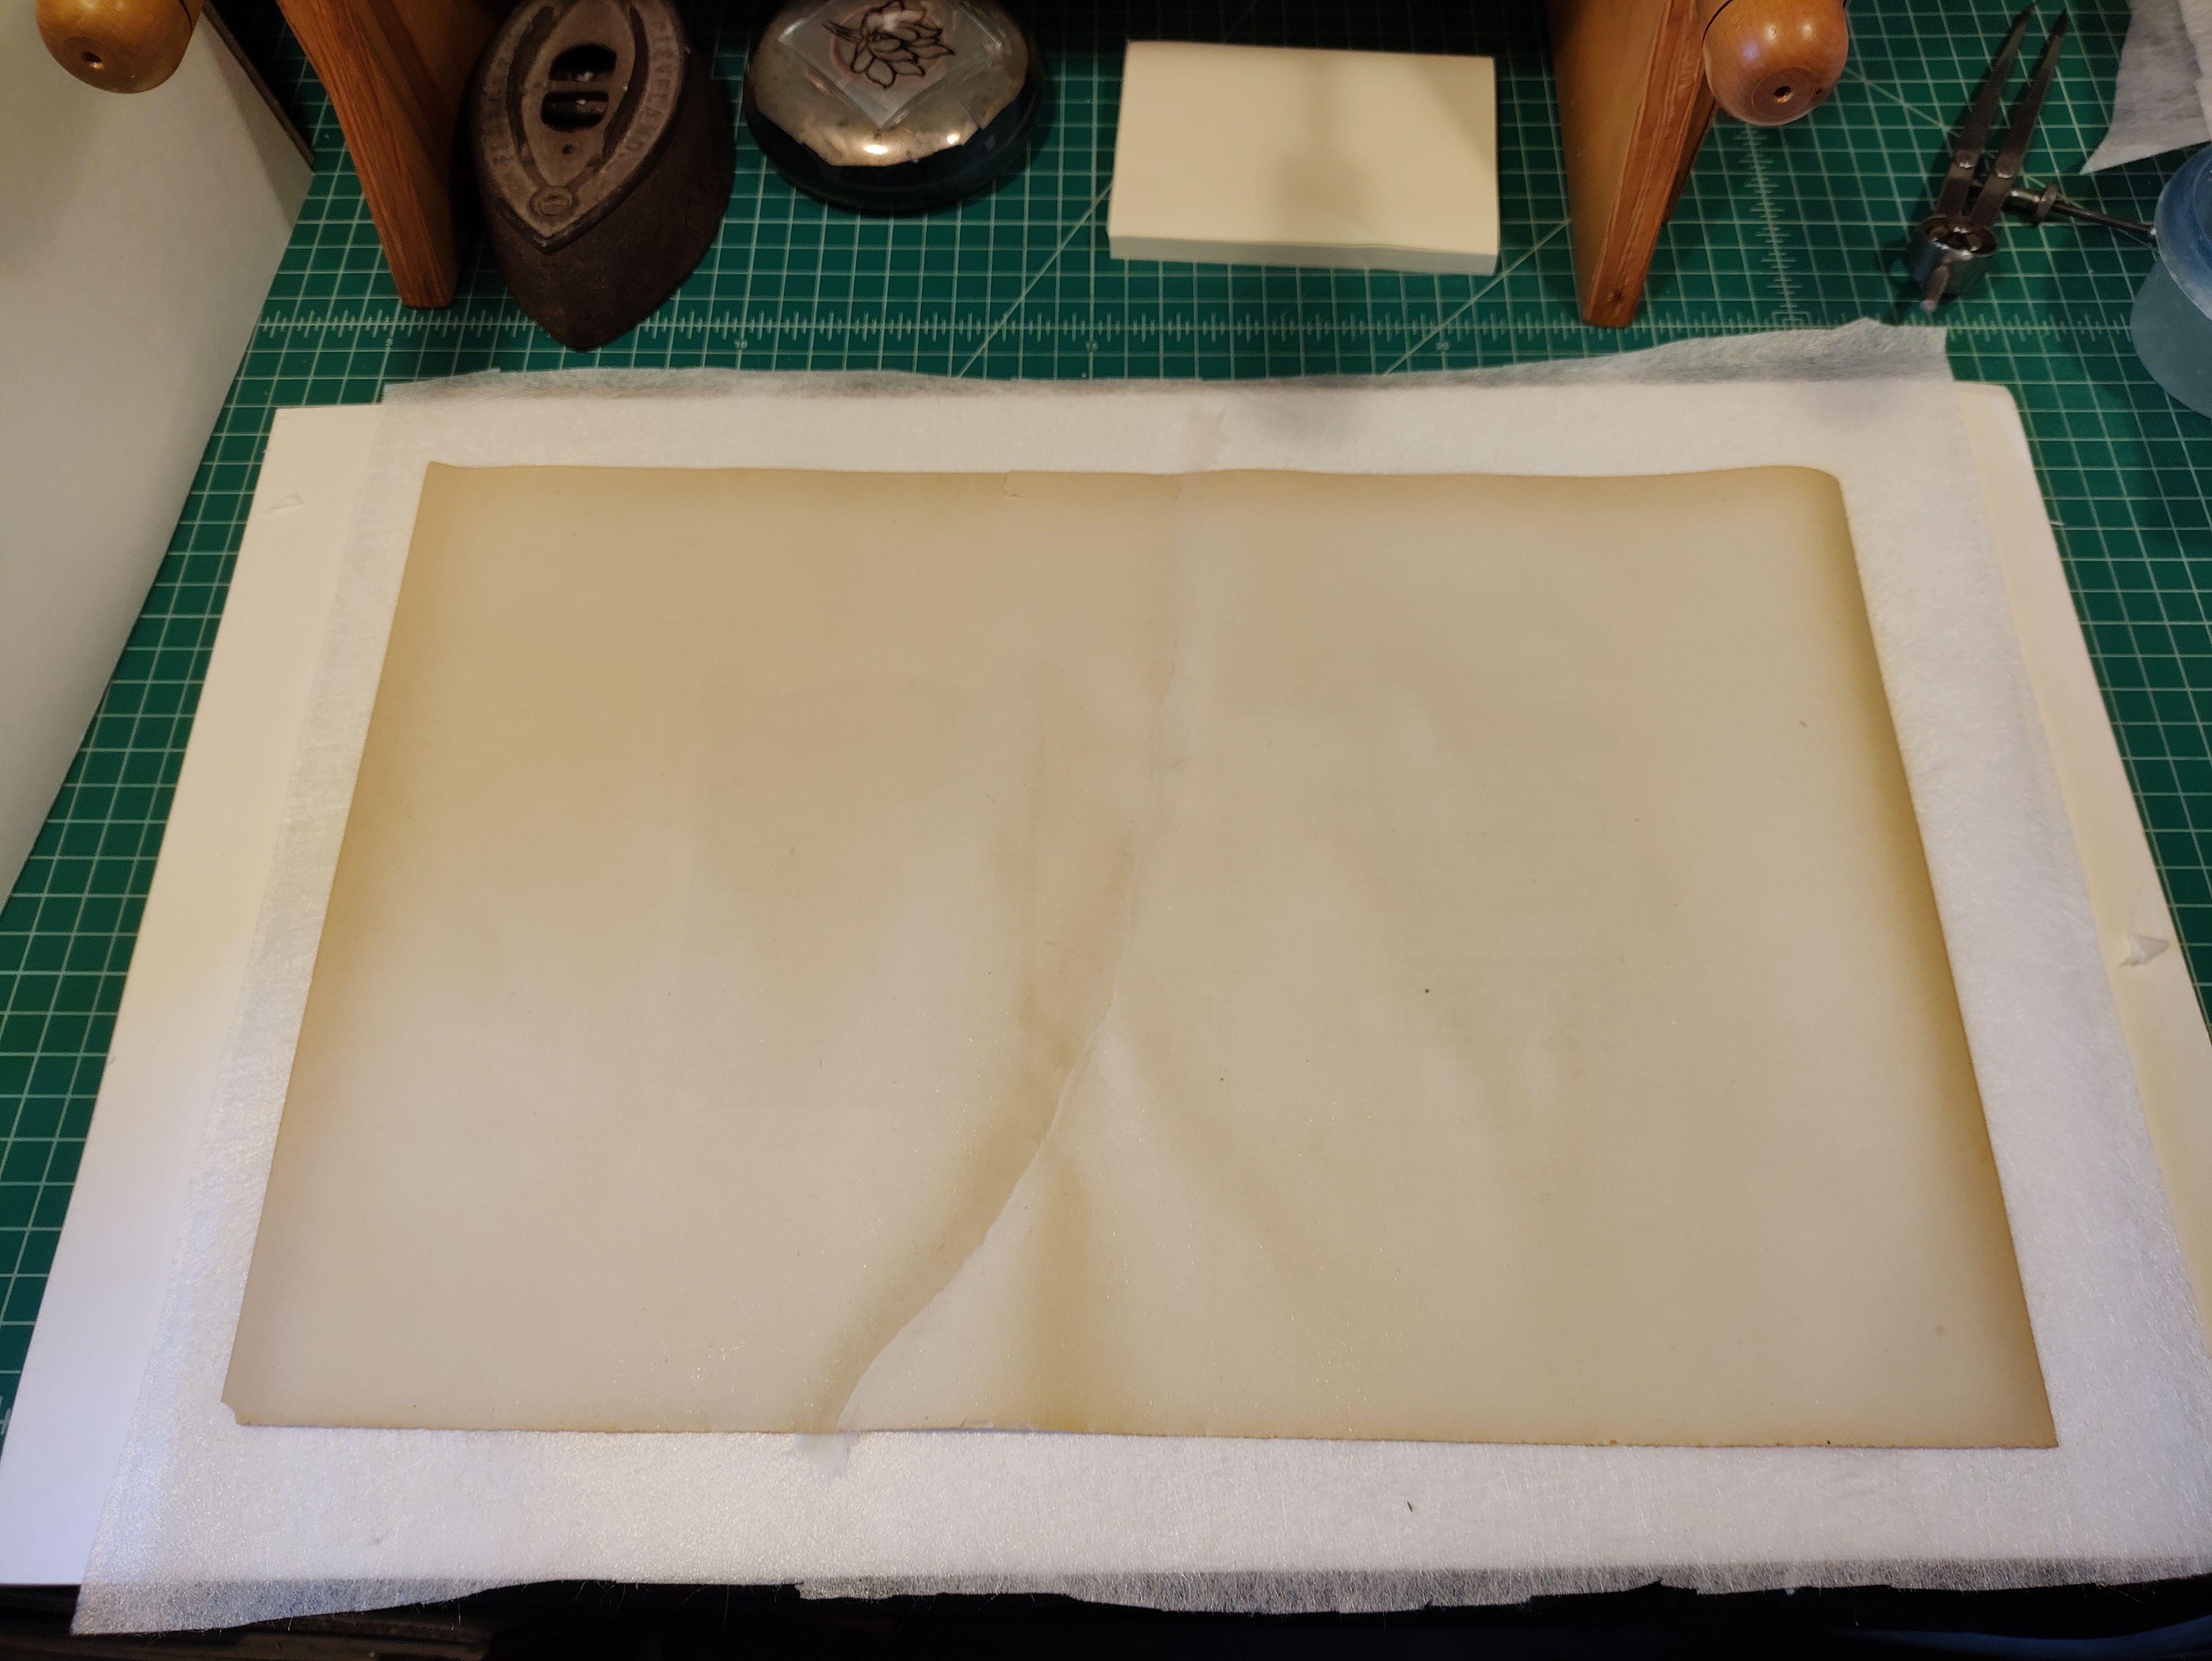
Another adventure I got to have was mending a page that had been torn completely in half! I took a paper mending course ages ago, but had never tried to mend this long a tear. Moisture (like in the paste) makes paper ripple – this isn’t too bad for small tears as the ripples aren’t very concentrated and can be minimized with pressure. This, however, was not a short tear: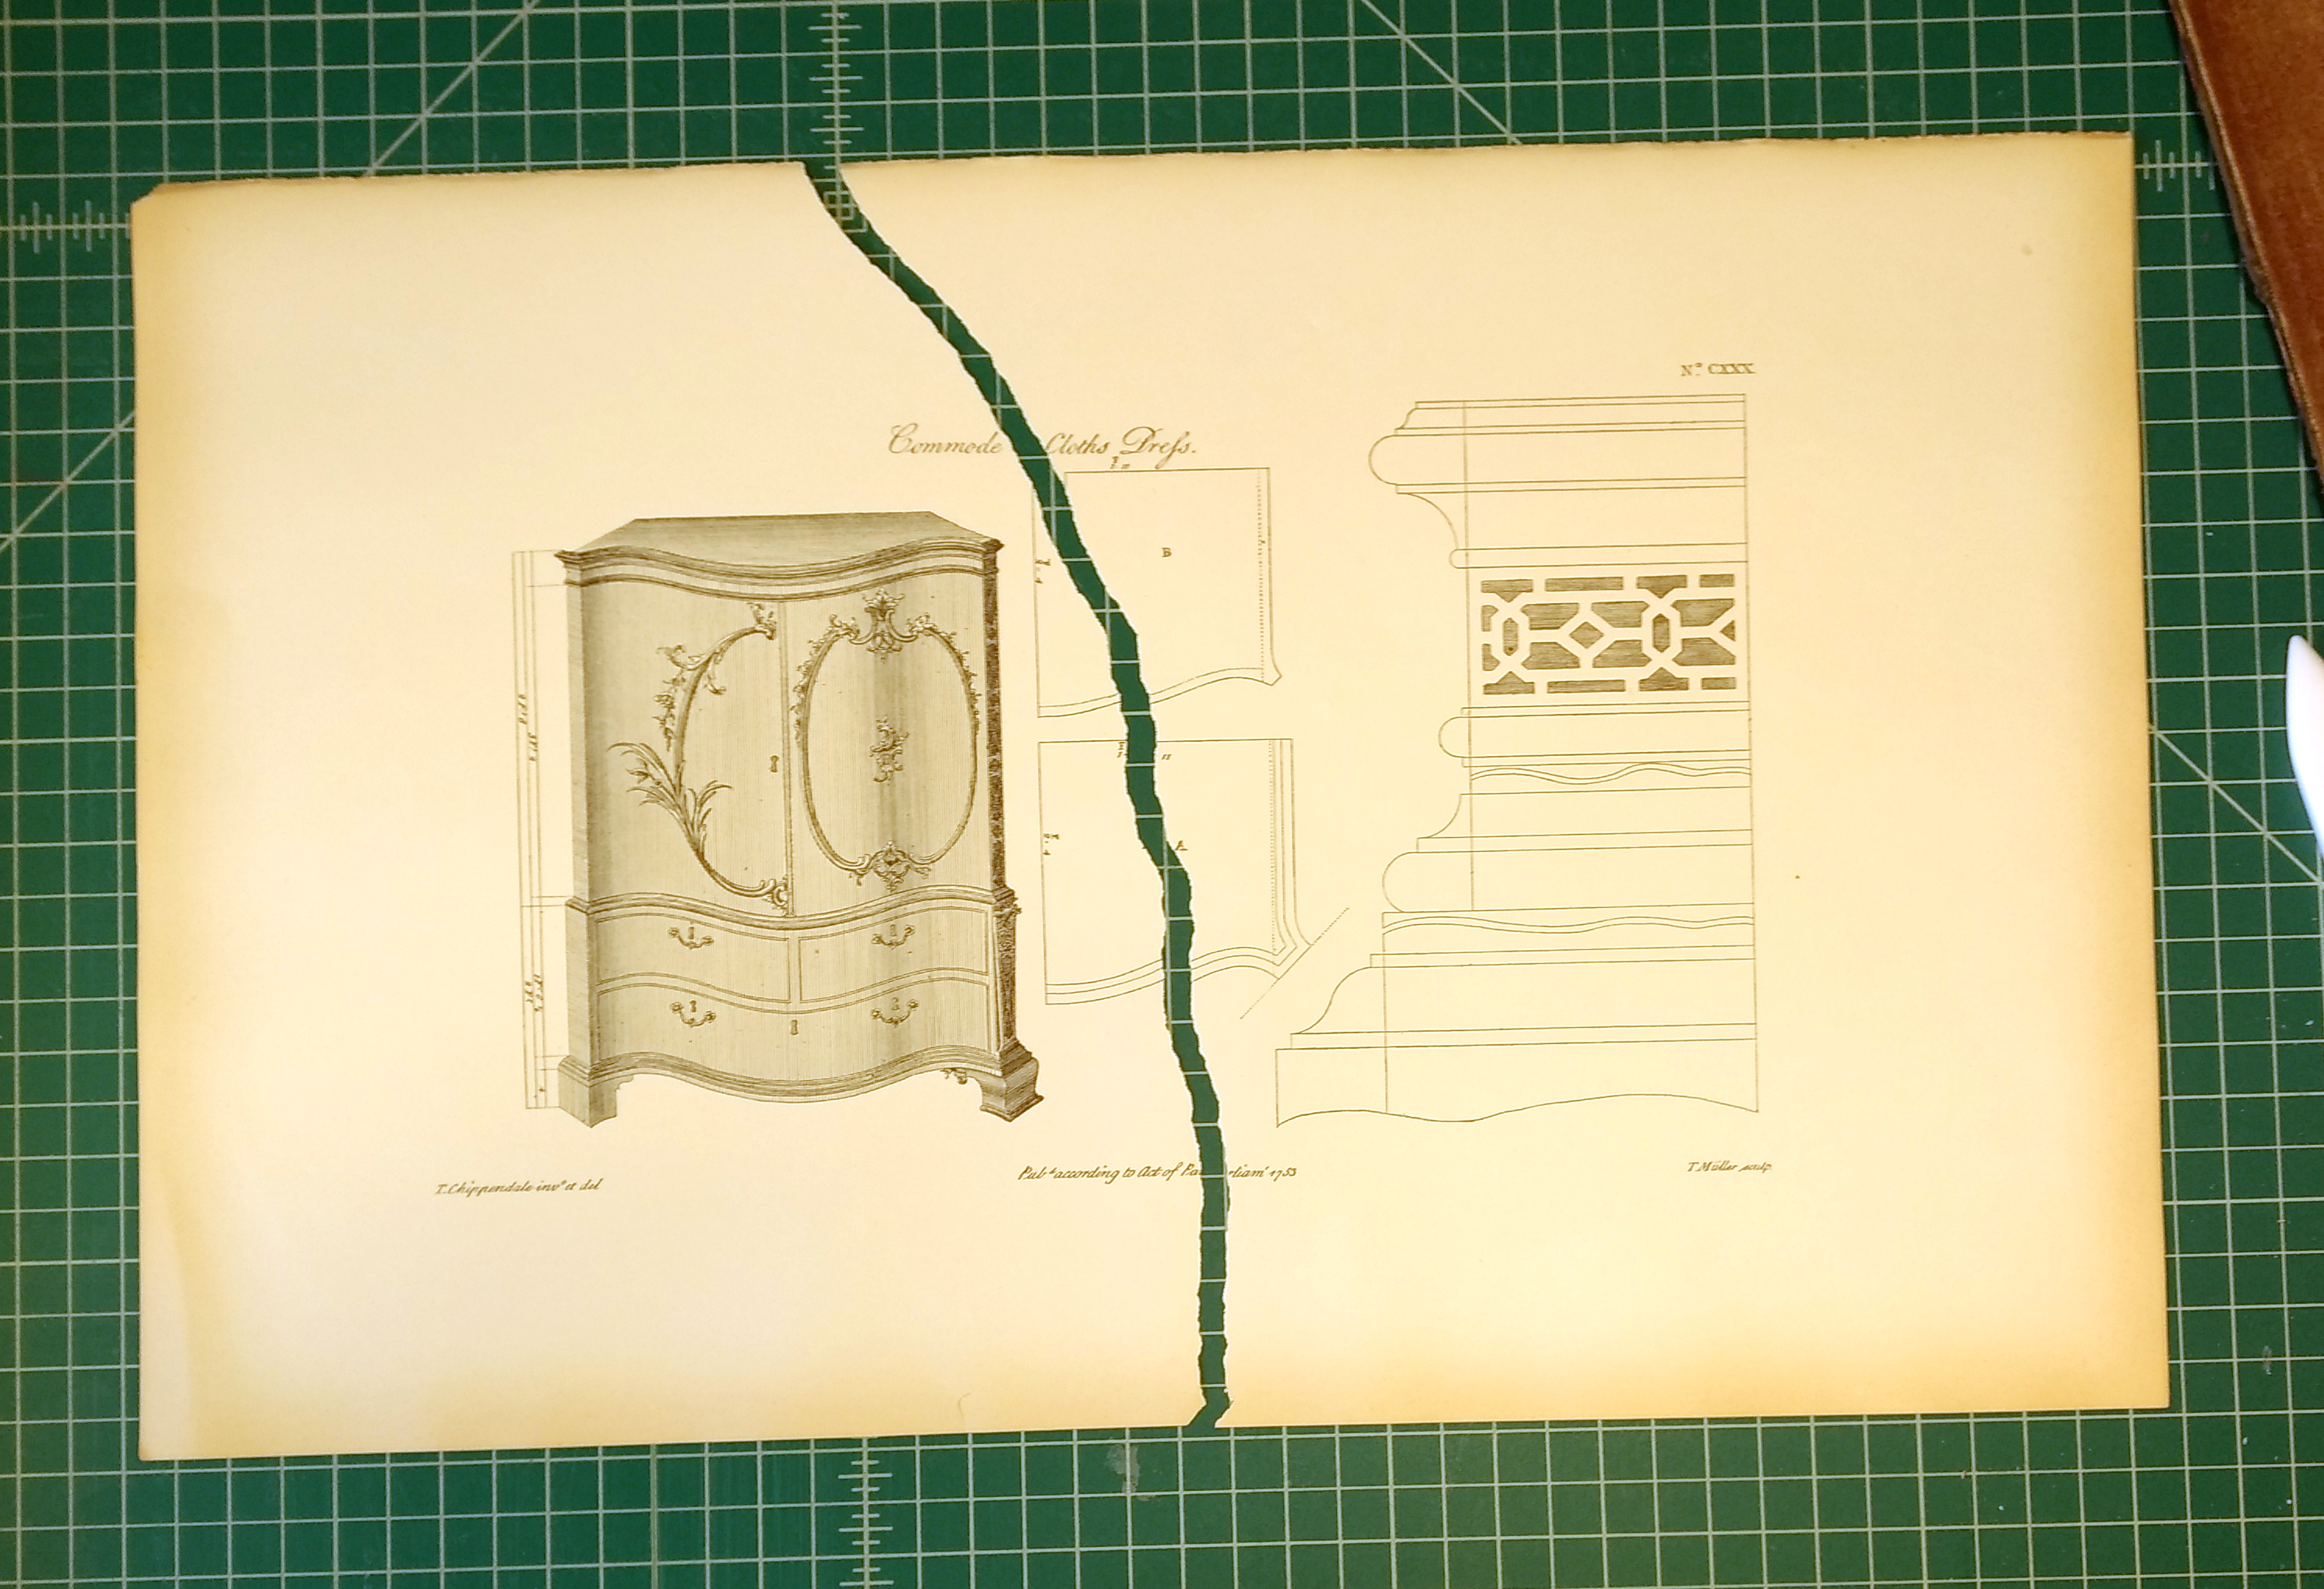 Once again, Sophia came to my rescue – but with a terrifying method. What you do to keep the paper from rippling when you paste on the mending material is get the entire page wet. She assured me that if I dried it sandwiched properly with hollytex (a non-woven synthetic material that won’t stick but lets moisture pass through) and blotting paper it would dry flat again. She was right! I still got a little rippling because keeping that massive a page equally damp with a mister rather than a fancy humidifier hood is really difficult. But, not much rippling all things considered! Here’s the sandwich (note the minimal rippling:
 And here’s the finished page:

That was an adventure!
Other notable bits…
I unfortunately didn’t take any images of the main strengthening structure I used: I (very nervously and very carefully) used a small saw to cut channels into the spine, then laid cord into each one and glued everything up. You can see the cords here, where they’re tucked under the pastedown inside the cover:
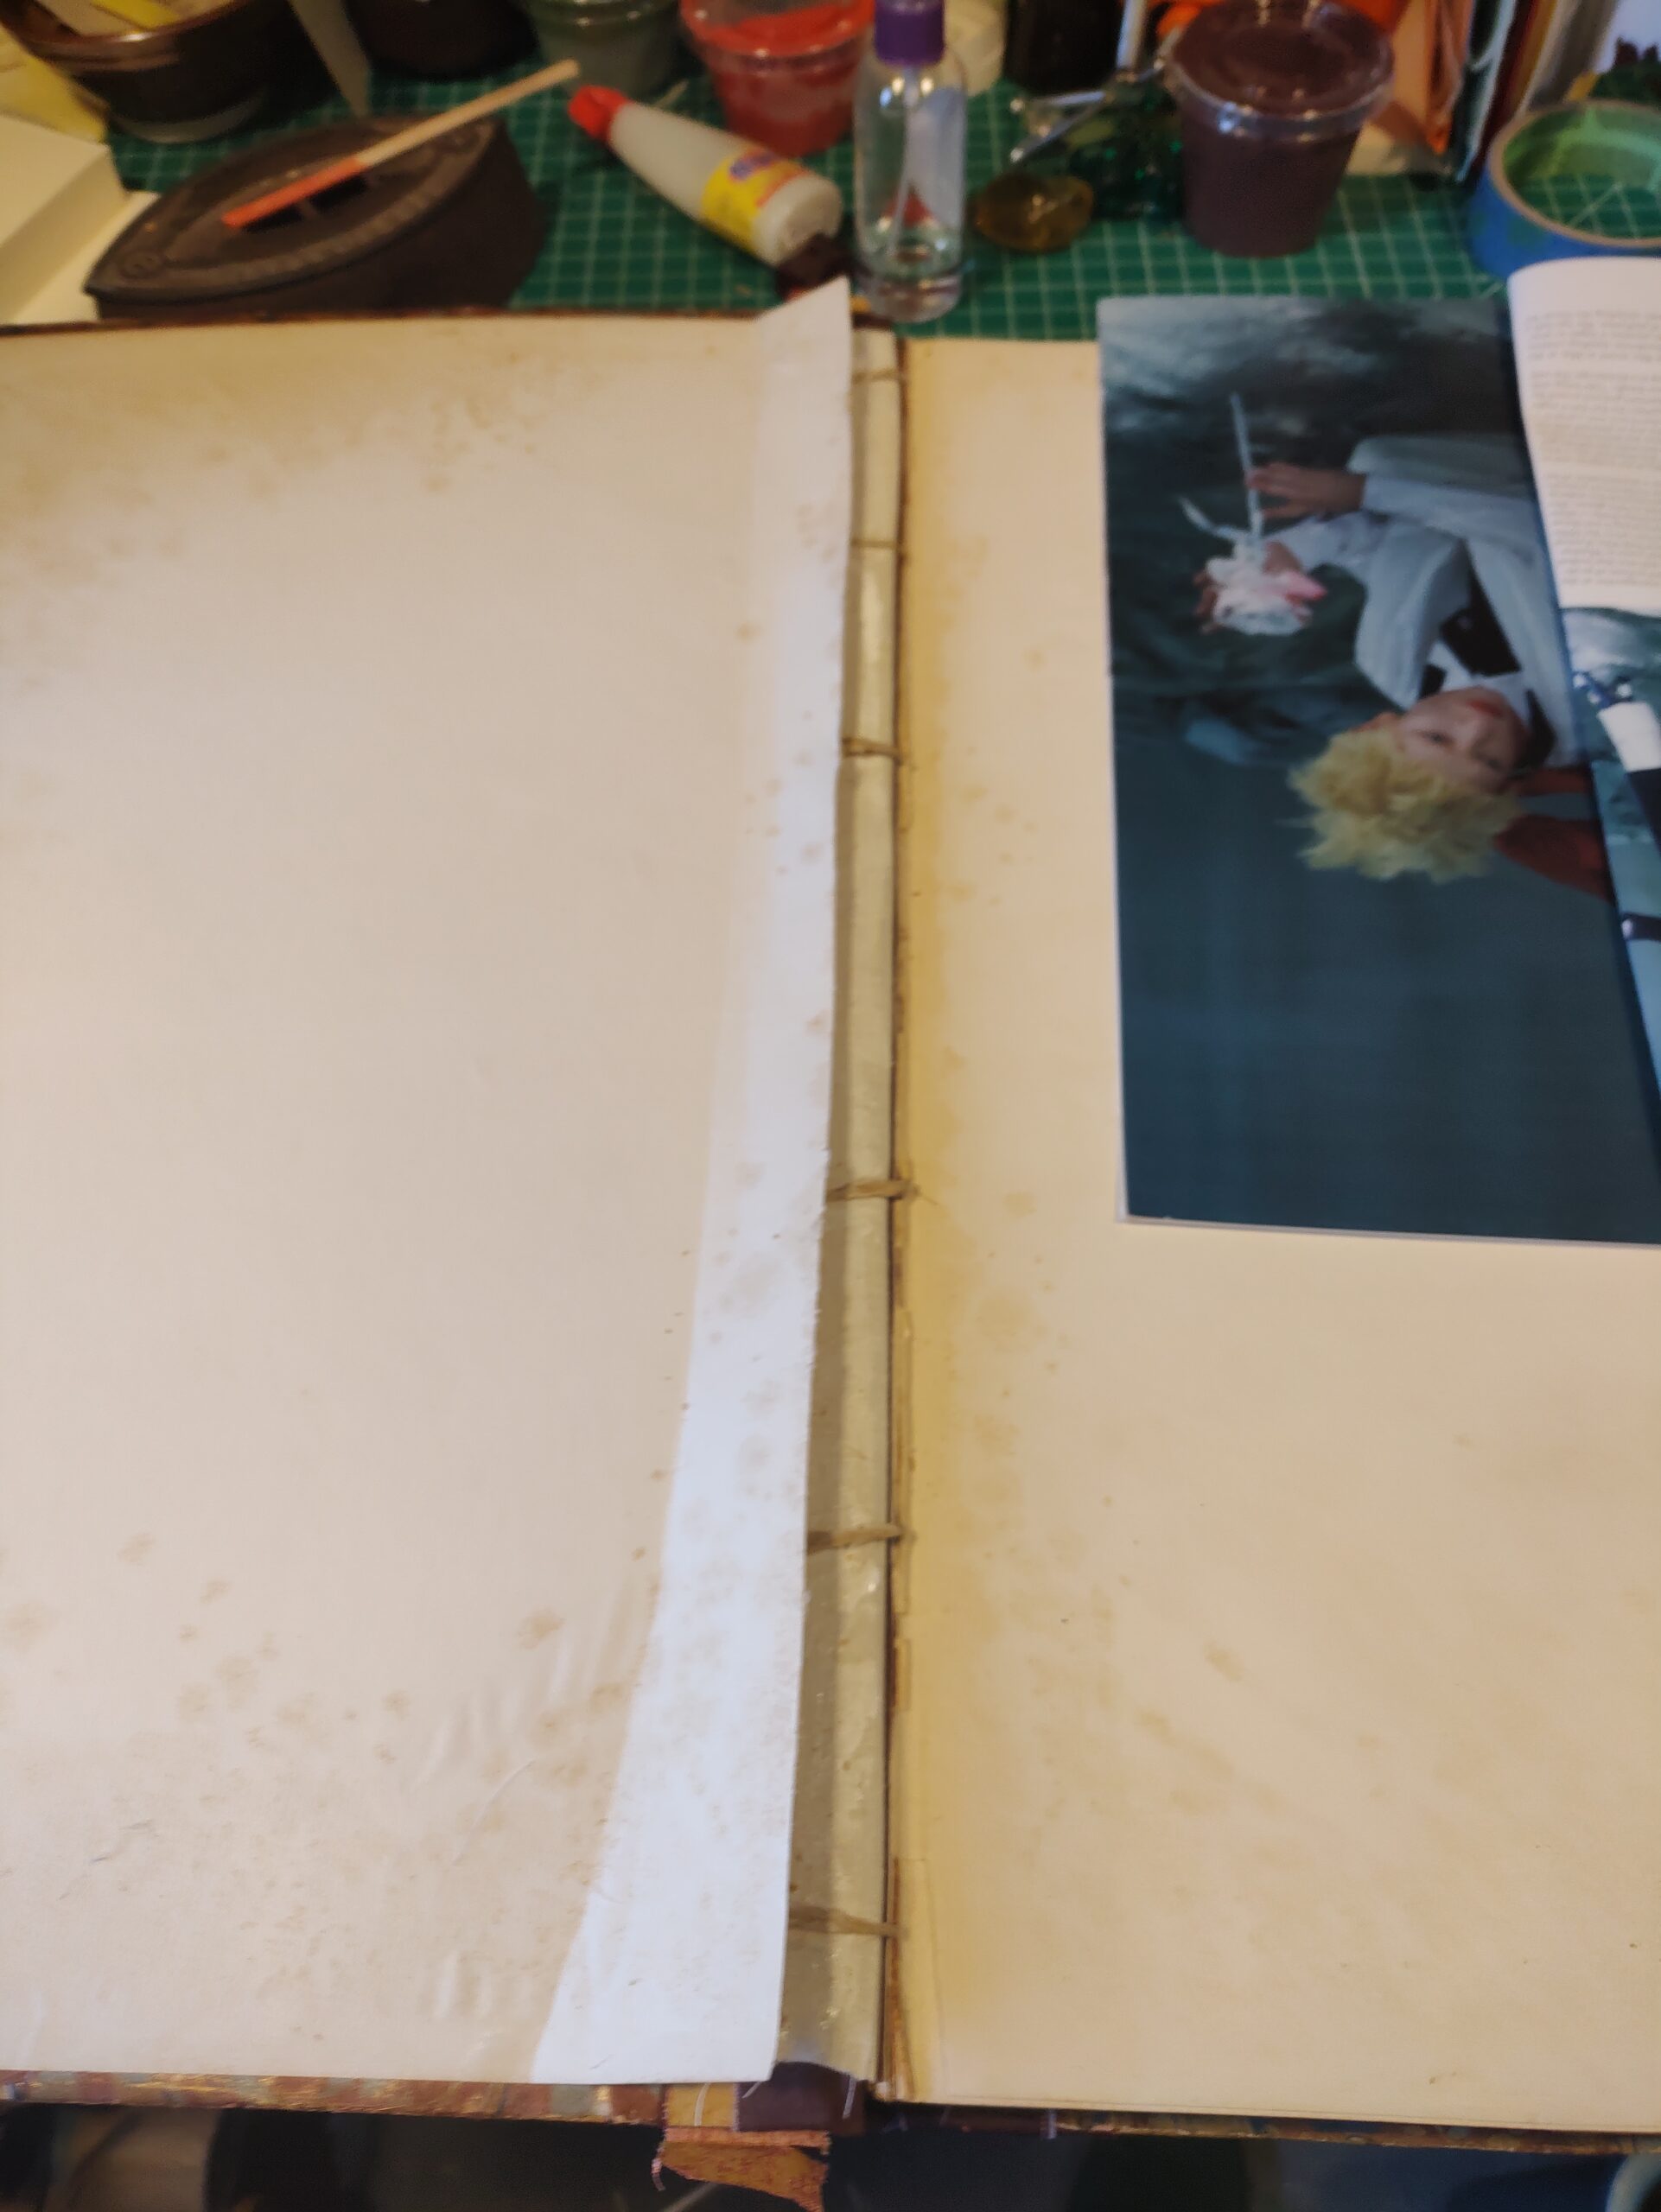
The magazine page was used to help me only glue up the bits I wanted to as I tucked the cords and hinge linings under the pastedown.
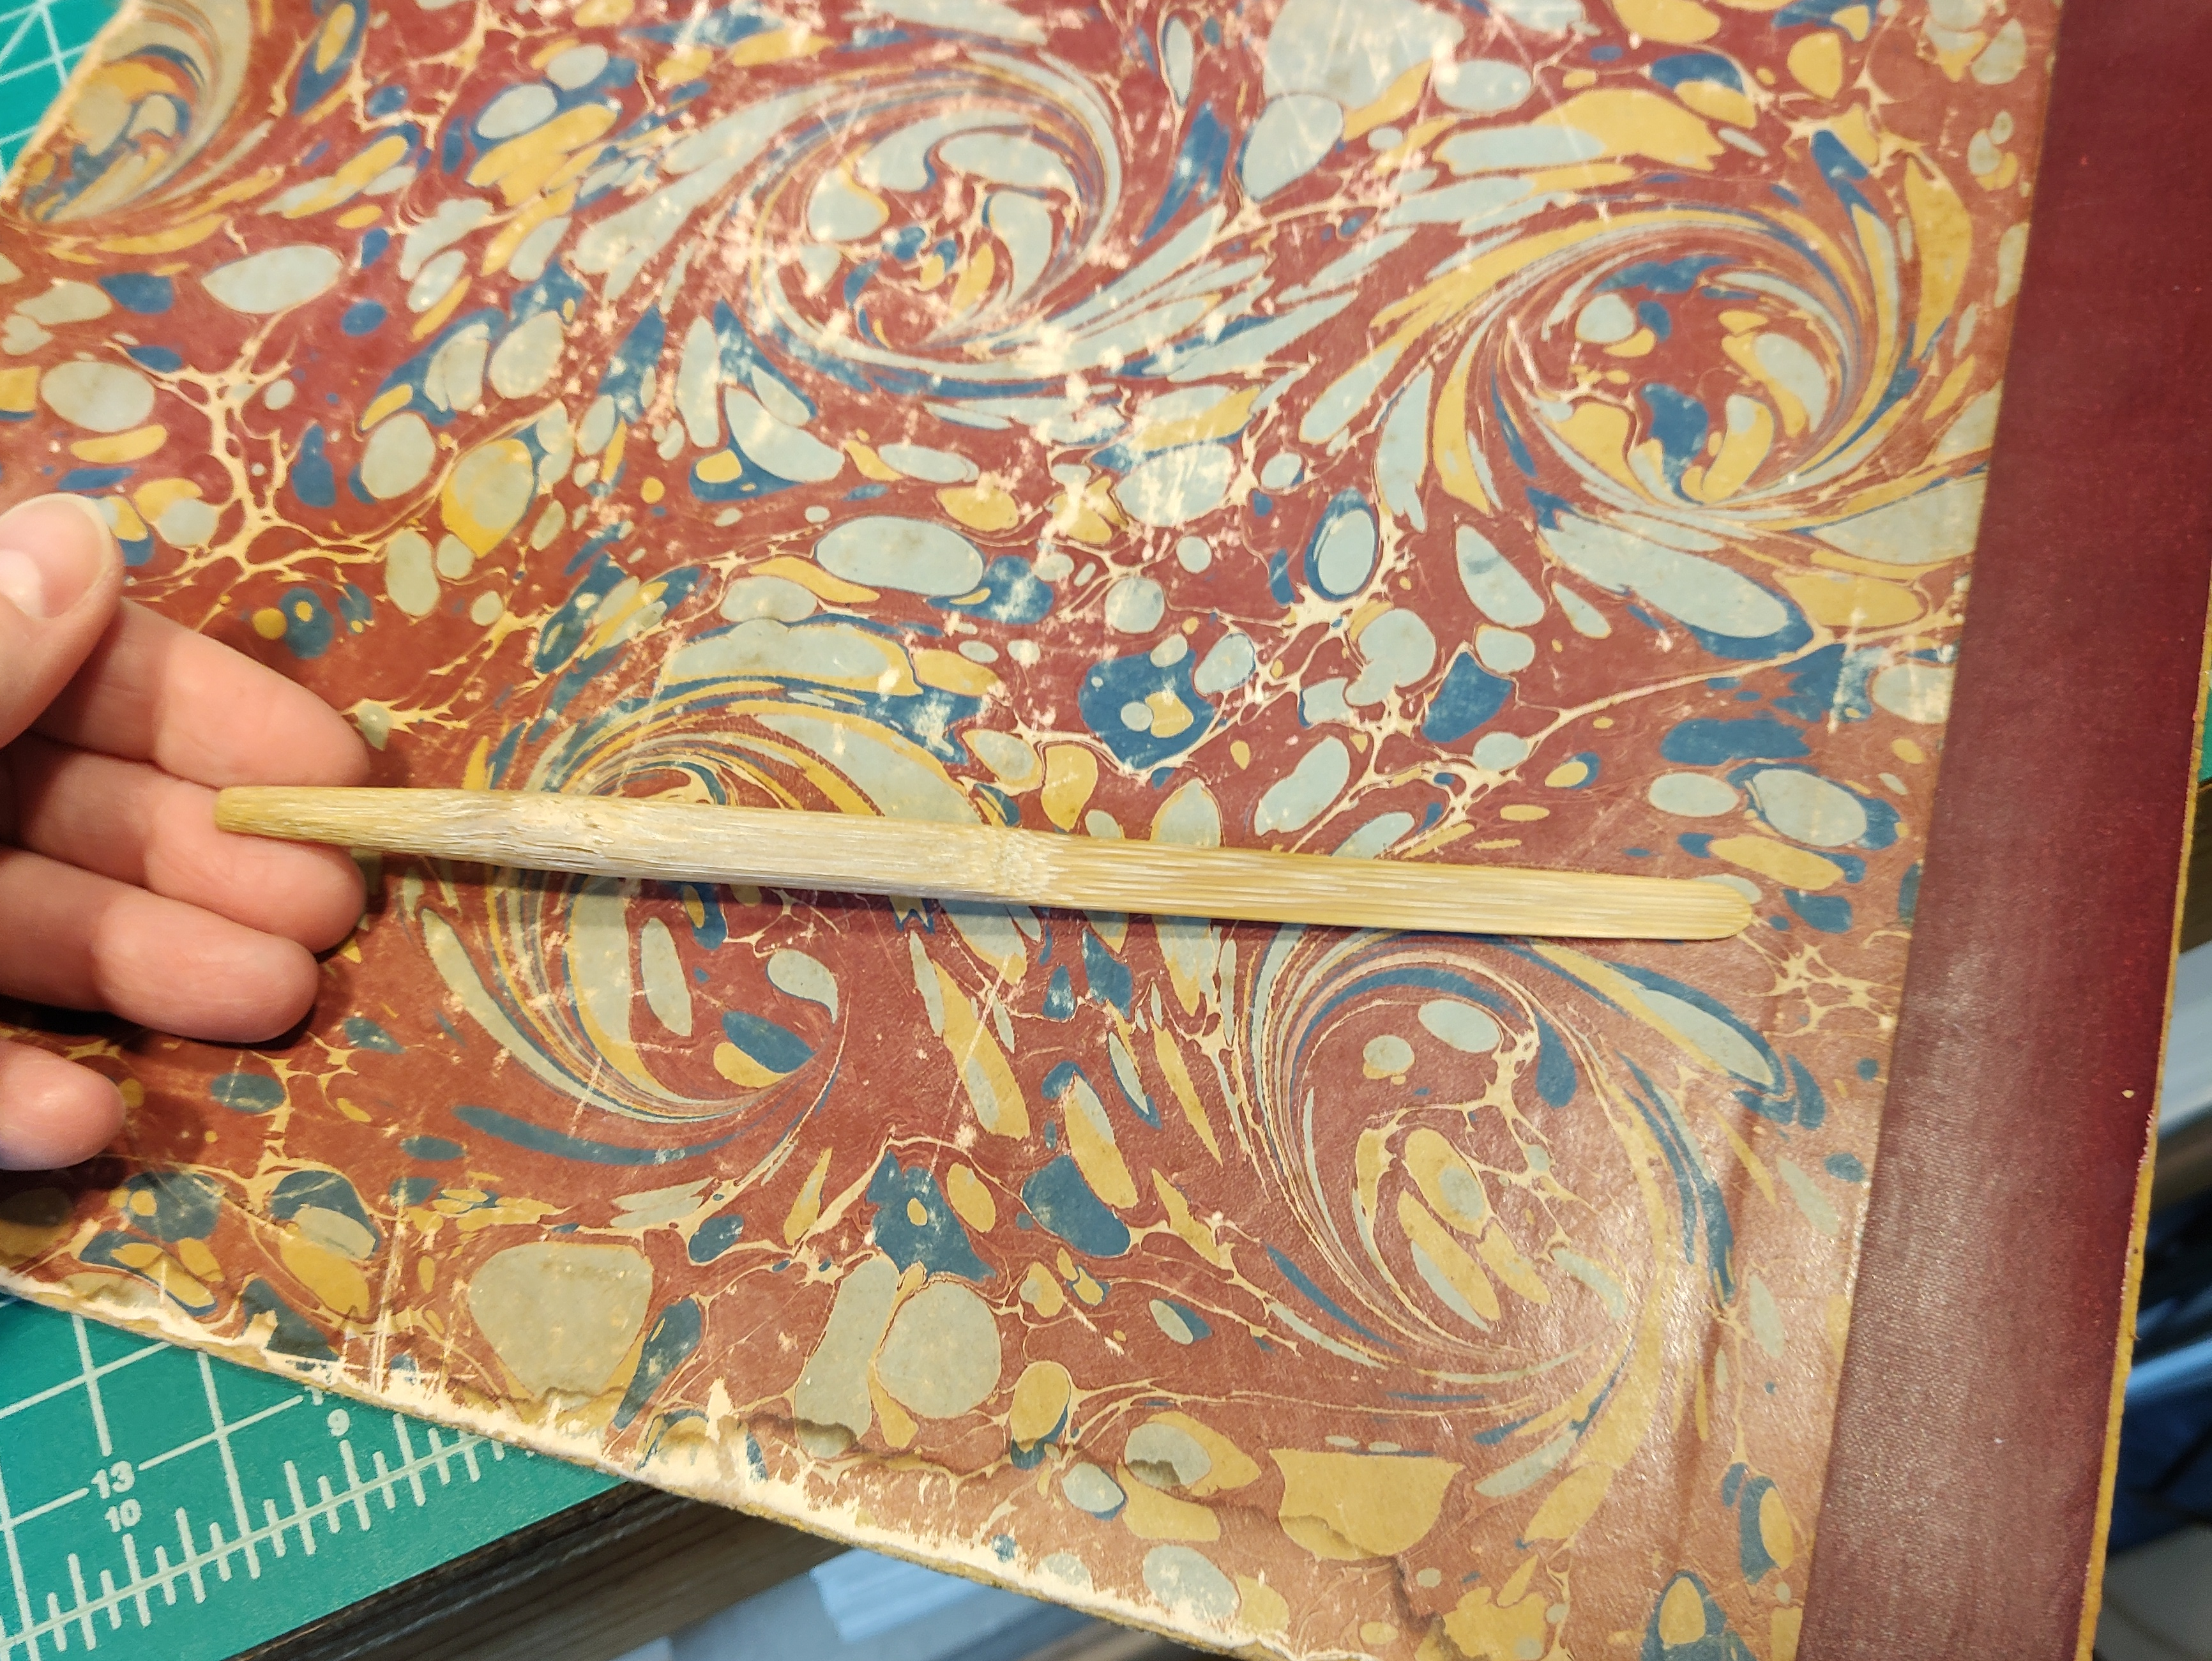
I took a workshop with Jeff Peachey on making your own tools, and made a bamboo lifter that worked great for gently lifting the cover material on the boards! Here’s a quick look at it:
 |
 |
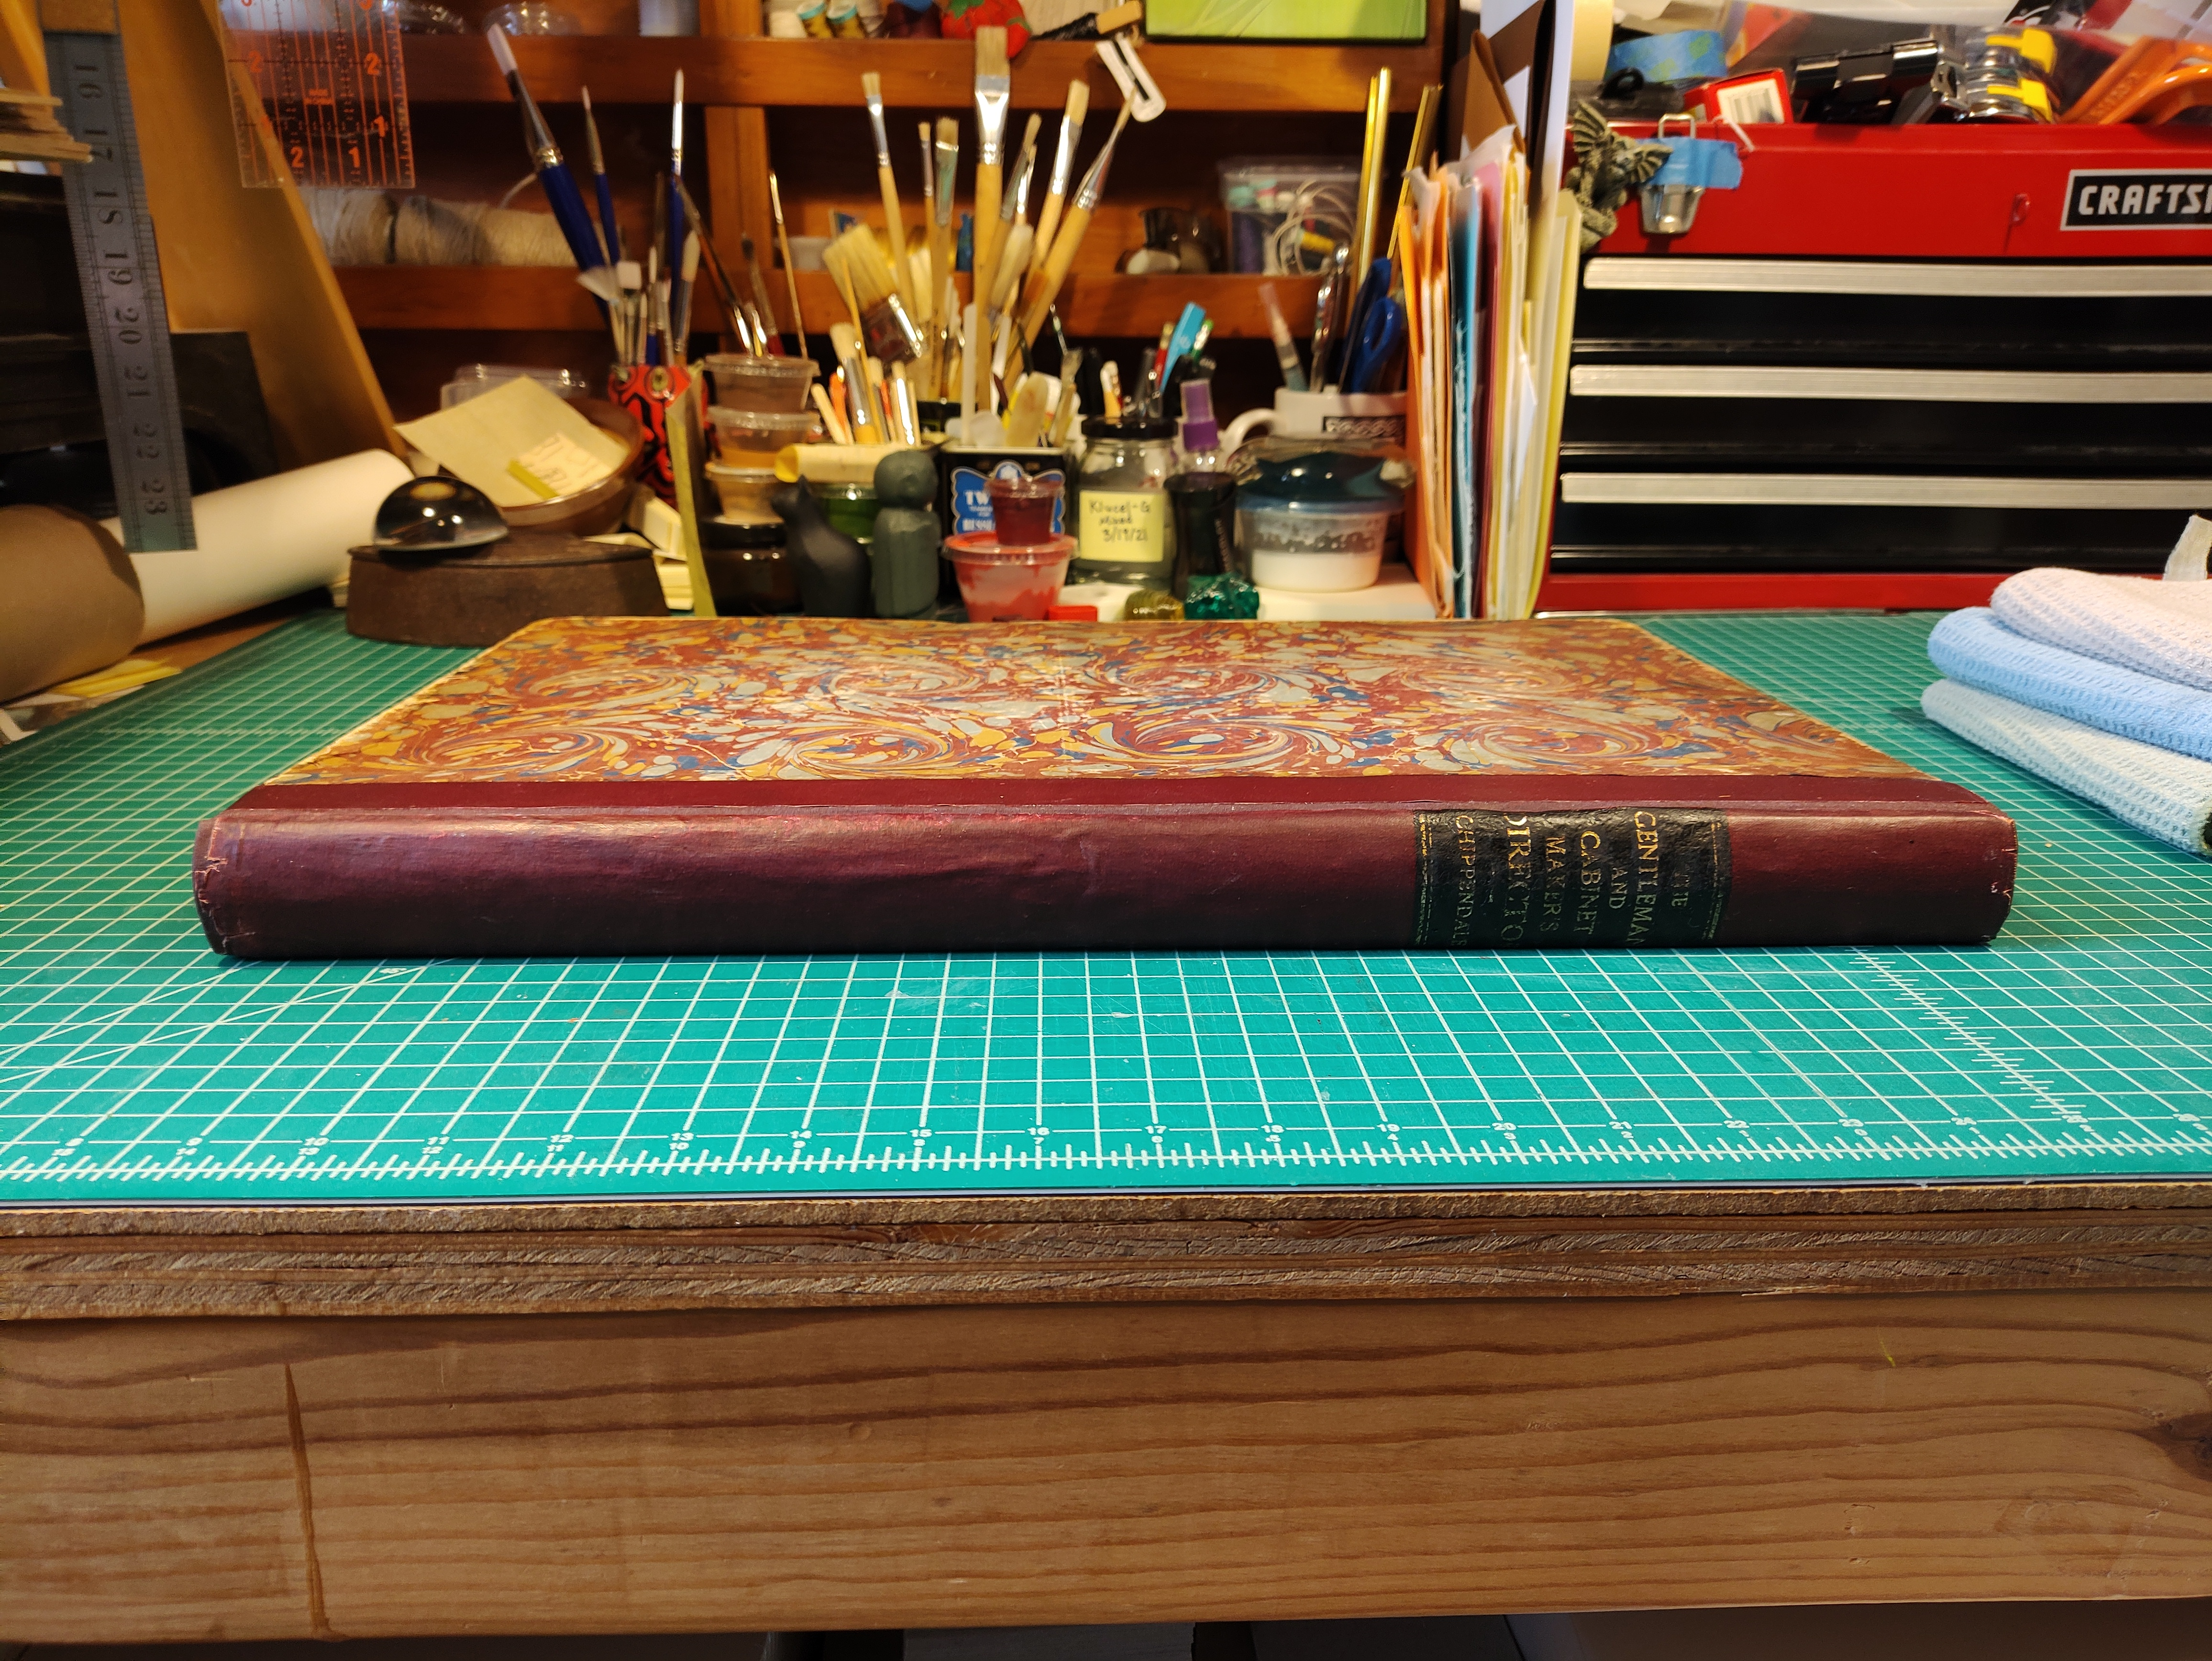
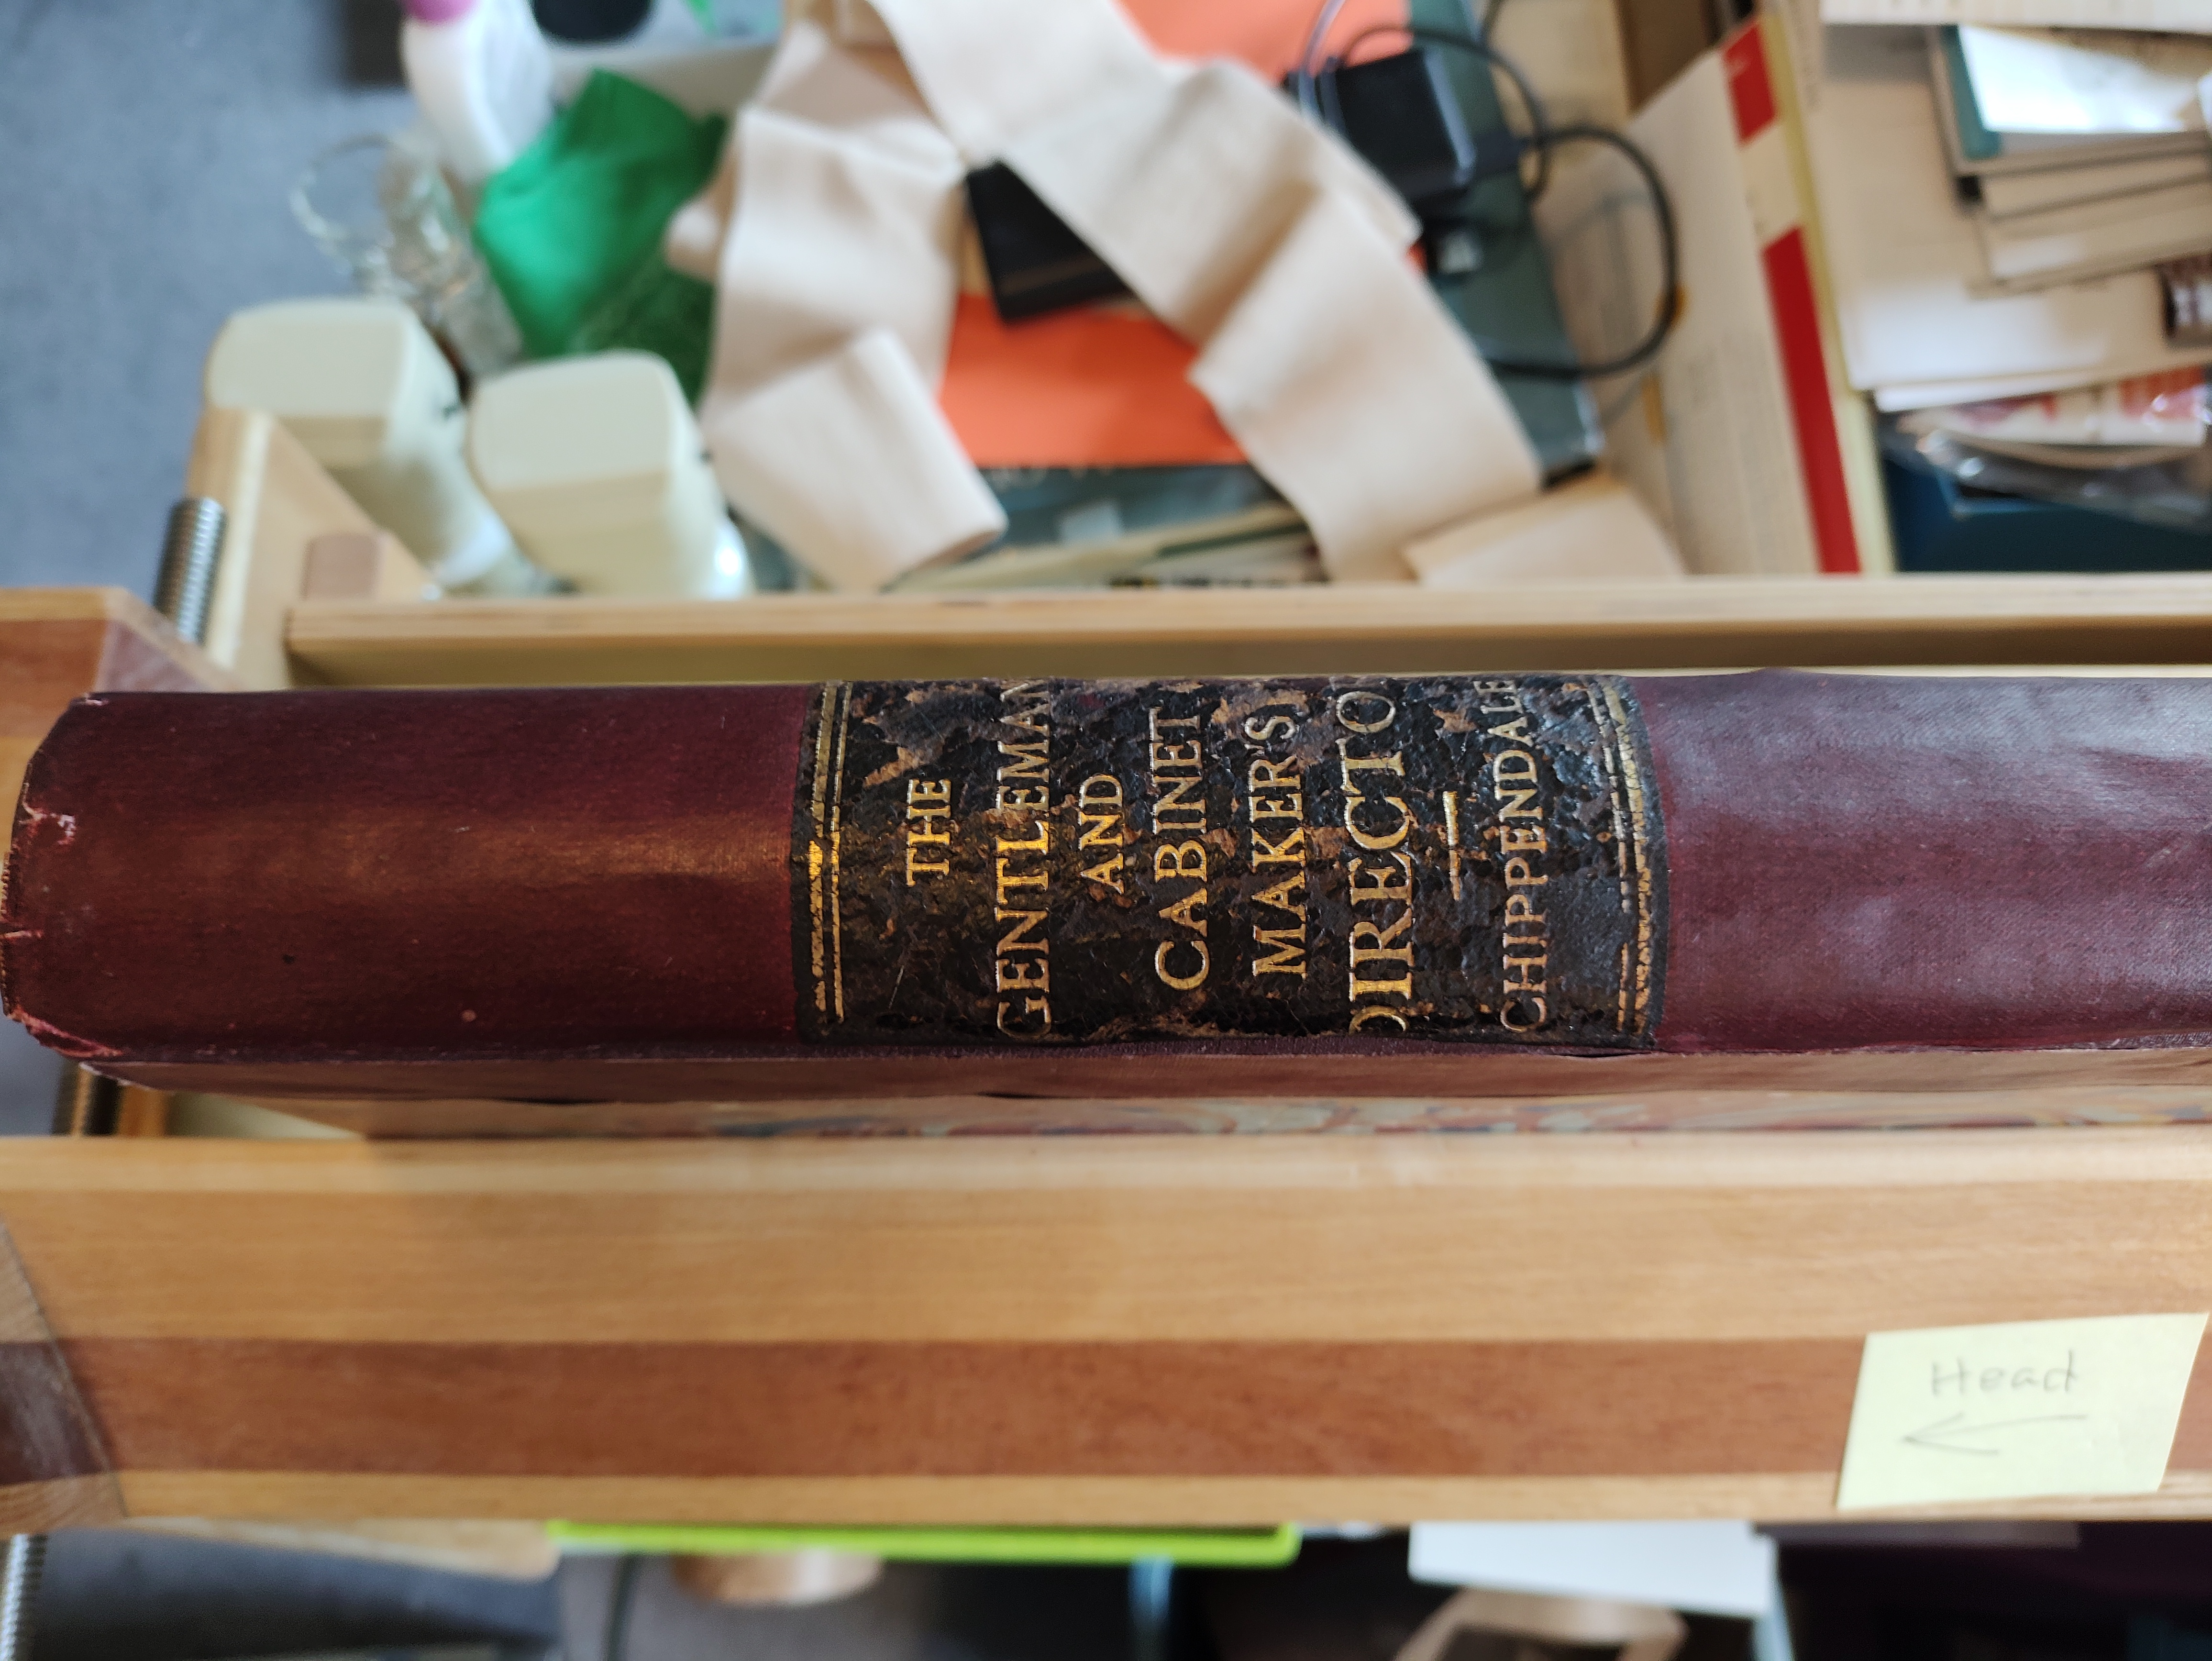
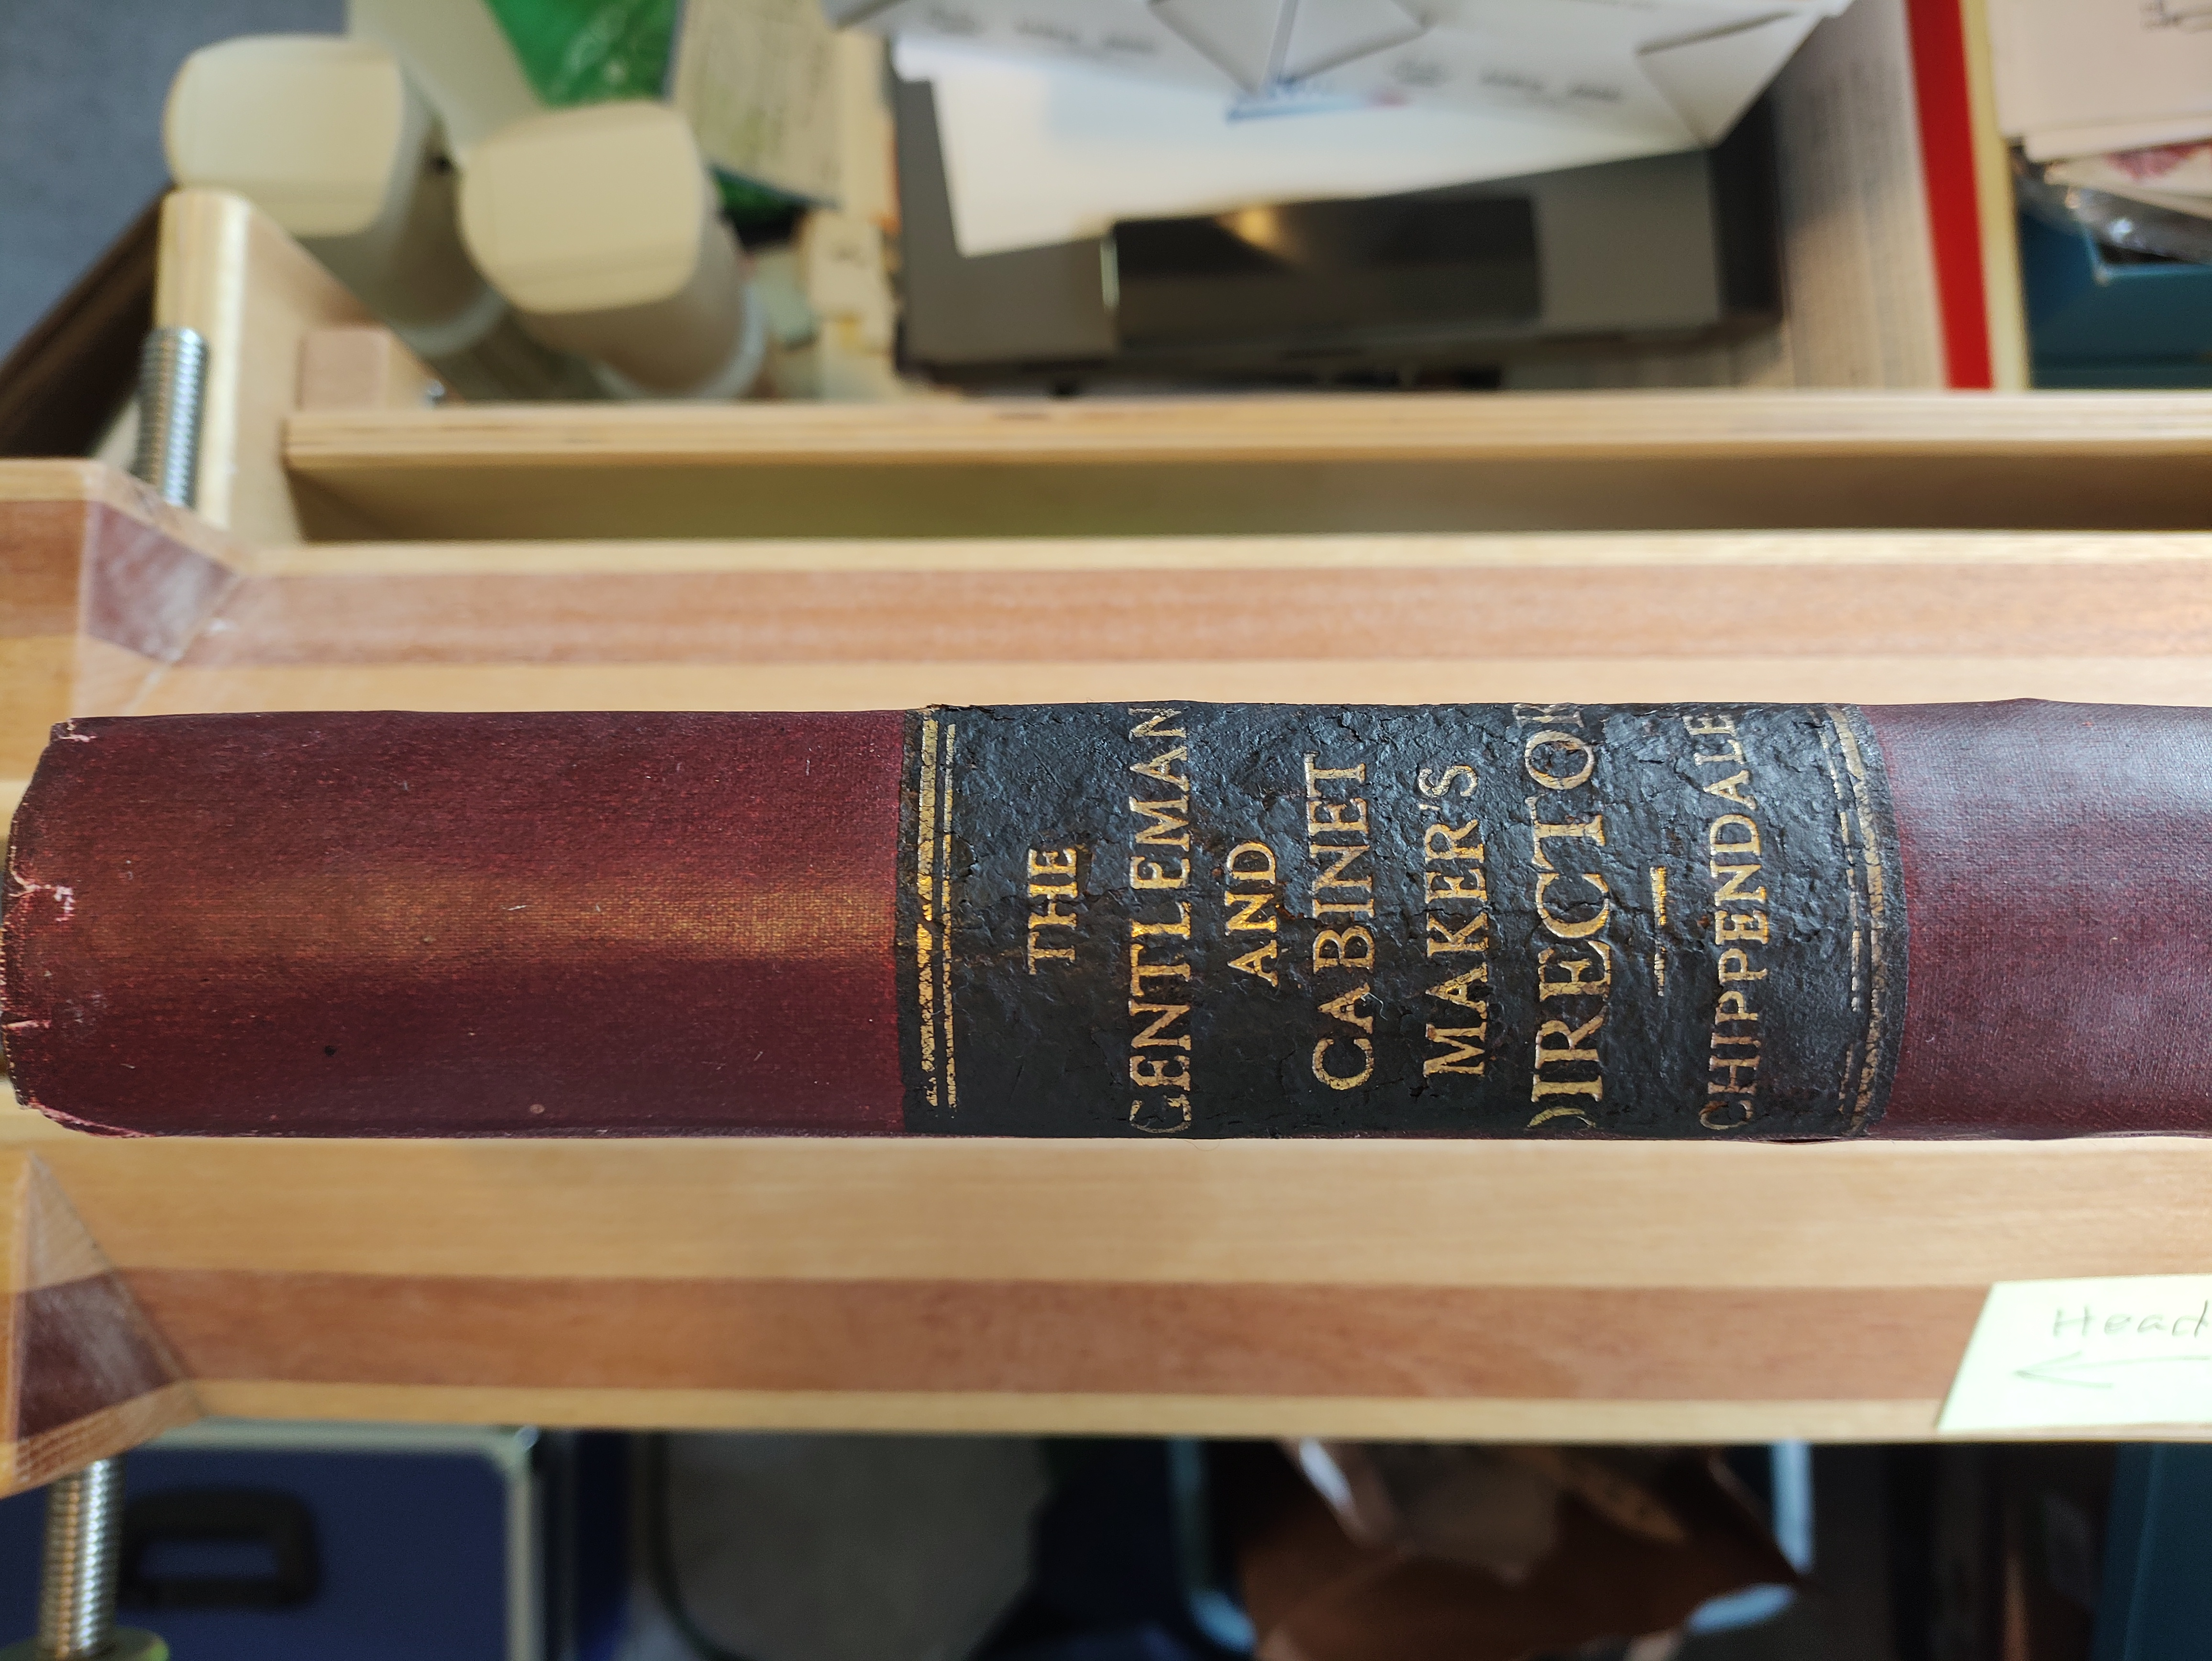
I also touched up the leather label on the spine with black shoe cream before giving it a coat of Klucel G to protect it.
| Before | After |
 |
 |
I learned a lot, and it was a real privilege to work on such a large, old, unusual book!