The Gentleman and Cabinetmaker’s Director

Where do I even start with this tome? Frank Coates, the owner of  local antiques-and-fine-art place Bloomsbury PDX, brought this to me in the early days of the pandemic. He said it was okay if it took a while, which is good because it took me about two years.

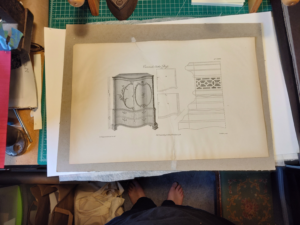
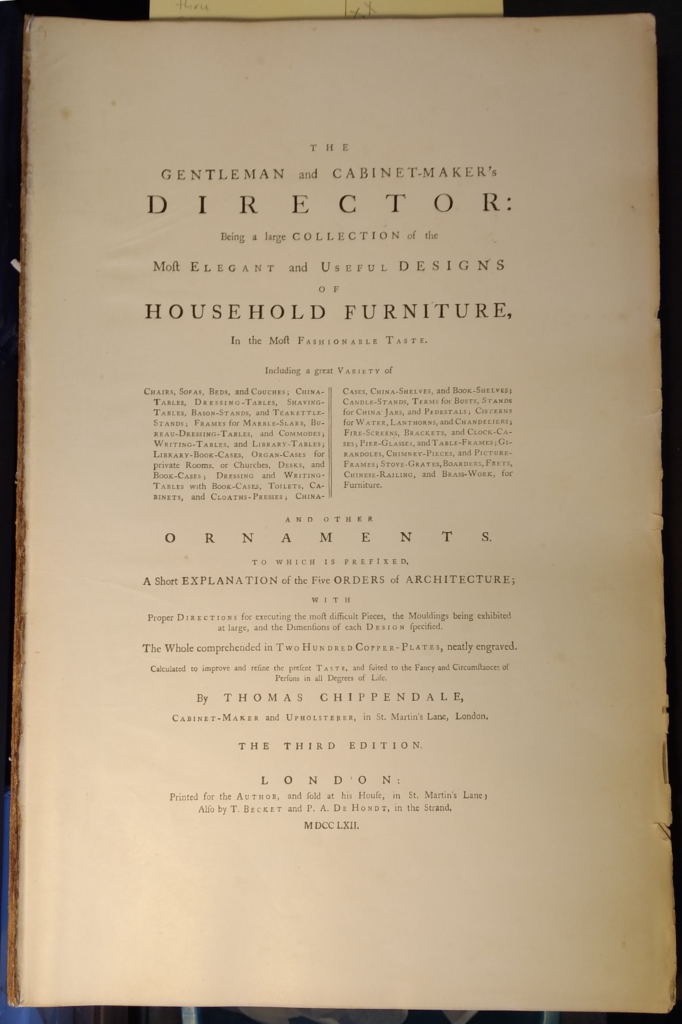
This is the oldest book I’ve ever worked on, published in 1772! Take a look at the title page, which contains a lot of information:

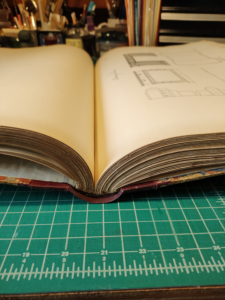
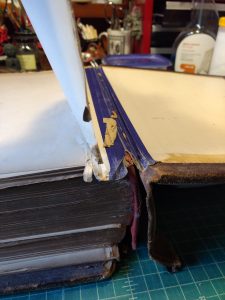
The book measures roughly 19″x13″, and the pages are in beautiful shape – minimal discoloration, and a beautiful, soft feel in the hand. There’s a bit of brittleness, but very little. The prints of the various designs are all in gorgeous shape. The rest of the binding, not so much. The glue along the spine had crystallized and shattered, leaving the pages as a stack of beautiful prints with grit along one long edge. Unlike most books from hundreds of years ago, this was essentially bound like a paperback book, just with boards for covers and a rounded spine.

Everybody loves a before-and-after gallery, right? Here you go!

Before After

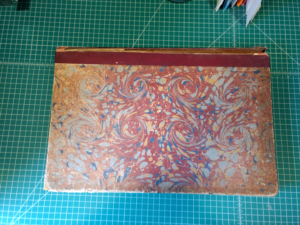
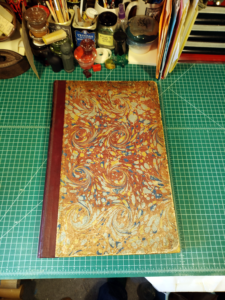
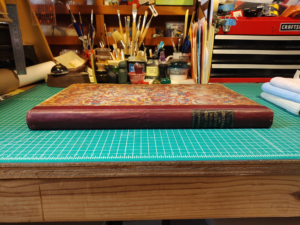
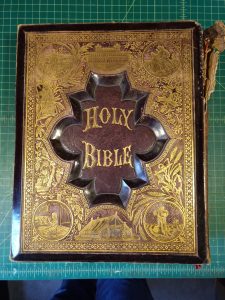
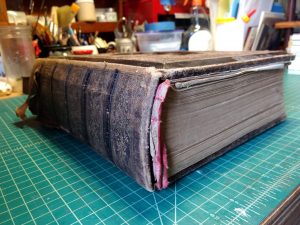
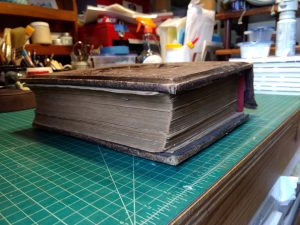
A massive book lying on a green cutting mat. It has maroon, gray, blue, and yellow marbled paper on the cover and maroon leather down the spine..
The front cover, before repairs.

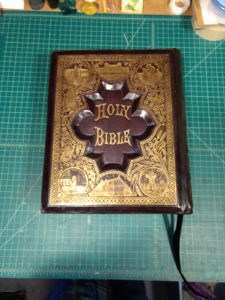
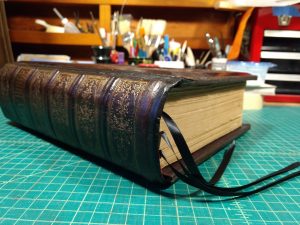
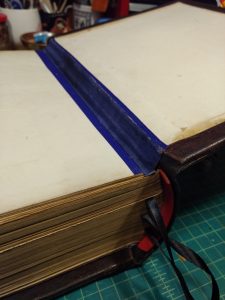
The front cover, after repairs.

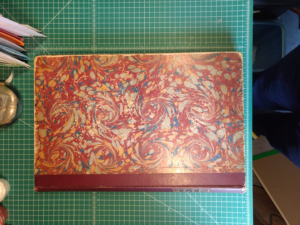
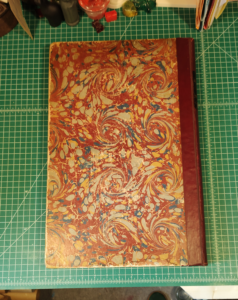
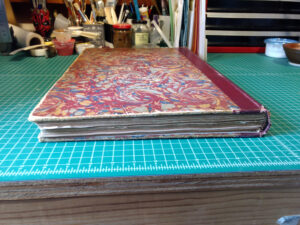
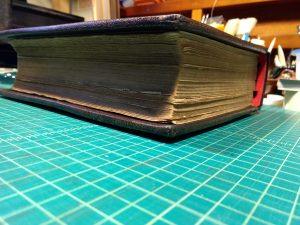
A massive book lying on a green cutting mat. It has maroon, gray, blue, and yellow marbled paper on the front.
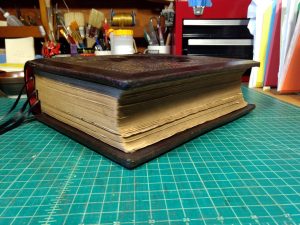
The back cover, before repairs.

The back cover, after repairs.

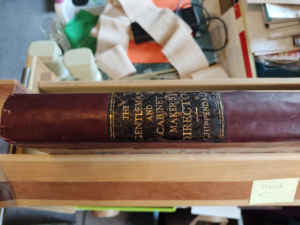
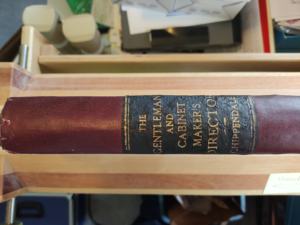
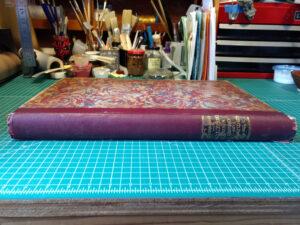
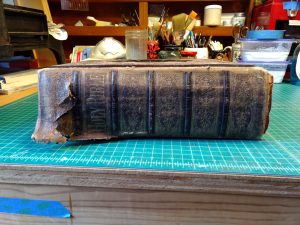
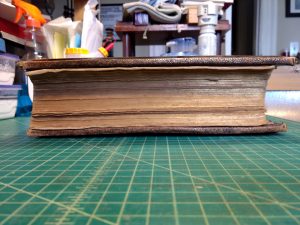
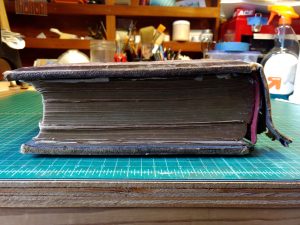
The spine, before repairs.

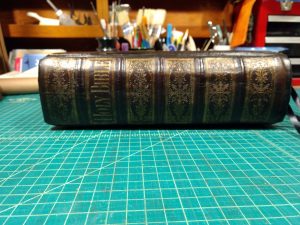
The spine, after repairs.

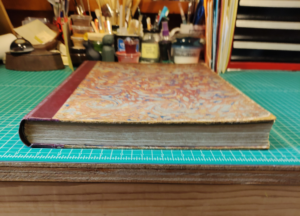
A massive book lying on a green cutting mat. It has maroon, gray, blue, and yellow marbled paper on the front.
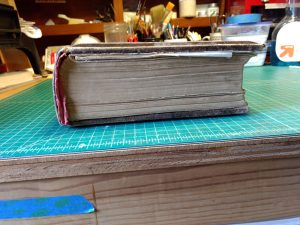
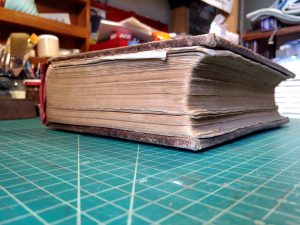
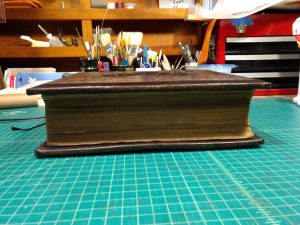
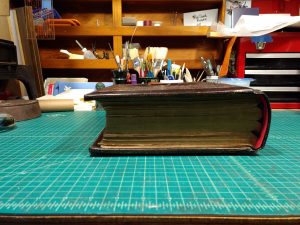
The bottom edge, before repairs.

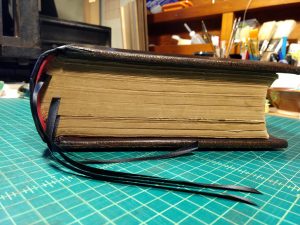
The bottom edge, after repairs. Please note: the lighting gave me more issues than I could fix in post, I promise I didn’t fade the cover!

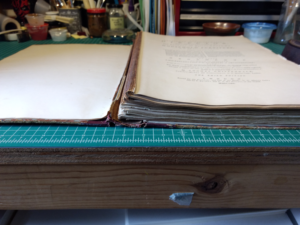
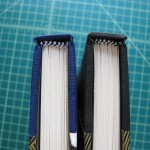
Bottom view of the text block, before repairs.

Bottom view of the text block, after repairs.

I kind of panicked when I opened it the first time, I’d never seen an old book bound this way! Thankfully Sophia (of SaveYourBooks.com) had some ideas and helped me be a little less intimidated.

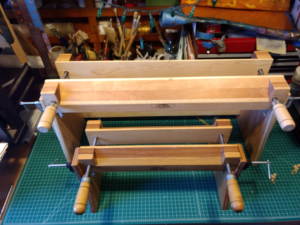
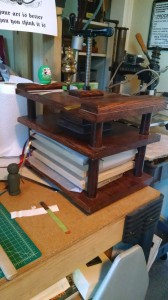
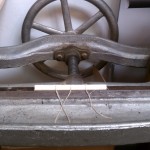
One issue I spotted the moment I accepted this book to repair was how tall it is. Folks who’ve seen my laying/finishing press in person in my booth know it is nowhere near big enough to hold a 19″ book. Thankfully Jim Poelstra of Affordable Binding Equipment takes custom orders and made me this behemoth (shown with my regular-sized one for scale):

Two laying presses, which hold a book vertically with the spine up. They're wide and made of wood and have two cranks to close the jaws snugly.

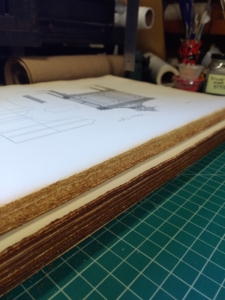
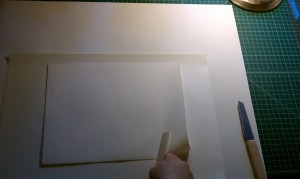
My first order of business was cleaning the glue off the pages. It had hardened and shattered, leaving a line of grit on the edge of every page. This took a while! I carefully scraped it all off with a lifting knife. I didn’t find any way to do it faster that wouldn’t damage the pages or involve just hacking the edge off. I really didn’t want to remove any more original material than necessary. Here’s an in-progress pic, with cleaned pages on top.

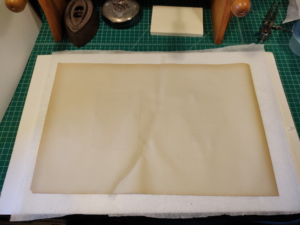
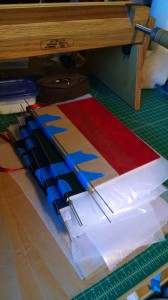
Another adventure I got to have was mending a page that had been torn completely in half! I took a paper mending course ages ago, but had never tried to mend this long a tear. Moisture (like in the paste) makes paper ripple – this isn’t too bad for small tears as the ripples aren’t very concentrated and can be minimized with pressure. This, however, was not a short tear: Once again, Sophia came to my rescue – but with a terrifying method. What you do to keep the paper from rippling when you paste on the mending material is get the entire page wet. She assured me that if I dried it sandwiched properly with hollytex (a non-woven synthetic material that won’t stick but lets moisture pass through) and blotting paper it would dry flat again. She was right! I still got a little rippling because keeping that massive a page equally damp with a mister rather than a fancy humidifier hood is really difficult. But, not much rippling all things considered! Here’s the sandwich (note the minimal rippling:
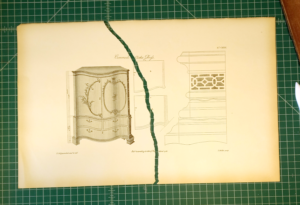
And here’s the finished page:

That was an adventure!

Other notable bits…

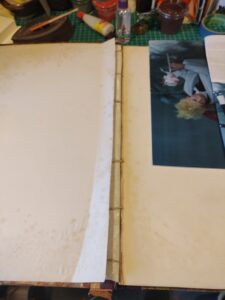
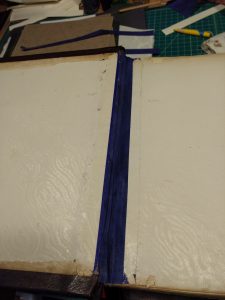
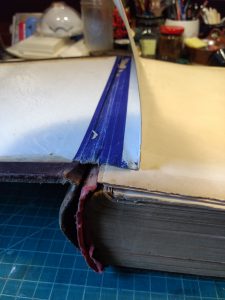
I unfortunately didn’t take any images of the main strengthening structure I used: I (very nervously and very carefully) used a small saw to cut channels into the spine, then laid cord into each one and glued everything up. You can see the cords here, where they’re tucked under the pastedown inside the cover:

The magazine page was used to help me only glue up the bits I wanted to as I tucked the cords and hinge linings under the pastedown.

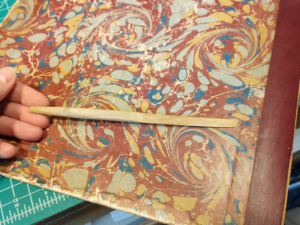
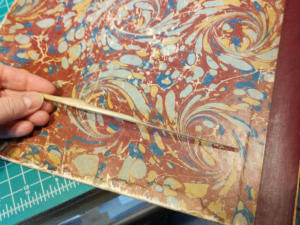
I took a workshop with Jeff Peachey on making your own tools, and made a bamboo lifter that worked great for gently lifting the cover material on the boards! Here’s a quick look at it:
I also touched up the leather label on the spine with black shoe cream before giving it a coat of Klucel G to protect it.

Before After

I learned a lot, and it was a real privilege to work on such a large, old, unusual book!
2019’s Bible Project

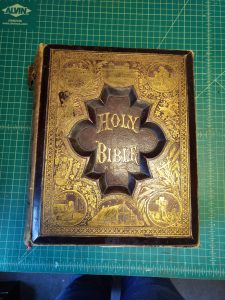
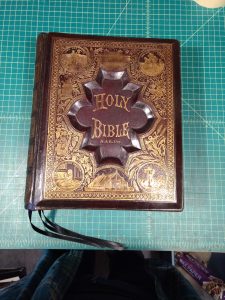
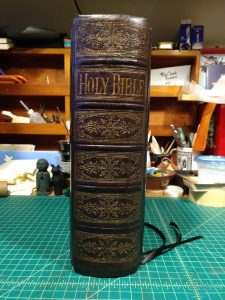
After last year’s Bible repair project, I was a little less nervous taking on a second one. Sophia was very encouraging, and I finished in about half the time, which is great – mostly because I had fewer questions and was a lot less anxious (anxiety = procrastination). I’m really happy with how it turned out, take a look:

Before After

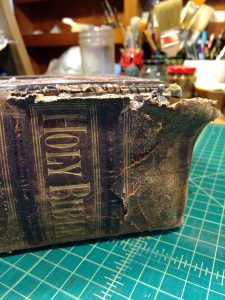
I think my favorite detail is the top of the spine where some brave soul attempted to mend the splitting shoulder by spiral-binding a tear back together (you can see it in the last row of photos). Sadly, the spiral binding didn’t hold and made a big mess of the leather on that shoulder. Thankfully, most of it was removed when I trimmed the shoulders for the new spine, and you can barely see where it was.

There’s something incredibly satisfying in repairing these huge old Bibles. Sophia taught me to do multiple layers of reinforcement on the spine, including a hollow (basically a flattened tube of heavy paper that is glued to the spine of the text block and to the spine of the cover. The inside of the flattened tube is not glued, so the spine has flexibility but also a lot of support), so the finished version is much, much stronger than the original and should last a very long time with a bit of care.

If you have a big old family Bible (or other book!) that needs repair, check out my Bible Repair page and get in touch!

NaBoBiMo Day 19!

Yeesh, the month is getting away from me! Good thing the holiday weekend is coming up. Hopefully I can crank out enough text blocks in time to get them trimmed by the lovely folks at Signature Print Services before Turkeyday.

Anyway! Here’s the status after today:

IMG_20121119_192237.jpg

Up top are six text blocks almost ready to trim. Below are two text blocks ready to prep for binding and four finished books.

Here are the two I finished most recently:

IMG_20121119_192039.jpg

The colors aren’t quite true here, since it’s night time, but the right one has gold fabric and a sort of orchid violet with gold brushstrokes on it. So pretty!

Here are their endpapers:

IMG_20121119_192054.jpg

Not bad!

If I bind two books a day for the rest of the month, I’ll be four short. Since I should be able to bind at least three or four a day over the holiday weekend, that’s actually not too bad! The real bottleneck will be getting the text blocks trimmed.

Progress:

  • Cutting/prepping of materials: Cover materials almost entirely prepped! About 1/2 of endpapers prepped.
  • Text blocks sewn and awaiting prep: 8
  • Books prepped and awaiting casing-in: 0
  • Total books cased-in: 4
  • Total time: 17:24

NaBoBiMo Day 12: FINISHED BOOKS OMG

Holy cow, I pulled two finished books out of the press today! Very exciting. BEHOLD:

data

Pretty sweet, eh? AND I prepped two more text blocks for casing in. Woot!

The other thing I did today is finish hacking up all the paper and bookcloth I have — which turns out to only be enough for a total of 25 books. Oops. So my estimates were a leetle off.

IMG_20121112_182809.jpg

My back hurts, gah.

Progress:

  • Cutting/prepping of materials: Cover materials almost entirely prepped! About 1/2 of endpapers prepped.
  • Text blocks sewn and awaiting prep: 7
  • Books prepped and awaiting casing-in: 2
  • Total books cased-in: 2
  • Total time: 12:30

The Art and Science of Cloth Rebacking

Last week I spent four days, 9:30-6ish, up at the San Francisco Center for the Book, learning how to do cloth rebacking.

WTF is Cloth Rebacking?

Well might you ask!

Cloth rebacking is when you take a cloth-bound book that is falling apart and fix its binding.

Fitting the clothBasically, it involves putting new cloth underneath the old cloth and rebinding the book. There’s a lot more to it than that, and I put up a ton of photos on my personal Flickr detailing the process.

It was really fun!

The teacher, Dominic Riley, is a professional bookbinder and book repairer from the UK, and he has done over 900 cloth rebackings alone in the course of his career. He knew all kinds of tricks and methods of dealing with the various odd bits of damage and peculiarities of the books my classmates and I were working on for the class.

There were a few steps that were incredibly stressful, like cutting into the bookboard to make a channel for the new cloth to go into, and working the cloth into it. My book’s bookboard was very old and fragile, and really uncooperative!

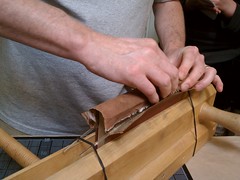
Front Cover: progressWeirdly, my favorite part was repainting the cover — a very painstaking and exact process using the finest brush I own (which I originally bought for detail work painting lead miniatures). It was also the part I did the best at — Dominic seemed very impressed with my work. So gratifying!

I’m looking forward to practicing on several of my own books and on some of my family’s books — and then I’m going to start offering this service to all of you!

Got damaged books?

Start making a note of which books you have that could use some TLC. The Book Roadie’s Book Hospital will be taking patients soon!

Twins

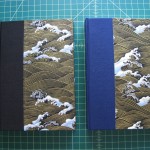
Today I’m donating a pair of blank journals to a charity auction supporting Gemini Crickets — as befits a donation to a parents-of-multiples support group, they are matching but not identical. Check it out!

It was fun making them — they’re pretty much the same as the books I made in Bookbinding 1, although I used a couple techniques I learned in Bookbinding 2 and 3.

Now I’m starting a run of blank books to sell on Etsy! Woot.

Zen and the Art of Paper Cutting

One thing I absolutely adore about bookbinding work is getting to work with really good paper. I’ve always loved paper — I used to collect stationary and write lots of physical letters, and the feel of really high quality paper under my fingers has always been something that has a lot of appeal. I already knew that working with paper (like doing a collage) easily turns into a meditative, relaxing activity, but oh, man, when I get to work with really good paper? Best. Thing. Ever.

The paper I am currently smitten with, Mohawk Superfine 70lbs, pretty much only comes in parent sheets (which are enormous) or in 8.5″x11″ reams, which are pretty useless for the blank books I want to make. Thankfully, I learned how to tear down parent sheets in one of my bookbinding classes, and the San Francisco Center for The Book will rent out access to their workshop, so I went ahead and ordered a bunch of parent sheets. Check it out:

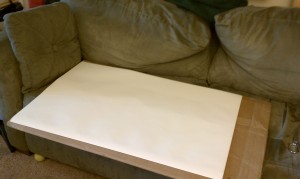
The stack of parent sheets sitting on my couch

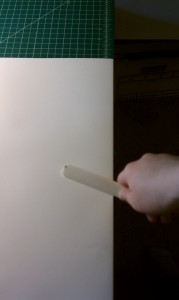
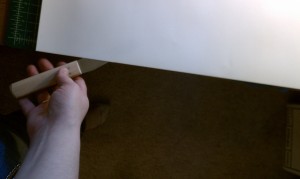
Those babies are 25″x38″. To get them into usable pieces, all you need is a bone folder and a good paper knife. I wound up enjoying the process so much that rather than just do a few and do the rest at the SFCB with one of their guillotines, I’ve been doing all of them — and that means hacking up almost 40 parent sheets into either eight sheets (for medium sized journals) or into 12 sheets (three for a large journal I’m making for myself and nine for little pocket notebooks). That’s a lot of cutting, but boy howdy,  I’m really enjoying it! It works like this:

Fold the paper along the line you want to cut, and crease it well with the bone folder.
Carefully use the knife to slit along the fold.


Repeat until you have the size of sheets you want.

It takes a bit of care to slit right along the fold — it helps to line the fold up with the edge of the table and use the surface of the table beneath the paper to keep the knife flat, but you don’t want it to be totally flat, it needs to point up just a teensy bit or you wind up scalloping into the bottom side of the paper. It requires total attention, which is part of what makes it so enjoyable for me. I can’t get distracted by whatever I’m worried about or let my mind wander down some random avenue of thought or I’ll ruin the cut. A little scalloping isn’t a huge problem, since I’m going for a handmade look and anyway, some of these blank books will get trimmed on the huge book guillotine at the SFCB. But still, a perfectly straight cut makes the paper easier to work with and is a lot more satisfying.

I practice sitting meditation regularly, and can tell you from experience that it is a lot easier to enter a meditative state when you have something to focus on. Just sitting there, zazen-style, and trying to clear your mind and slow the chatter is really, really hard. It’s even harder when you’re exhausted or cranky or generally in need of a little meditative-style soothing! Something like a mantra or paying very close attention to your breathing (usually by counting each breath) can be really helpful, and it turns out that paper cutting is doing it for me — which is awesome, since it has an actual, tangible output!

Plus, the resulting page edges are lovely: soft, with an almost fuzzy or torn-looking edge, except they’re nice and straight (if I do them right, anyway). They remind me of old books I’ve read — my Mom’s cheap book club books from the fifties full of stories about The Saint. But they also remind me of books from a few centuries ago, when the pages didn’t get slit down until after they’d been bound. The parent sheets got printed on both sides and then folded up carefully to make each signature, and once the book had been bound the pages had to be slit apart. It was actually a special thing to slit the pages yourself, because it meant you bought the book brand new and nobody else had read it.

Regardless, I’m enjoying the process immensely. It’s not terribly efficient, but I’m doing it because it helps me unwind after a long day rather than to make money.

Bookbinding 3

Over the weekend, I went up to the San Francisco Center for the Book again and took Bookbinding 3. It was really fun! We did a bigger, more traditionally-bound book — just one rather than two — and it came out pretty well!

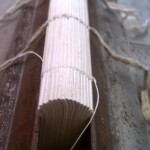
There are a number of things we did differently with this book than the ones I made in Bookbinding 2.  For one thing, this one is a lot bigger — 18 signatures instead of 10. For another, we learned to handle the greatly increased swell (the increase in thickness at the spine of the book you get from the fold and from the thread used to sew the signatures together) with a much more curved spine. You can see in the photos below just how curved it turned out! The process requires using a piece of equipment called a job press — you basically put the book in once it’s a little rounded and crank it tight so that the swell is concentrated all at the end rather than making the whole book sort of wedge-shaped. It gives the book shoulders, where the curve is wider than the rest of the text sheets (almost like a mushroom shape, if you look down at it from the top). The cover boards sit in against the shoulders, so ideally the covers and pages are all flat, while the spine curves out on the edge.

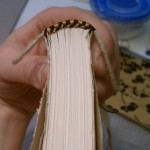
We also learned to sew our own endbands, a process some of my classmates hated but which I really liked. It’s a bit tricky, but the product is so awesome that I don’t mind. I am planning on doing sewn endbands for all my books from now on!

We also used wheat paste for some steps instead of using the synthetic stuff we’ve used in the past. Every glue has advantages and disadvantages. Wheat paste takes longer to set, which can be a real advantage (you can move stuff around a bit after putting it together to get things perfectly lined up, for example) but is also a liability in a classroom setting, because it takes so much longer to dry. The biggest advantage to wheat paste in my eyes is that it’s totally reversible. You can melt it with some care and attention, enabling you to undo serious mistakes or redo a project once you know a better way. Once I get into conservation and restoration, I will probably be using wheat paste exclusively because a book precious enough to be restored will be worked on again in the future, for sure, and it’s good to make that future work a little easier when you can!

Wheat paste does have to be mixed fresh every time you want to use it (it molds very quickly when it’s wet, since it’s basically just flour and water) and you have to mix in calcium carbonate to make it pH-neutral, but it’s easy enough to do both those things that I don’t mind.

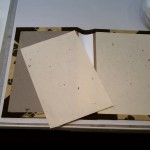
Finally, we added a lining to the inside of the cover so that there wouldn’t be a bump from the paper and bookcloth turn-in. This required some precision cutting, but wasn’t too hard, and I may add that to my own books in the future. The result is really nice.

So, here’s a look at the book!
I made a book!
I know, I know. I’ve made books before. But this one I made all by myself!

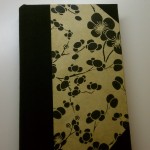
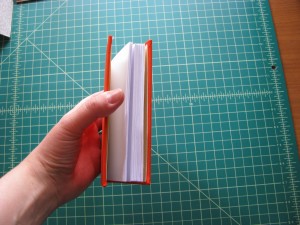
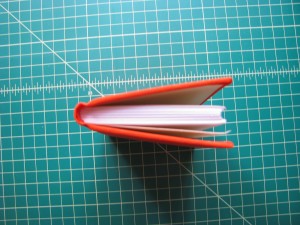
It’s smaller than the ones I did in class, and I used a different thread (one that’s bright orange, to match the cover!). For bonus win, I made it for my boyfriend, whose favorite color is orange — as you can probably tell from the photo — and he loved it.

I made the text block from printer paper, and used regular book board and book cloth for the cover. I made matching endbands, and used the curved-spine technique I learned in Bookbinding 2 (I don’t have a book hammer yet, but wound up being able to do it with just my fingers, probably because it’s such a small book).

My new nipping press is awesome and I actually cranked it down a little too hard – you can see some denting from the press being too tight if you know where to look in the photos. But it came out great for a first solo book! I’m very pleased.