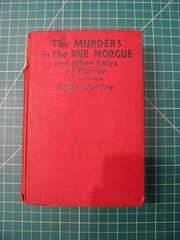
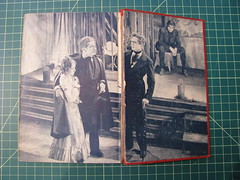
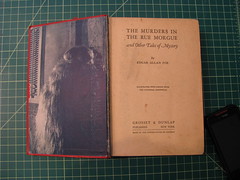
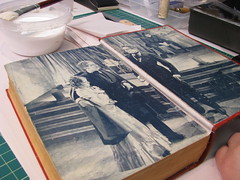
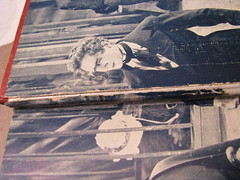
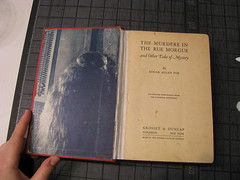
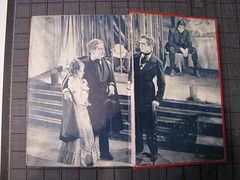
I’m not sure how old this book is — much to my surprise, it has no copyright date! It does, however, have screen shots from the Universal movie of the same name, which came out in 1932, so that gives a rough date. It’s an old Grosset and Dunlap book, which means that while it’s neato in terms of content, it’s el cheapo in terms of binding. I actually took it with me as a possible candidate for my first book repair class, but wound up not using it because it wasn’t going to work well for the set of skills we would be practicing that day. It turned out to be great for the The Restoration of Cloth and Leather Bindings class I took at the SFCB, taught by Don Etherington.
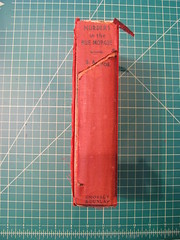
Before
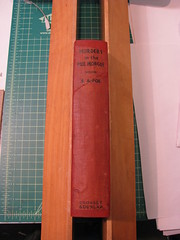
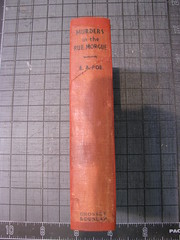
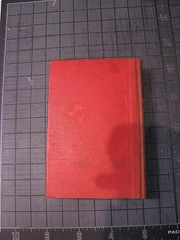
As you can see, pretty much all of the damage is to the spine. The cover boards were still attached, but the spine piece had started to come off (the small piece near the top was completely detached and I’d been keeping it inside the book all this time). The shadows in the lower right corner of each photo are thanks to the weird lighting in the classroom. I didn’t have the time to take away from class to set up for really nice shots. Sigh.
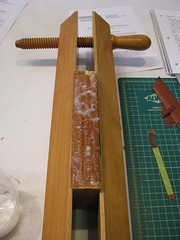
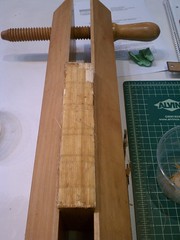
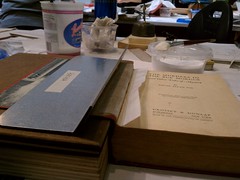
The text block is in good shape, but the front end paper is half-missing and the back end paper had detached. First things first: I removed the cover and cleaned the spine. Here you can see the text block with some gloopy paste on it to soften the old, brittle spine lining.
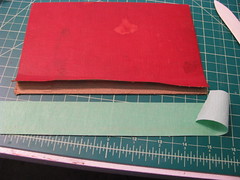
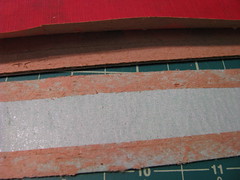
While waiting for the spine lining to soften, I worked on the cover boards. First I had to lift some of the book cloth on the outside, then use masking tape to remove some of the book board’s thickness. This way when I put the cover back together with new, strong fabric for the spine, there won’t be a lump under the book cloth.
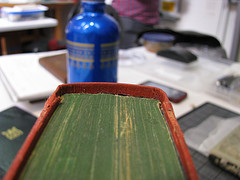
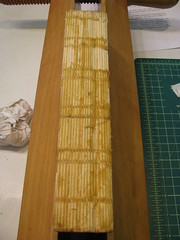
And here’s the text block after the spine lining was removed. You can see that the glue is still pretty thick.
After another round of softening, I got most of the glue off, and it looked like this:
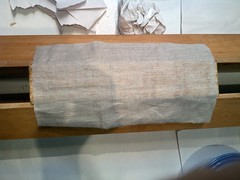
Time to attach the new, stronger spine lining cloth! This is Irish linen, which is strong and light.
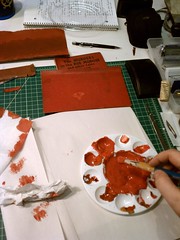
While waiting for the paste between the text block and linen to dry, I started mixing paint to match the cover. This is, weirdly, one of my favorite parts of the process. It takes forever, but it’s really rewarding when you’re done.
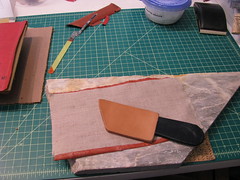
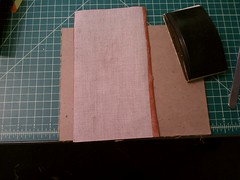
Once it was mixed, I painted a piece of Japanese paper with the paint, let it dry, and then glued it to a new piece of Irish linen. Once that was dry, it was time to bevel one edge, making it nice and thin so it would go under the book cloth flap I lifted earlier. There are two ways to bevel it, with a leather-paring knife (left) or with a sanding block (right).
Here’s the reassembled cover from the inside. The painted Japanese-paper-and-linen spine is attached to the cover boards and a new spine stiffener is in the center.
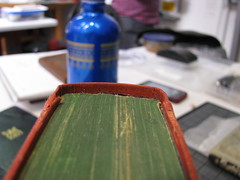
The cover is attached by gluing the spine stiffener to a hollow already glued to the text block (unfortunately, I neglected to photograph that part). A hollow is a tube of strong, flexible paper pressed flat and glued to the text block’s spine. By having the tube, the book can still open nicely and have a gap between the text block and the spine of the cover! It’s a neat technique, and one I hadn’t done before this class. I’ll try and get a good series of photos of how it works another time. Once the cover was attached to the book, the ends were tucked in top and bottom. Here’s a closeup!
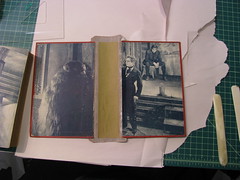
This next shot shows my favorite tool of ALL TIME! Well, maybe not of all time, but certainly one of my favorite tools. It’s tricky to see, but the metal gizmo there is holding the end paper up a bit from the cover so that I can glue down the linen spine liner and the nice Japanese paper hinge that will join the frontmost page of the text block to the cover.
Here’s how the back end paper looked after getting that treatment. It probably would’ve looked a bit nicer if I’d tinted the Japanese paper instead of leaving it white, but I didn’t realize how big a difference it would make until it was too late. Note for next time: dye the hinge paper!
Here’s a closeup after I reattached a long strip of end paper that had separated along the hinge:
At this point, all that was left was to reattach the original spine fabric from the cover!
All done!
After
And a look at the inside.
Overall, I’m pretty happy with how this one turned out. I learned some new tricks while I was working on it, and have a little mental list of things I’ll do better with next time. Plus, I ordered my own metal-lifter-holder-gizmo from Don once I realized how awesome it was. Hooray! Got a book of your own that could use this treatment? Check out my Book Repair services page or get in touch!
