Bookcloth Tutorial

I posted a tutorial on making your own bookcloth on Instagram a while back, and thought it’d be fun to offer it here, as well! (I’ve also edited it and added more commentary thanĀ I felt like typing on my phone.)

To make your own bookcloth using this method, you will need:

  • A large, clean work surface
  • Fabric
  • An iron and ironing surface
  • Japanese paper
  • Wheat paste
  • Paste brush
  • Waste paper to cover your work surface
  • Scissors
  • The measurements for how much bookcloth your project needs
  • A ruler or yardstick
  • A large, clean pane of glass (windows work great for this!)
  • A utility knife, x-acto knife, or similar
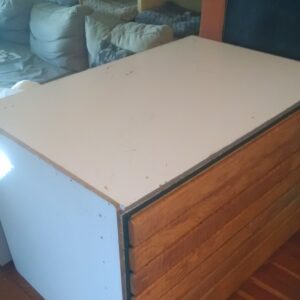
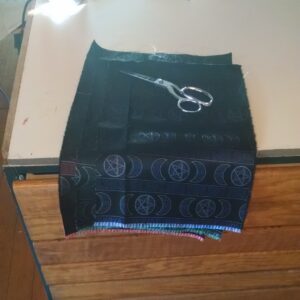
  1. Clean your work surface (in this case, my flat file downstairs).
    Bookcloth Tutorial 1
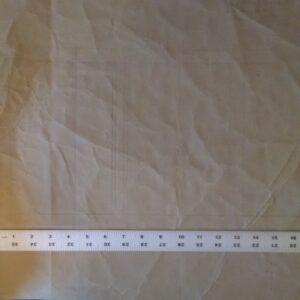
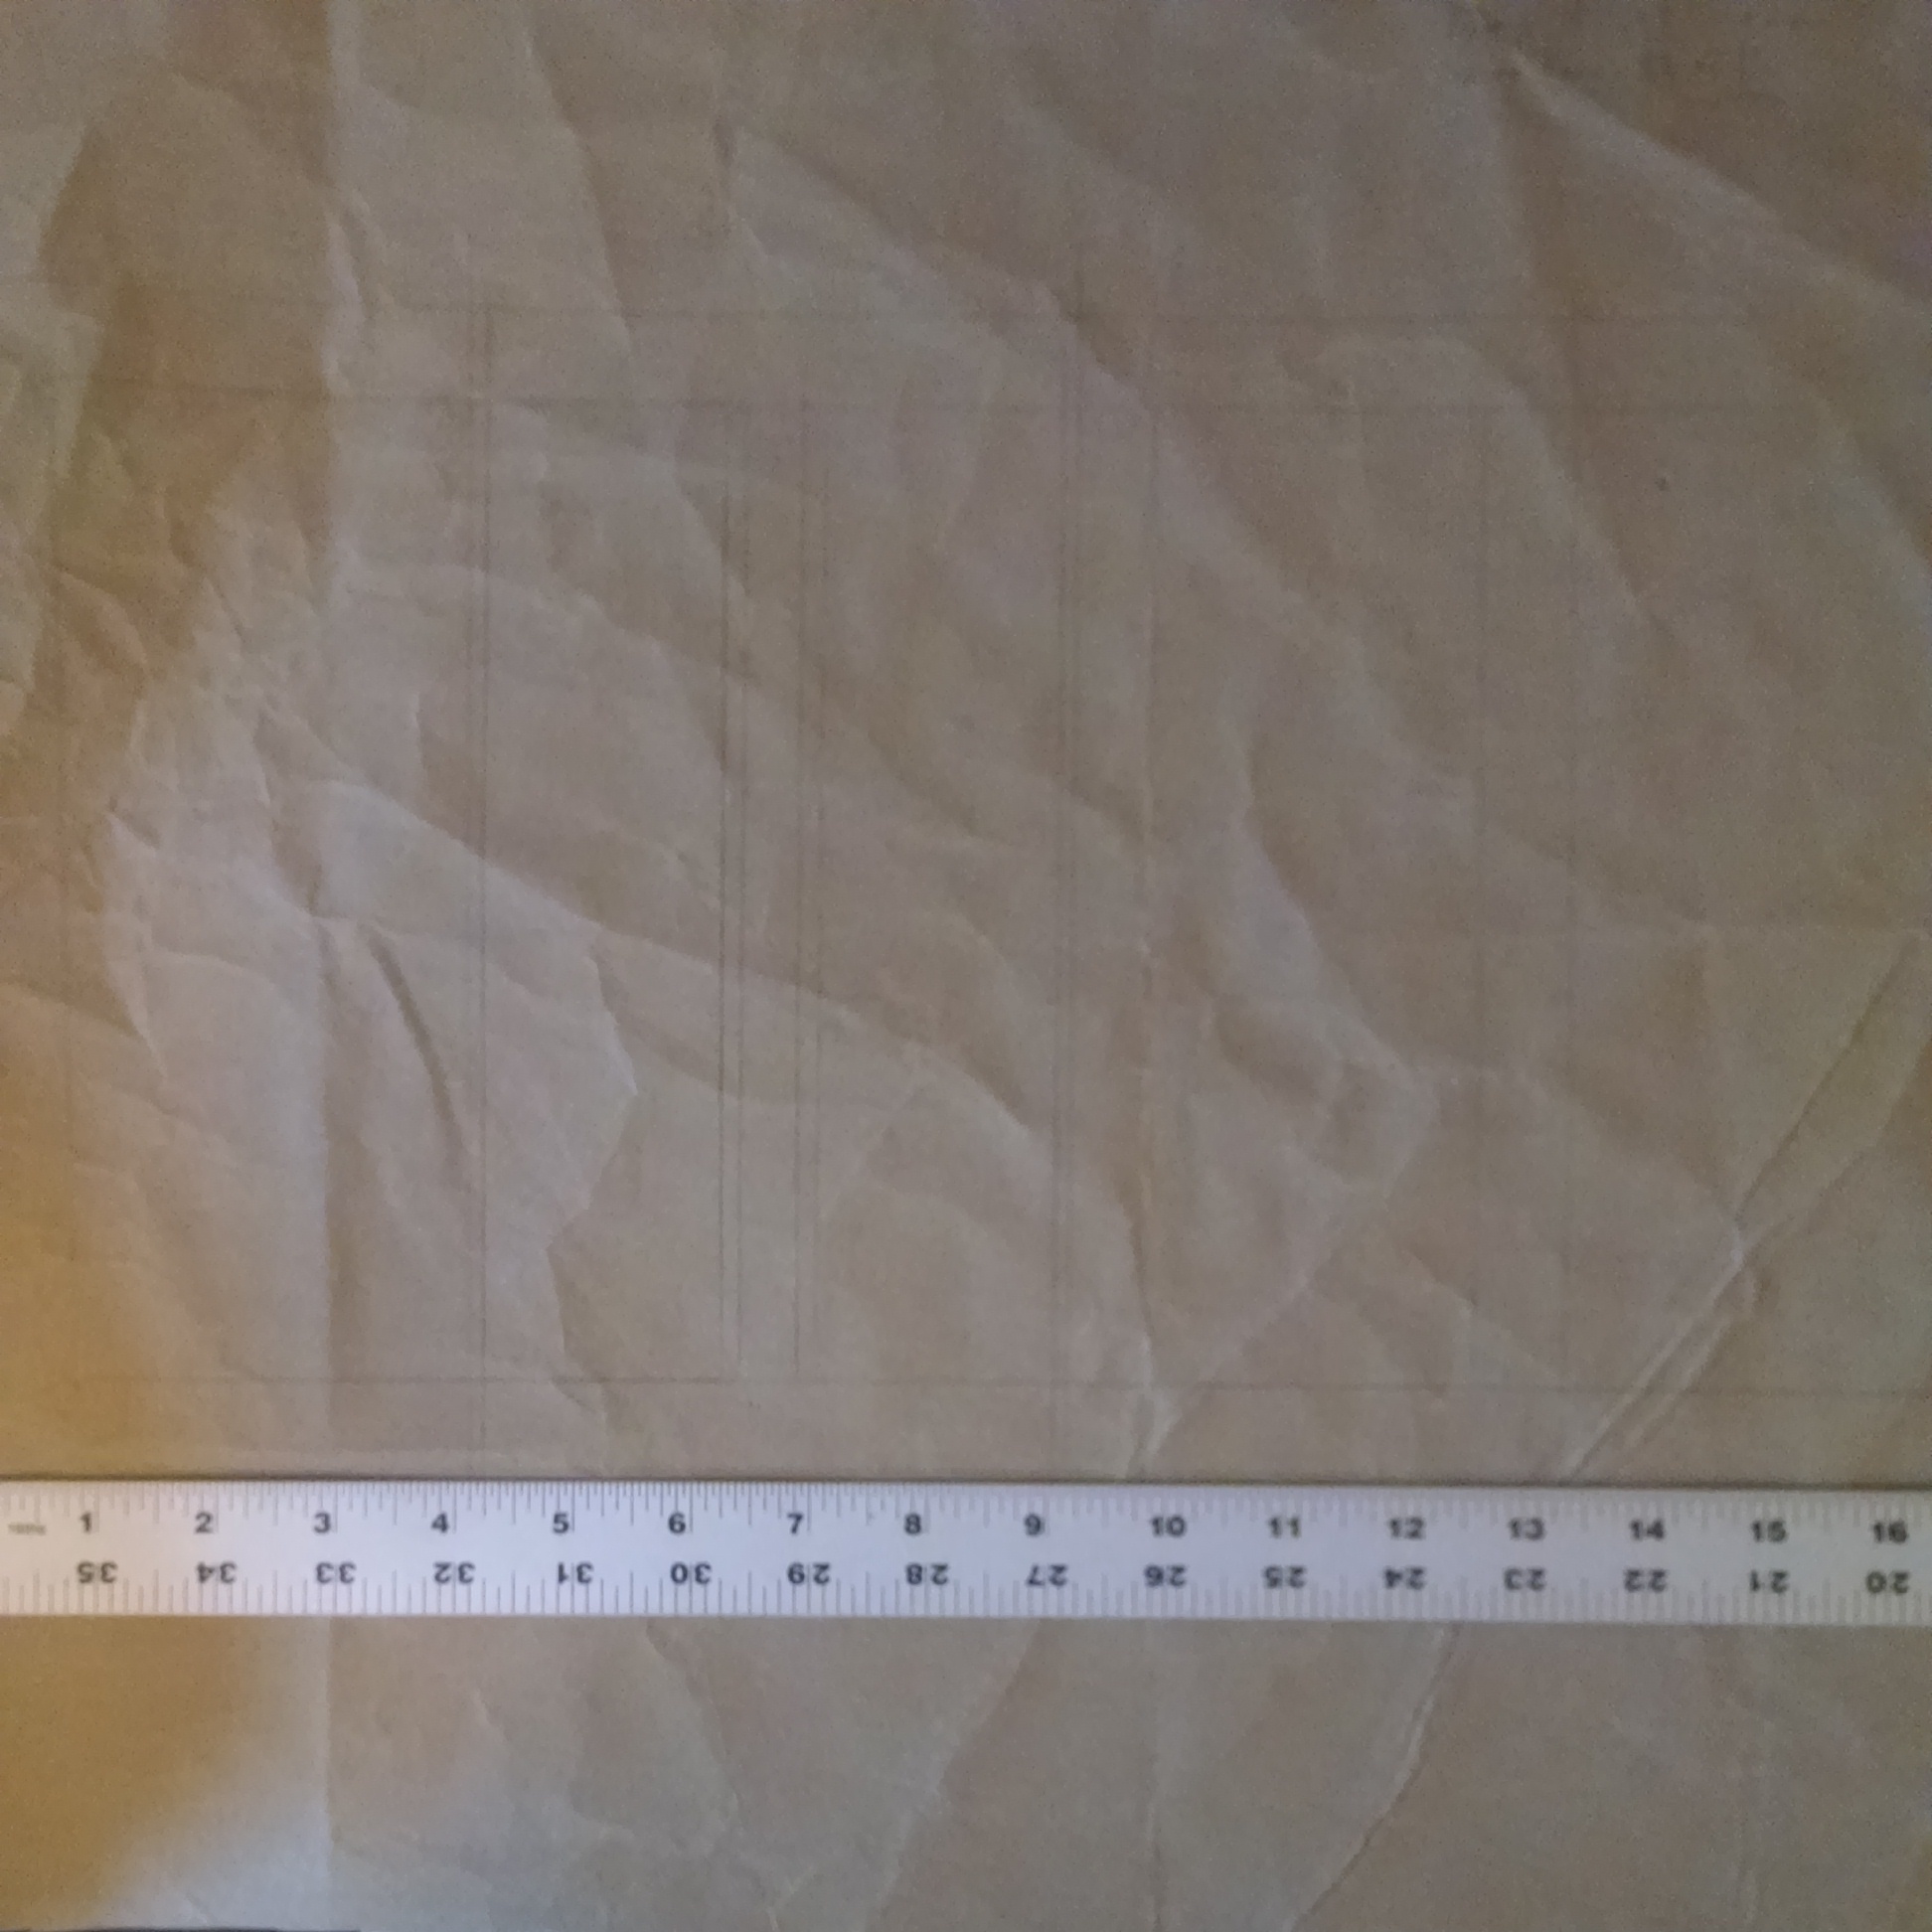
  2. Figure out how much you need. In the picture you can just barely see my book map, which is what let me know how much bookcloth I needed.
    Bookcloth Tutorial 2
  3. Cut out the amount you need (with some extra just in case).
    Also: thanks to the fabulous Xcentricities (corset.net) for the fabric! It’s unique to them and they very kindly sold me some.
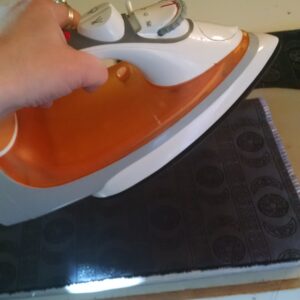
    Bookcloth Tutorial 3
  4. Iron the fabric.
    Bookcloth Tutorial 4
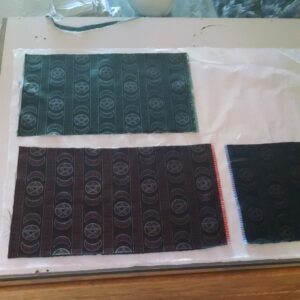
  5. Cut Japanese paper to size. I did this by laying the fabric out on the paper and cutting around it. You’ll need about a 1″ margin on all sides. Don’t forget to line up the grain! (note: fabric grain runs parallel to the selvage, the rough edge on either side of full yards of fabric)
    Bookcloth Tutorial 5
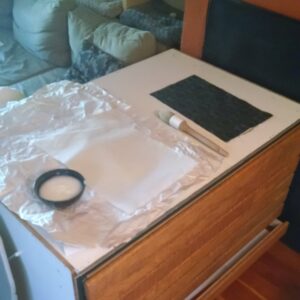
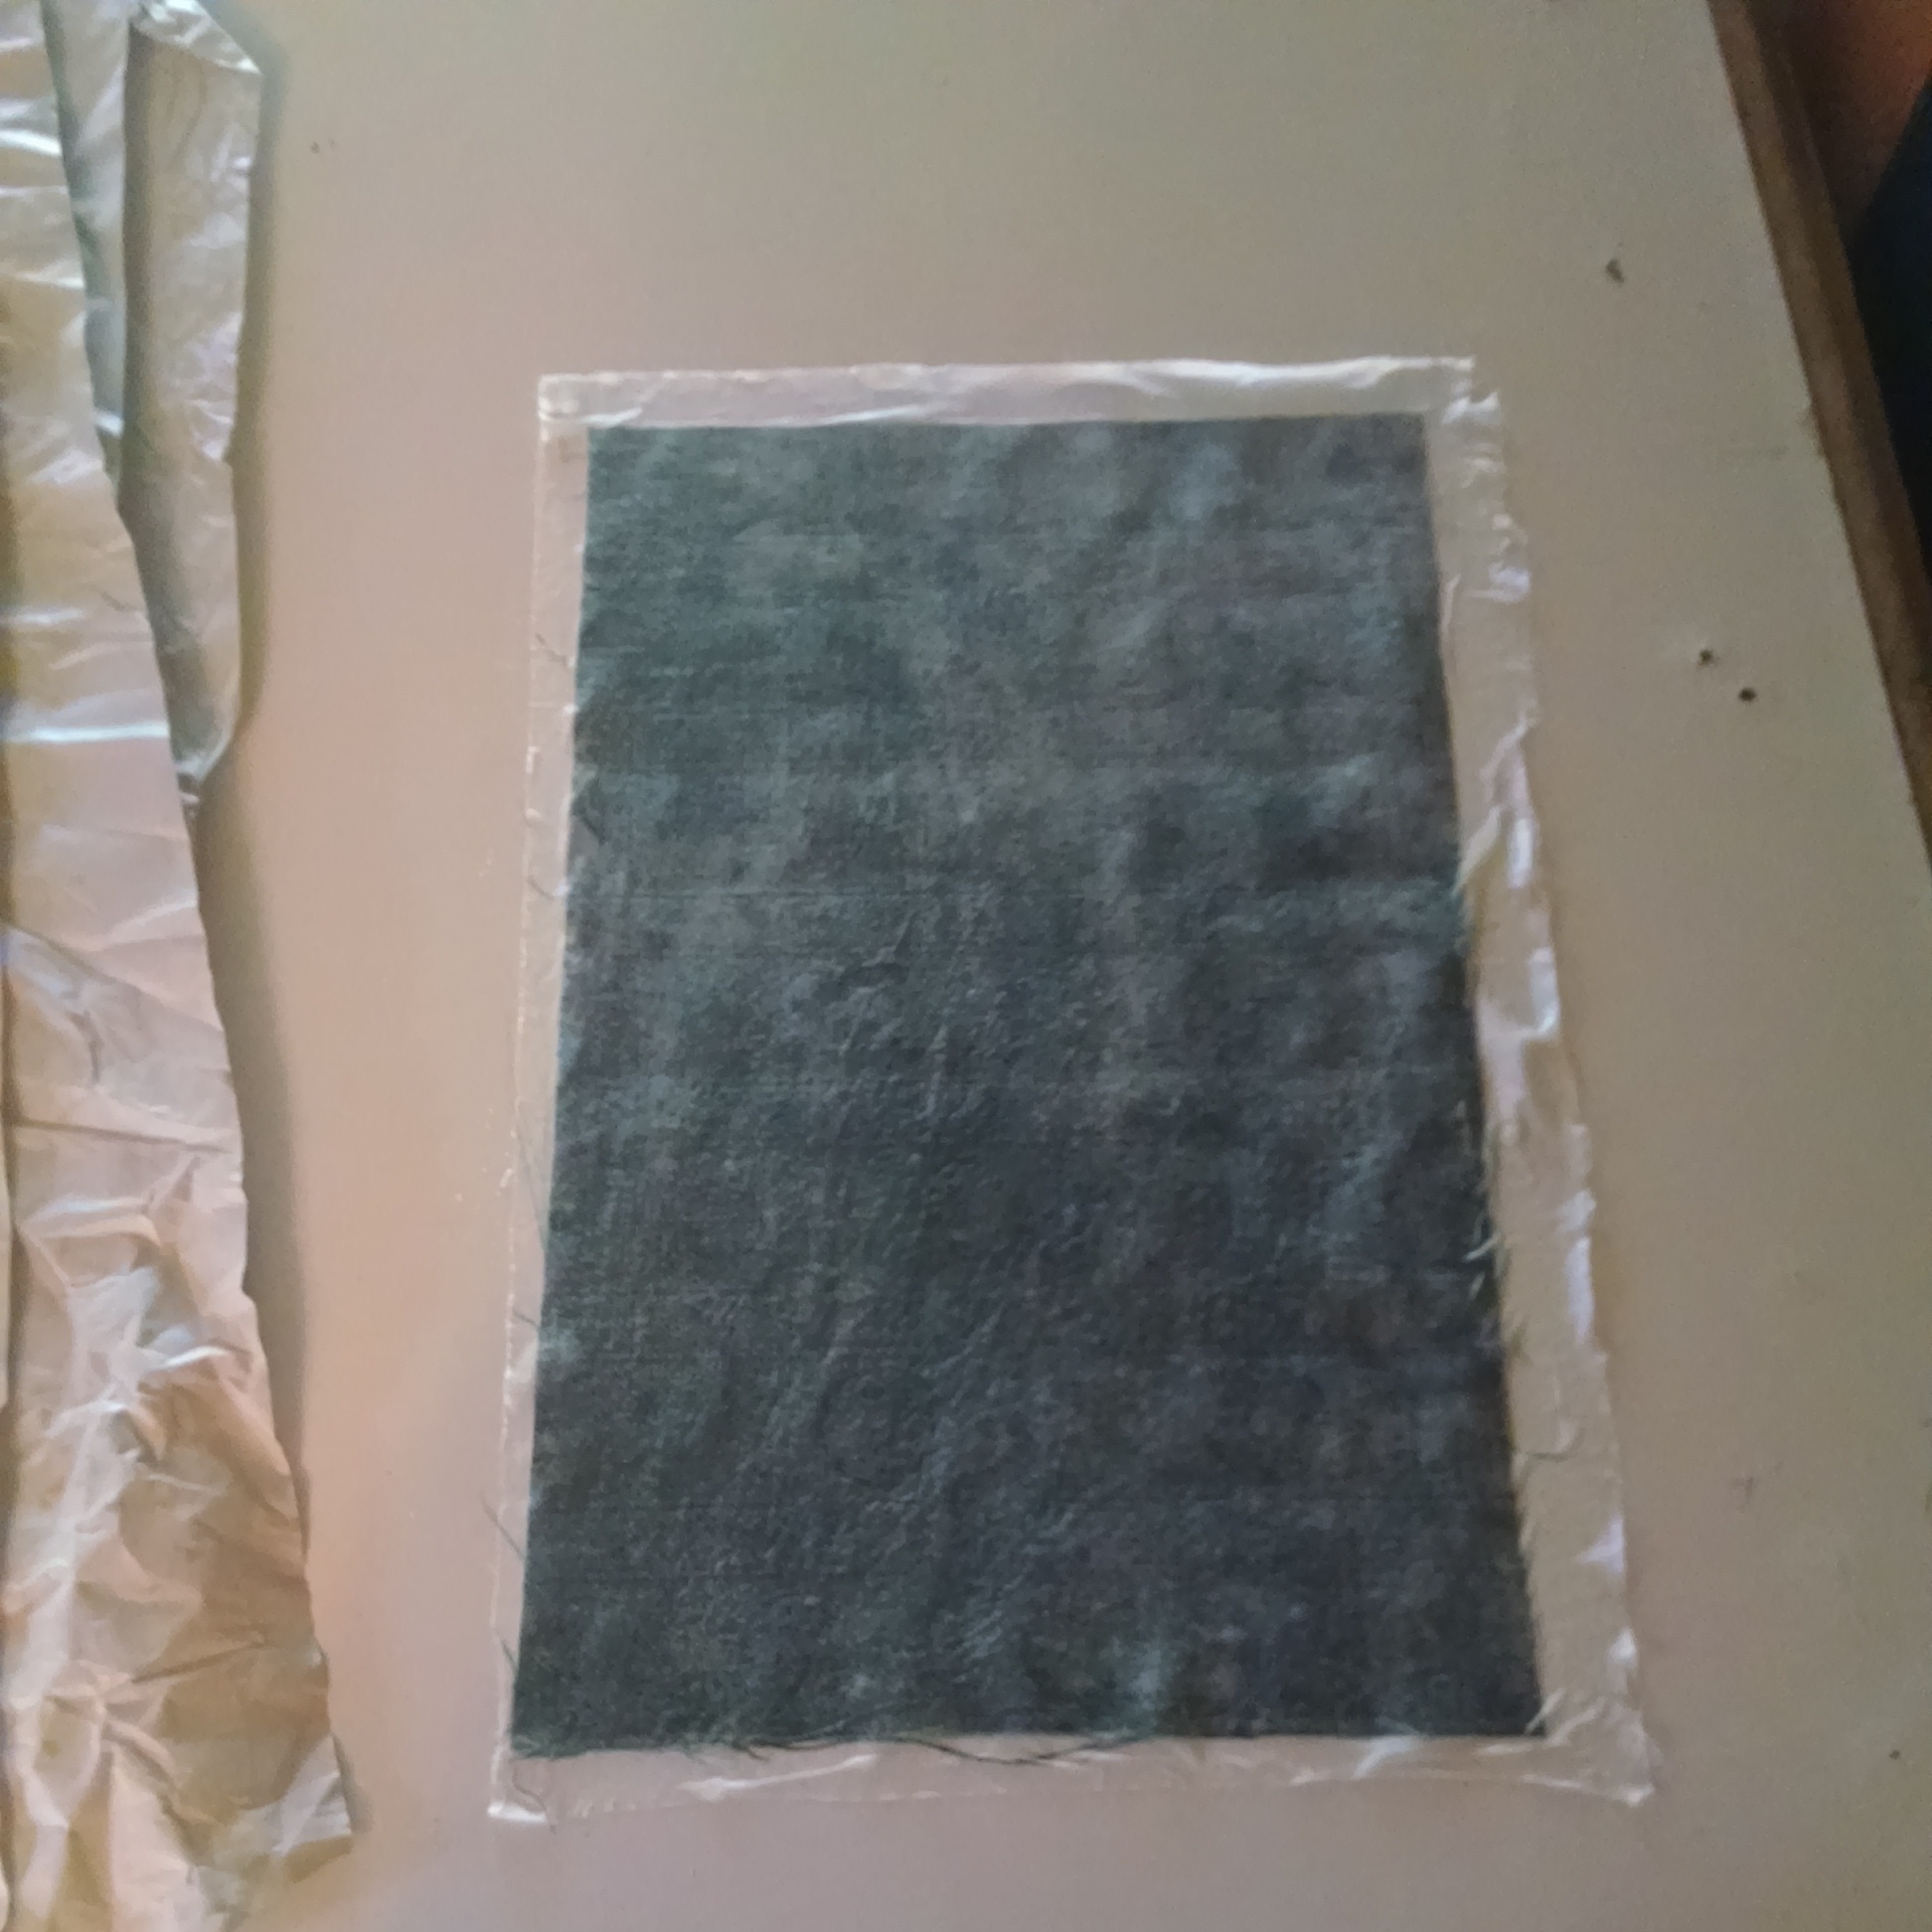
  6. Paste time! Put the fabric face down, smooth it flat (you can spray it with water if it’s being troublesome), and paste up the paper.
    Bookcloth Tutorial 6
  7. Carefully lower paper, paste side down, onto the fabric. This is definitely the hardest part.
    Bookcloth Tutorial 7
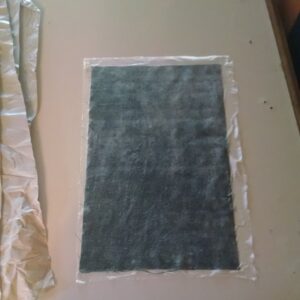
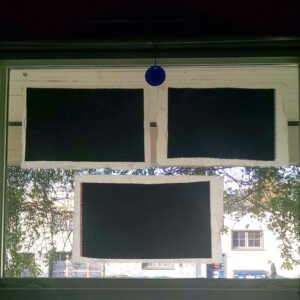
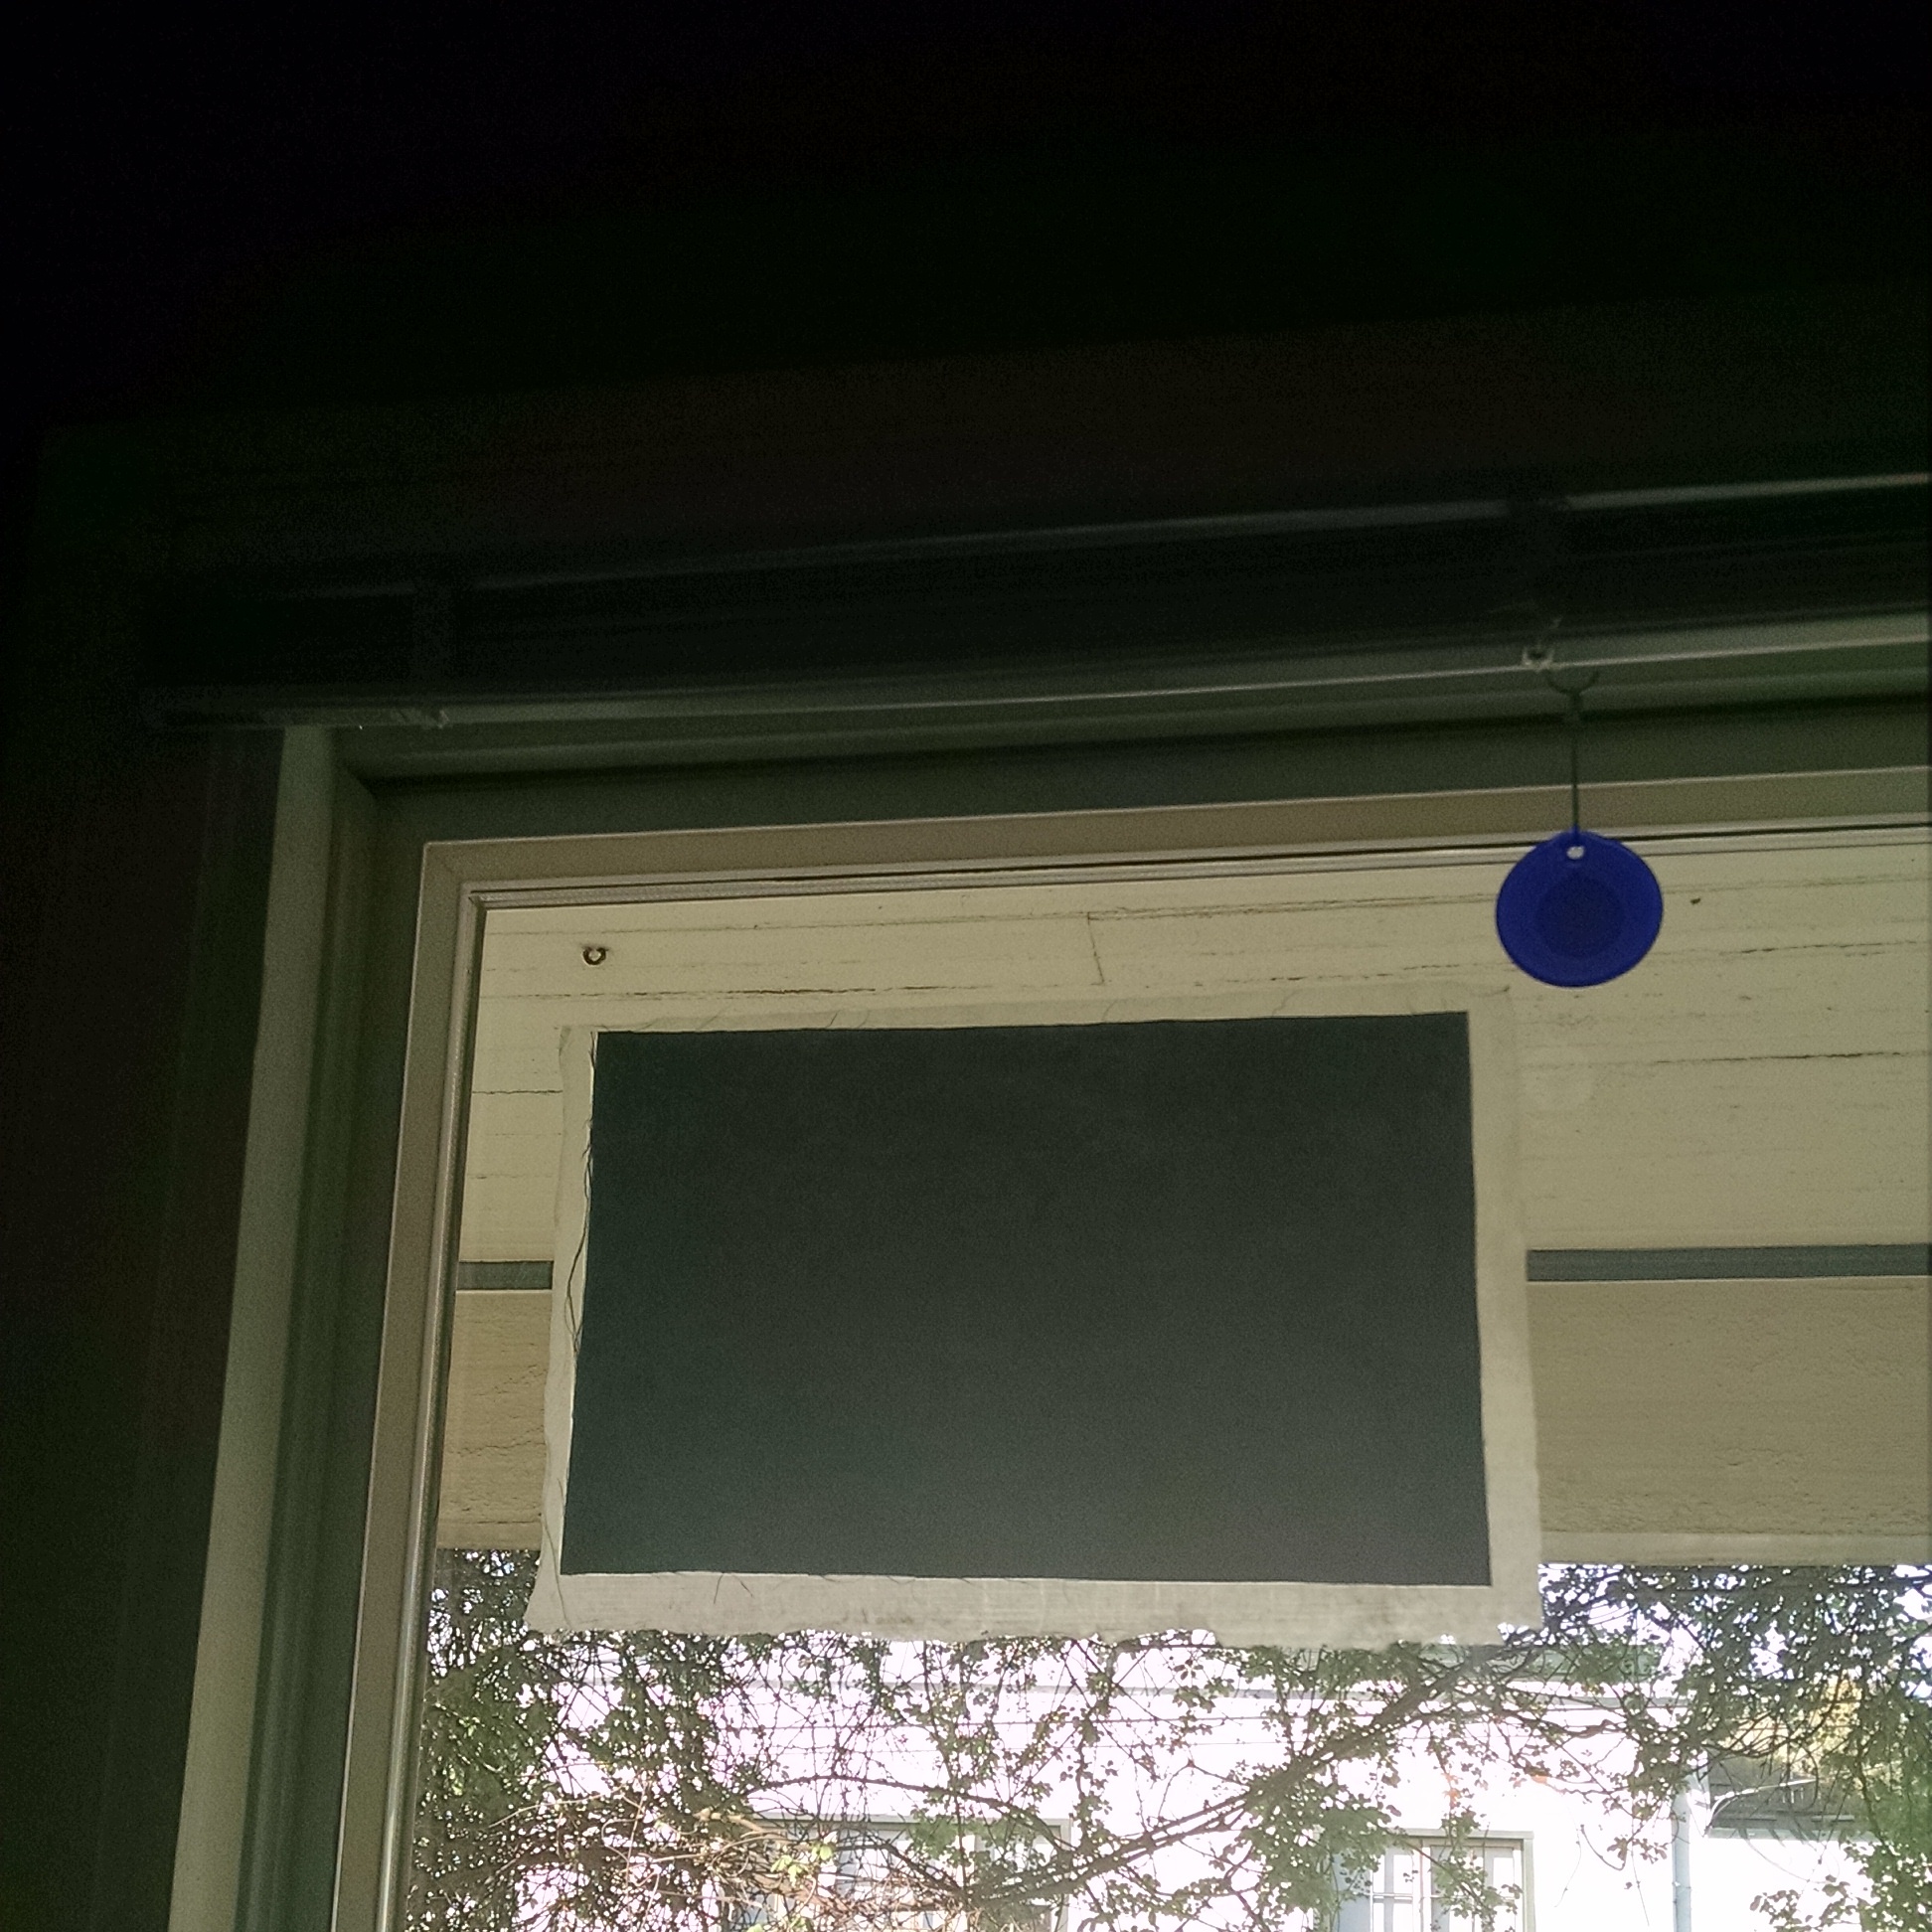
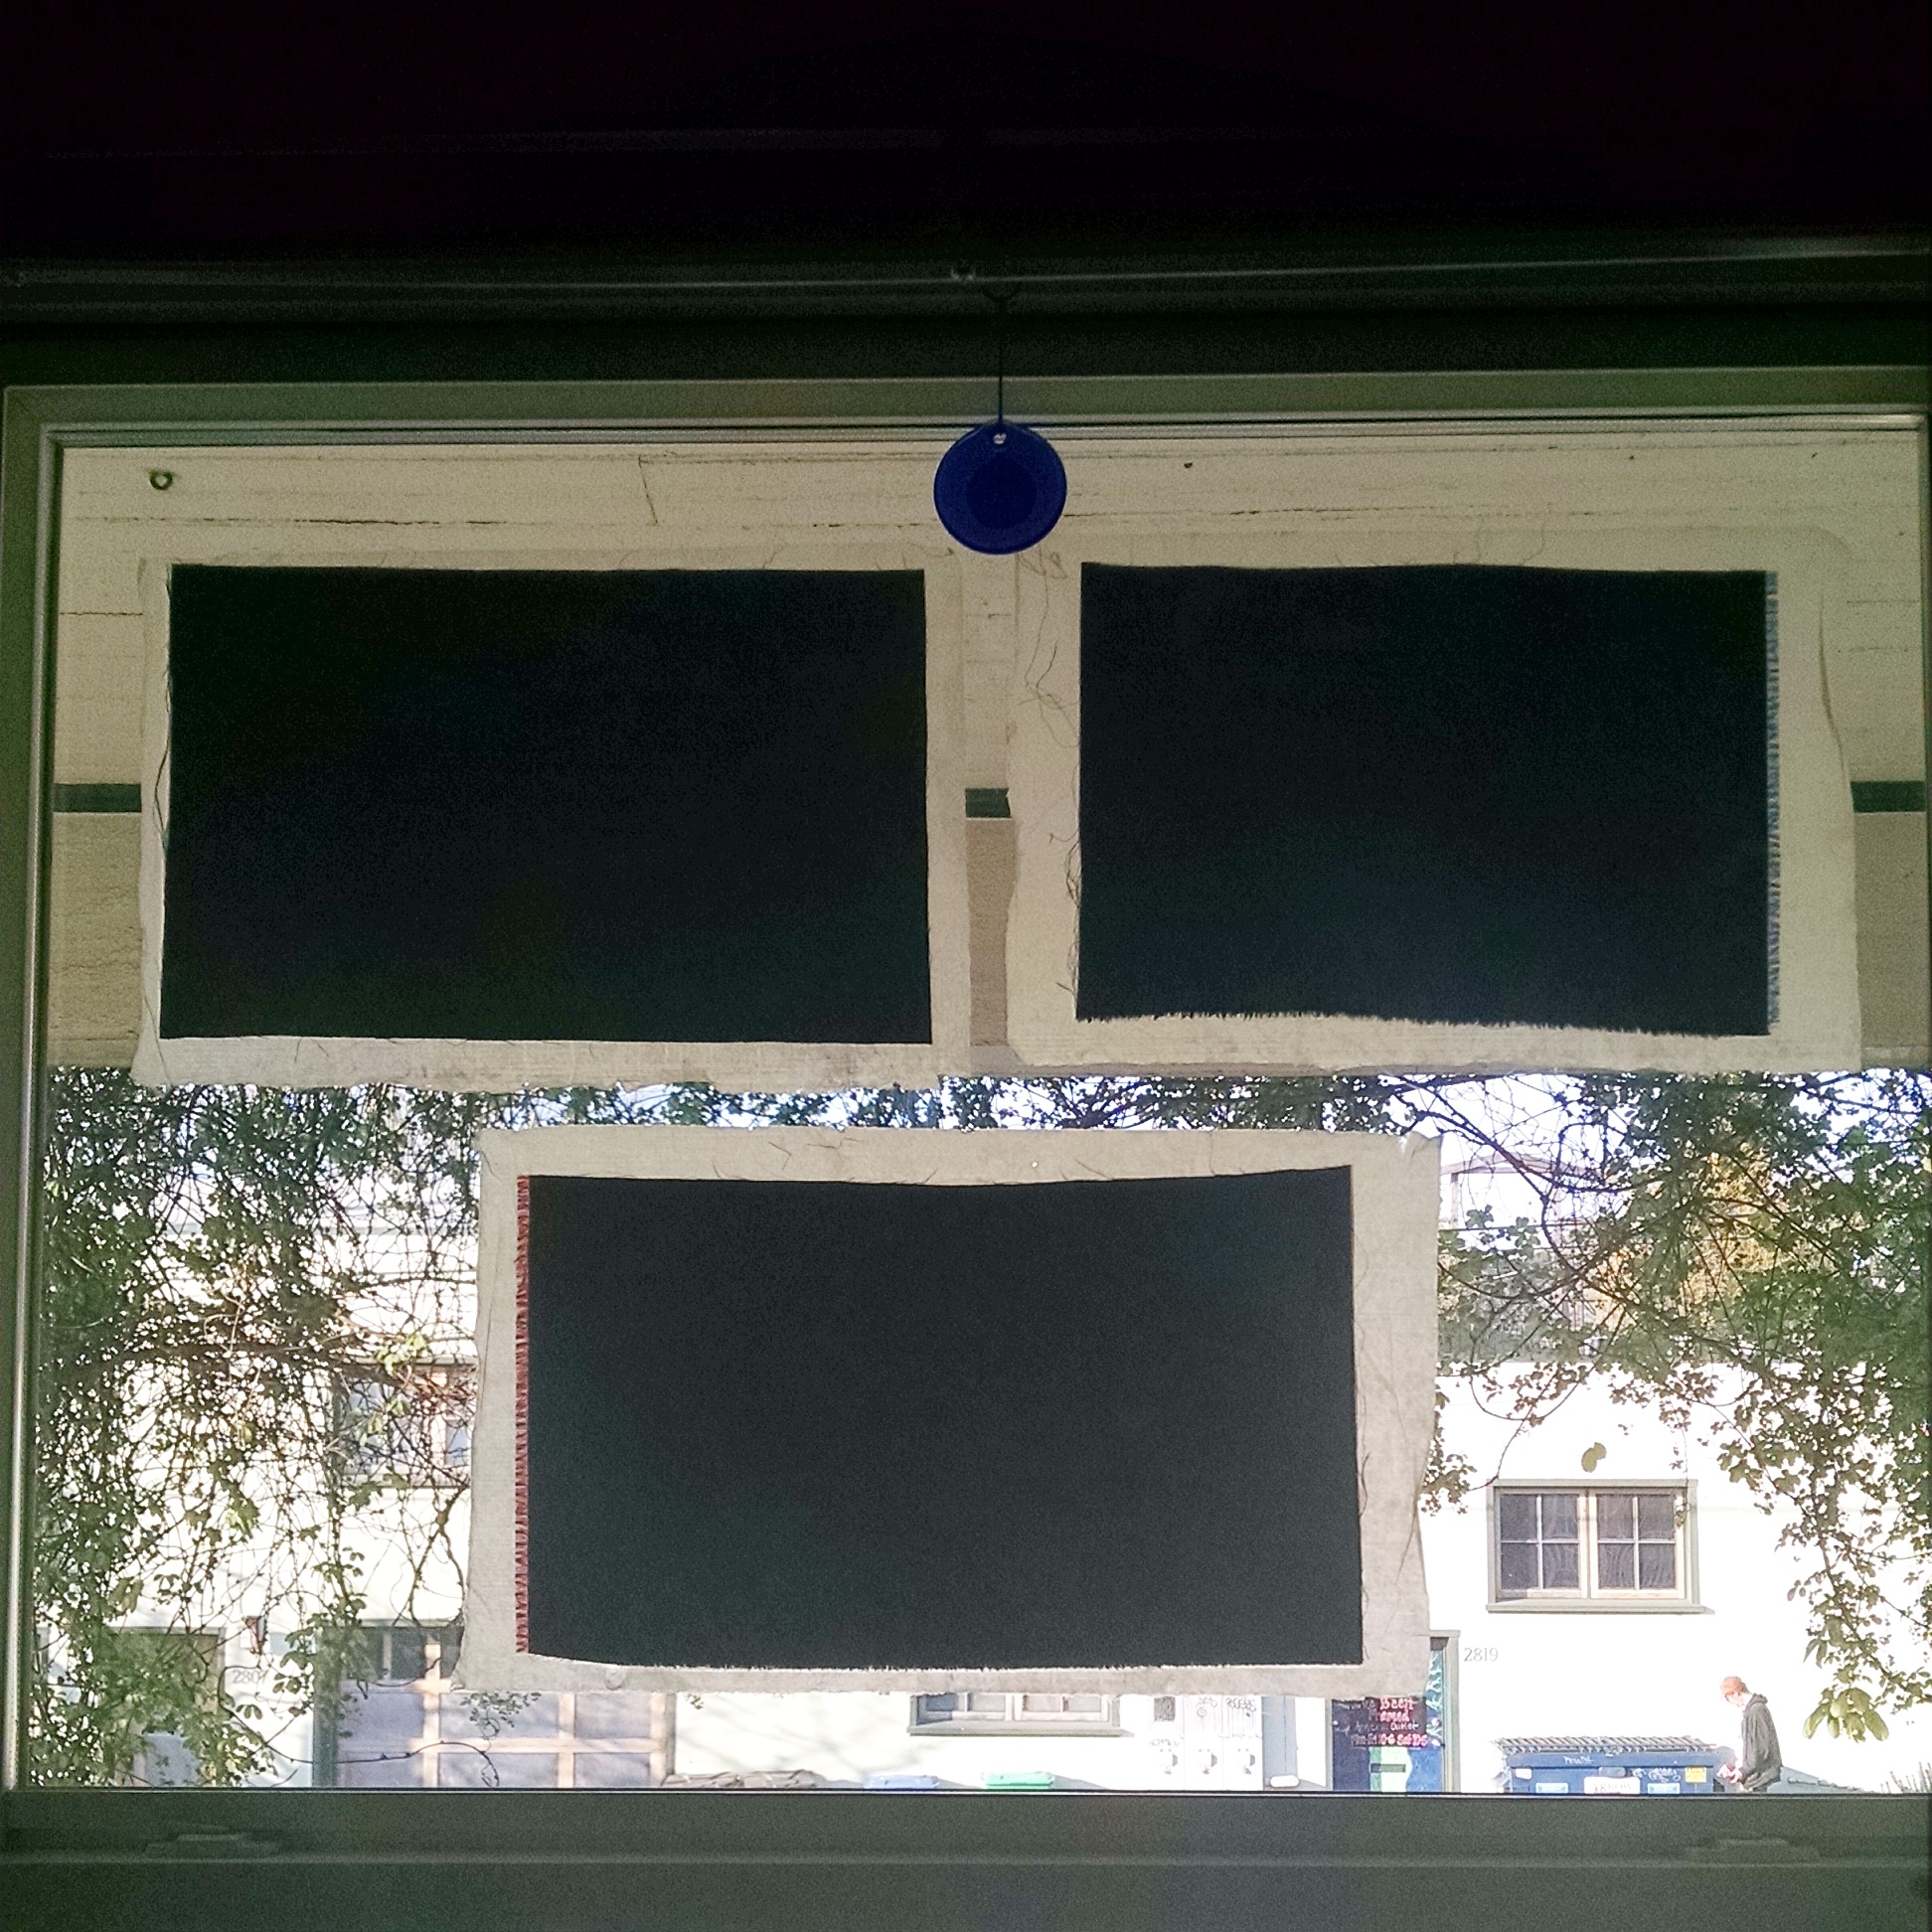
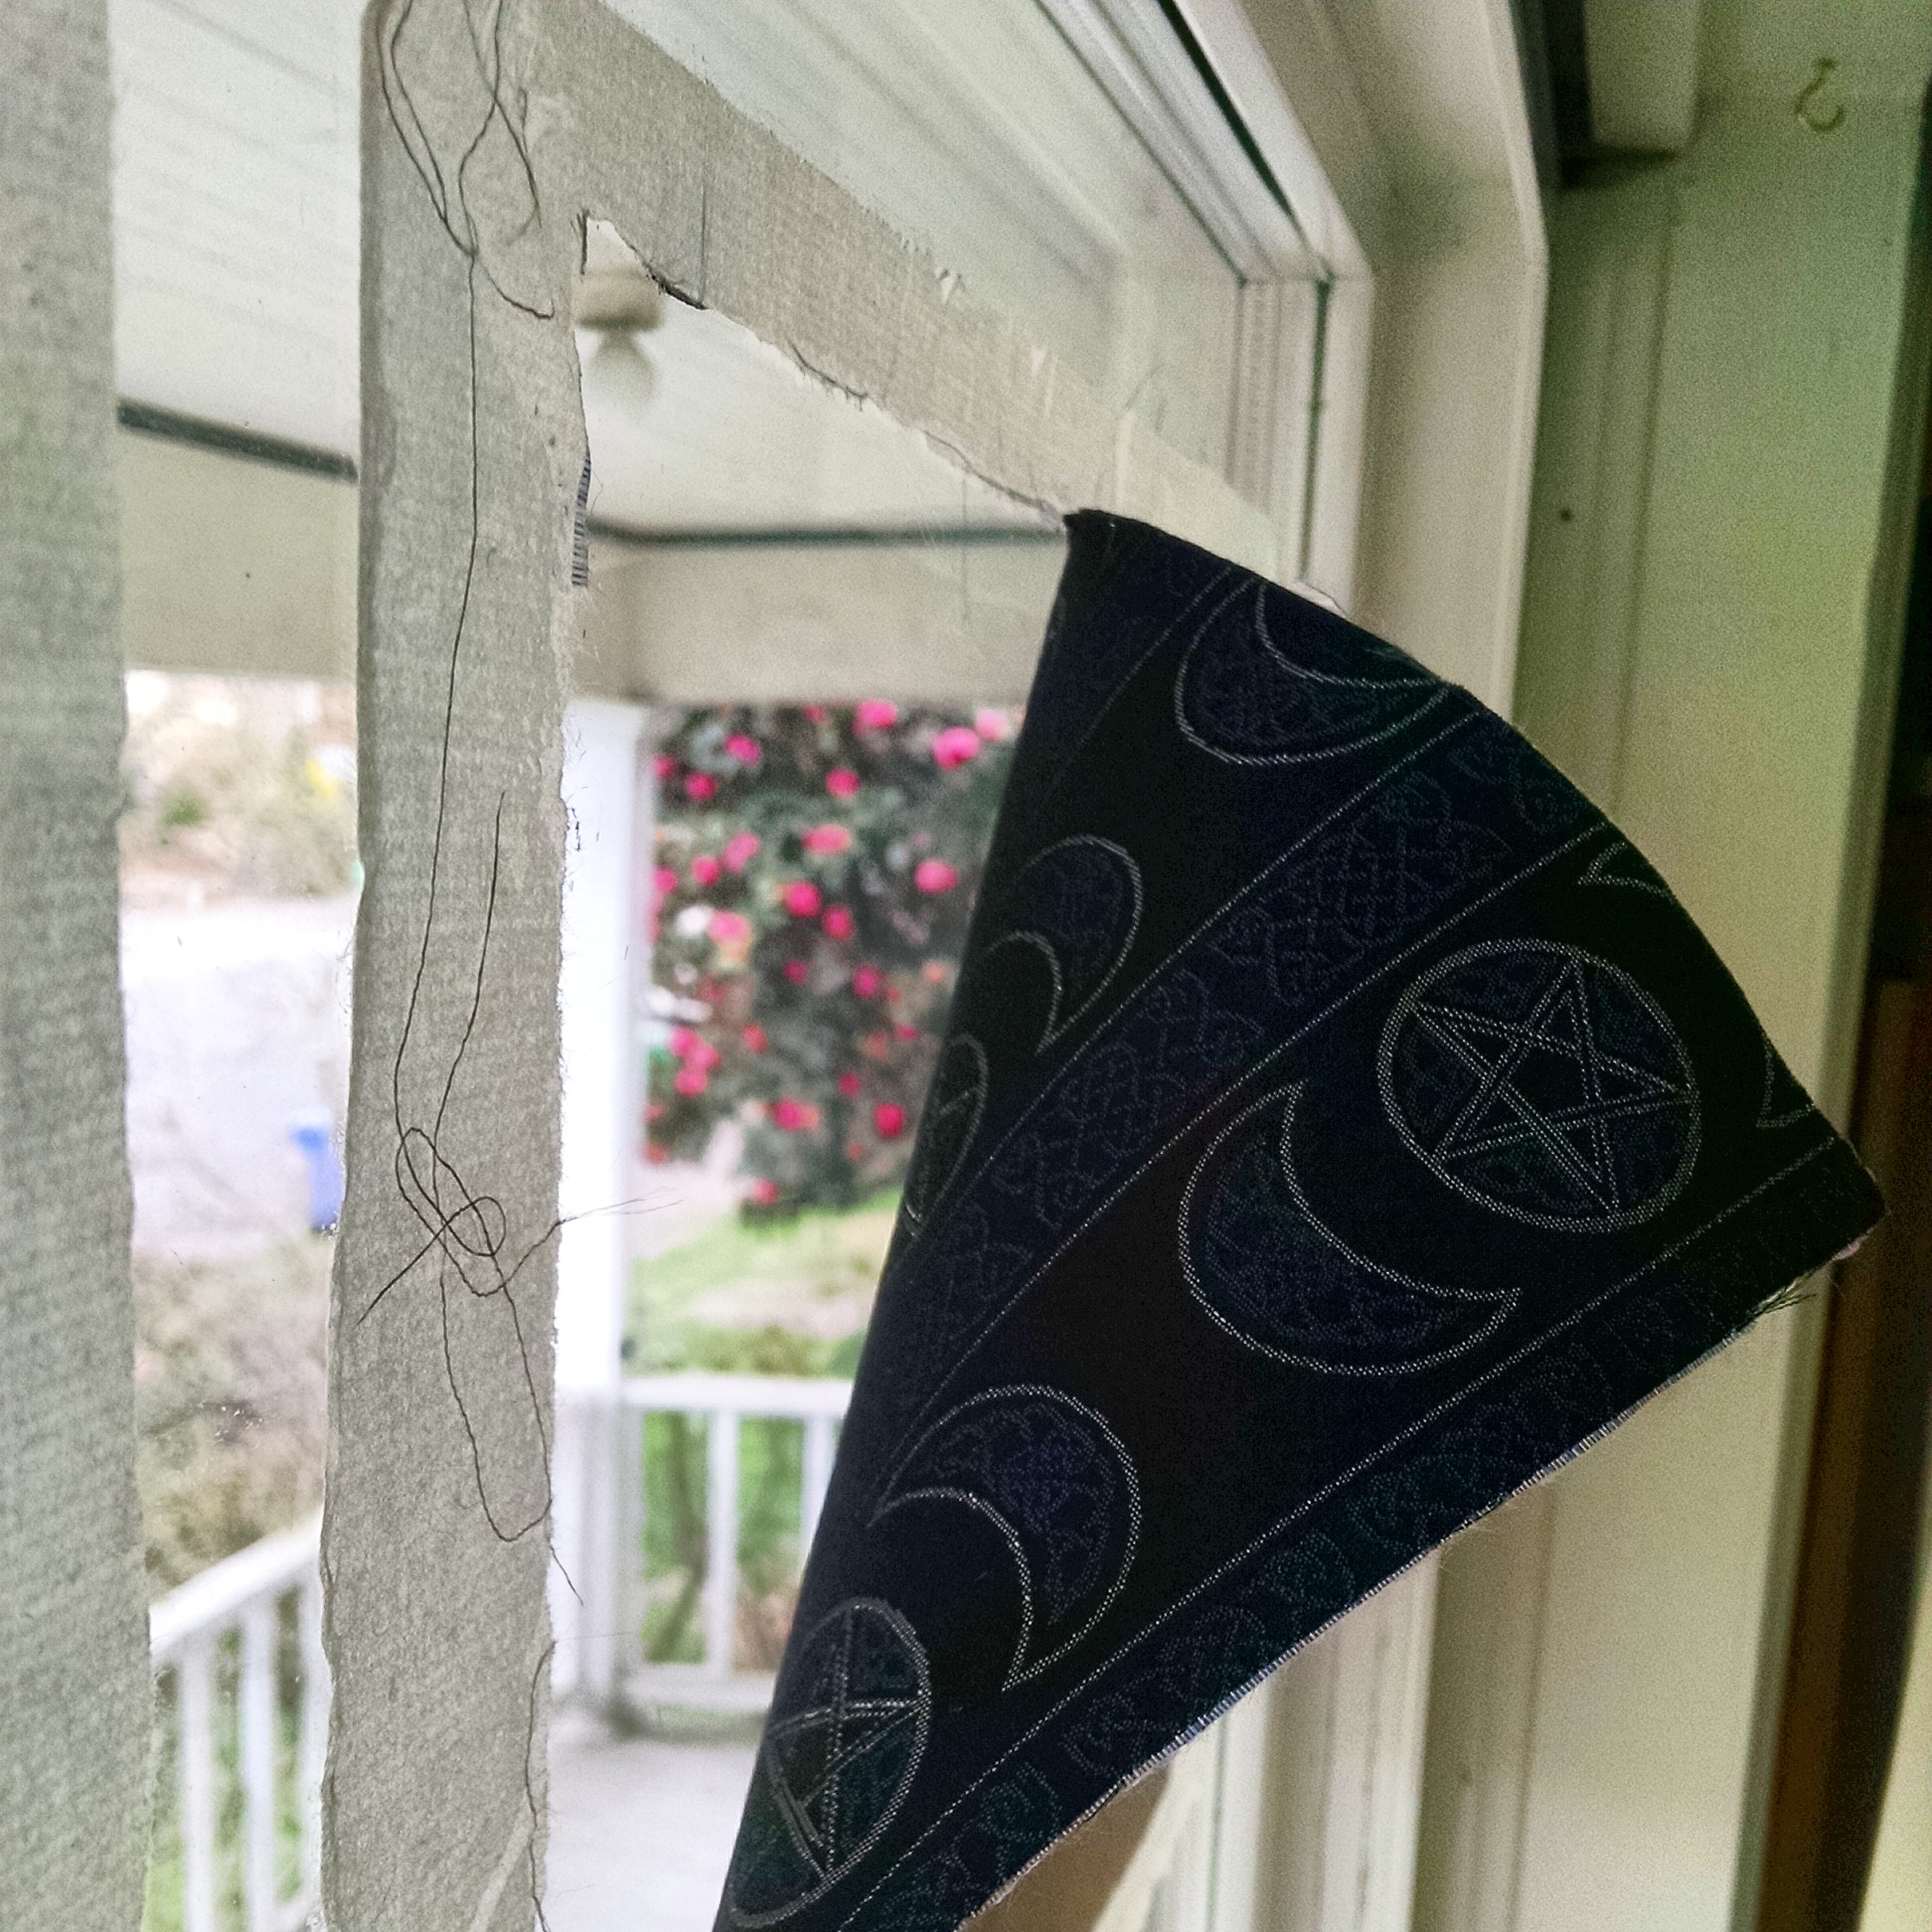
  8. Use the pasted up margin affix to a piece of glass. A clean window works well. (Bonus: the pasted margin will keep your bookcloth from shrinking as it dries!)
    Bookcloth Tutorial 8
  9. Repeat as desired, allow to dry overnight.
    Bookcloth Tutorial 9
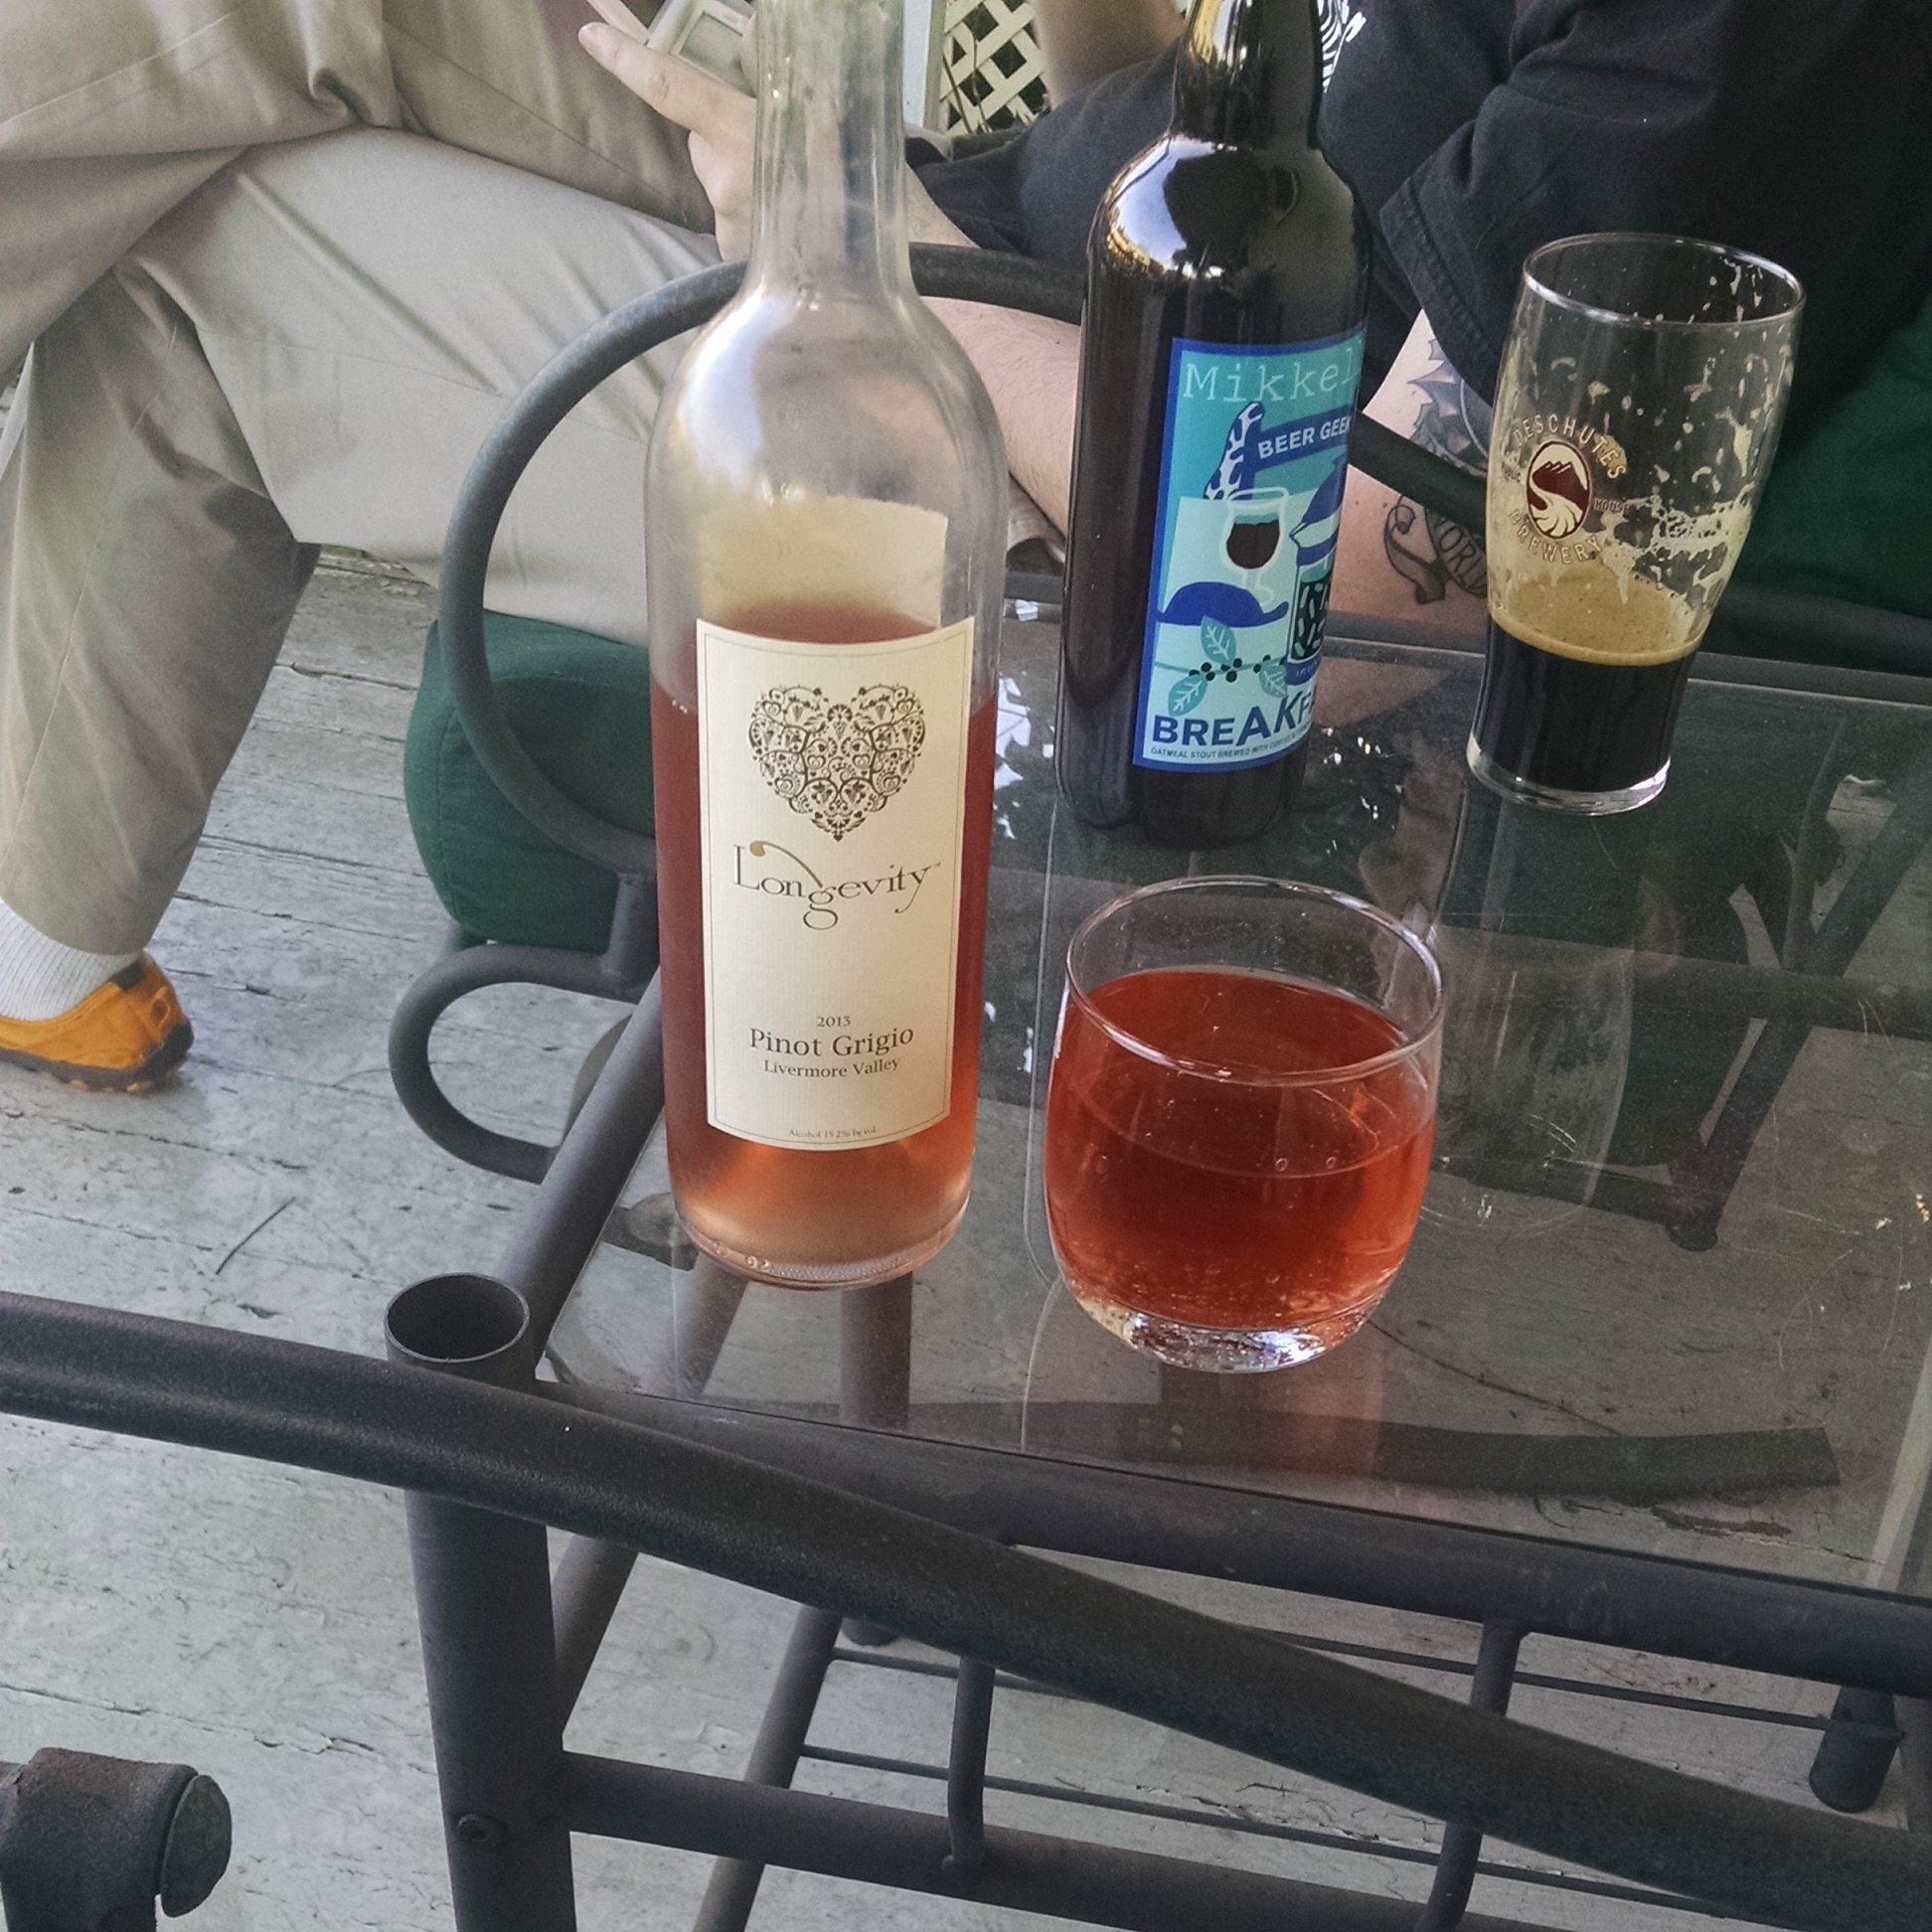
  10. Optional: relax outside with cute person and refreshing beverage.
    Bookcloth Tutorial 10
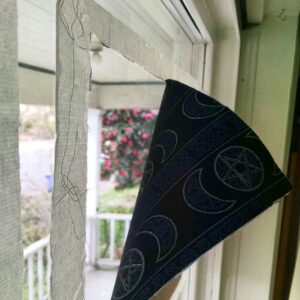
  11. Cut around the fabric with a sharp knife and carefully peel away. Ta-daa! Book cloth (cleaning is easiest with a sharp blade like a razor or utility knife blade – just scrape the remaining paper off the window.)
    Bookcloth Tutorial 11

And bam! Your very own custom bookcloth.

One of my favorite sources for fabric when I want an unusual pattern is Spoonflower, which is sort of like Cafepress but for fabric. They have SO MANY PATTERNS WHOA.

Good luck and have fun!


Accomplishments!

I was able to take a pretty long vacation from my day job for the holidays this year, and I decided to keep roughly the same schedule but do bookbinding instead! I had a great time, and bound aĀ ton of books. Check it out:

Accomplishments!

BOOKS COMPLETED: 19
BOOKS READY TO CASE IN: 13
BOOKS IN PROGRESS: 24

For the curious, the reason I separated “ready to case in” and “in progress” is that once a book is ready to case in, it’s almost done. The actual casing-in gets done all at once, so it’s basically a single, longish step that ends with the book in the press overnight. The steps leading up to that are many, so the in-progress books are a lot further from being done than the ready-to-case-in ones.

I’m back at my day job as of today, but I’m hoping to keep up the momentum as much as possible in the six weeks I have before I vend at Pantheacon. Wish me luck!

Productivity!

Since I was accepted to vend at Pantheacon next year (see the Events page) I’ve been trying to up my productivity. Sometimes, though, the dayjob just takes too much out of me.

“Ealasaid, what do you do when youā€™re too braindead and your tremor is too bad for you to do complicated bookbinding tasks?”

Fold signatures.

So, first I grabbed one of the precut chunks of paper from when I ordered a custom-cut carton a while back. Cartons hold 1,000 parent sheets, so that’s how many are in that stack. The paper is too long, however, so I used my guillotine to cut it into two stacks of 5″x8″ sheets (bringing the total to 2,000 sheets).

Let's do this

After that, I started separating the pile into groups of four and folding them in half. You can see a small stack of already-folded signatures under that cast iron iron (yes, it literally used to be used to iron clothes. I have no idea how old it is, but it weighs a ton and that’s what I was looking for). Basically, I’d fold batches of four until I ran out, then take those signatures, stack them, put them under the iron, and divvy up another batch of sheets. Lather, rinse, repeat.

Getting rolling

In the end, I had 25 books worth of signatures (2,000 sheets into groups of four = 250 signatures, ten signatures per book makes that = 25 books).

Here’s what I ended up with:

Done


Next up: endpapers and punching sewing holes!